Bathroom: Episode II
1. Good and Bad News
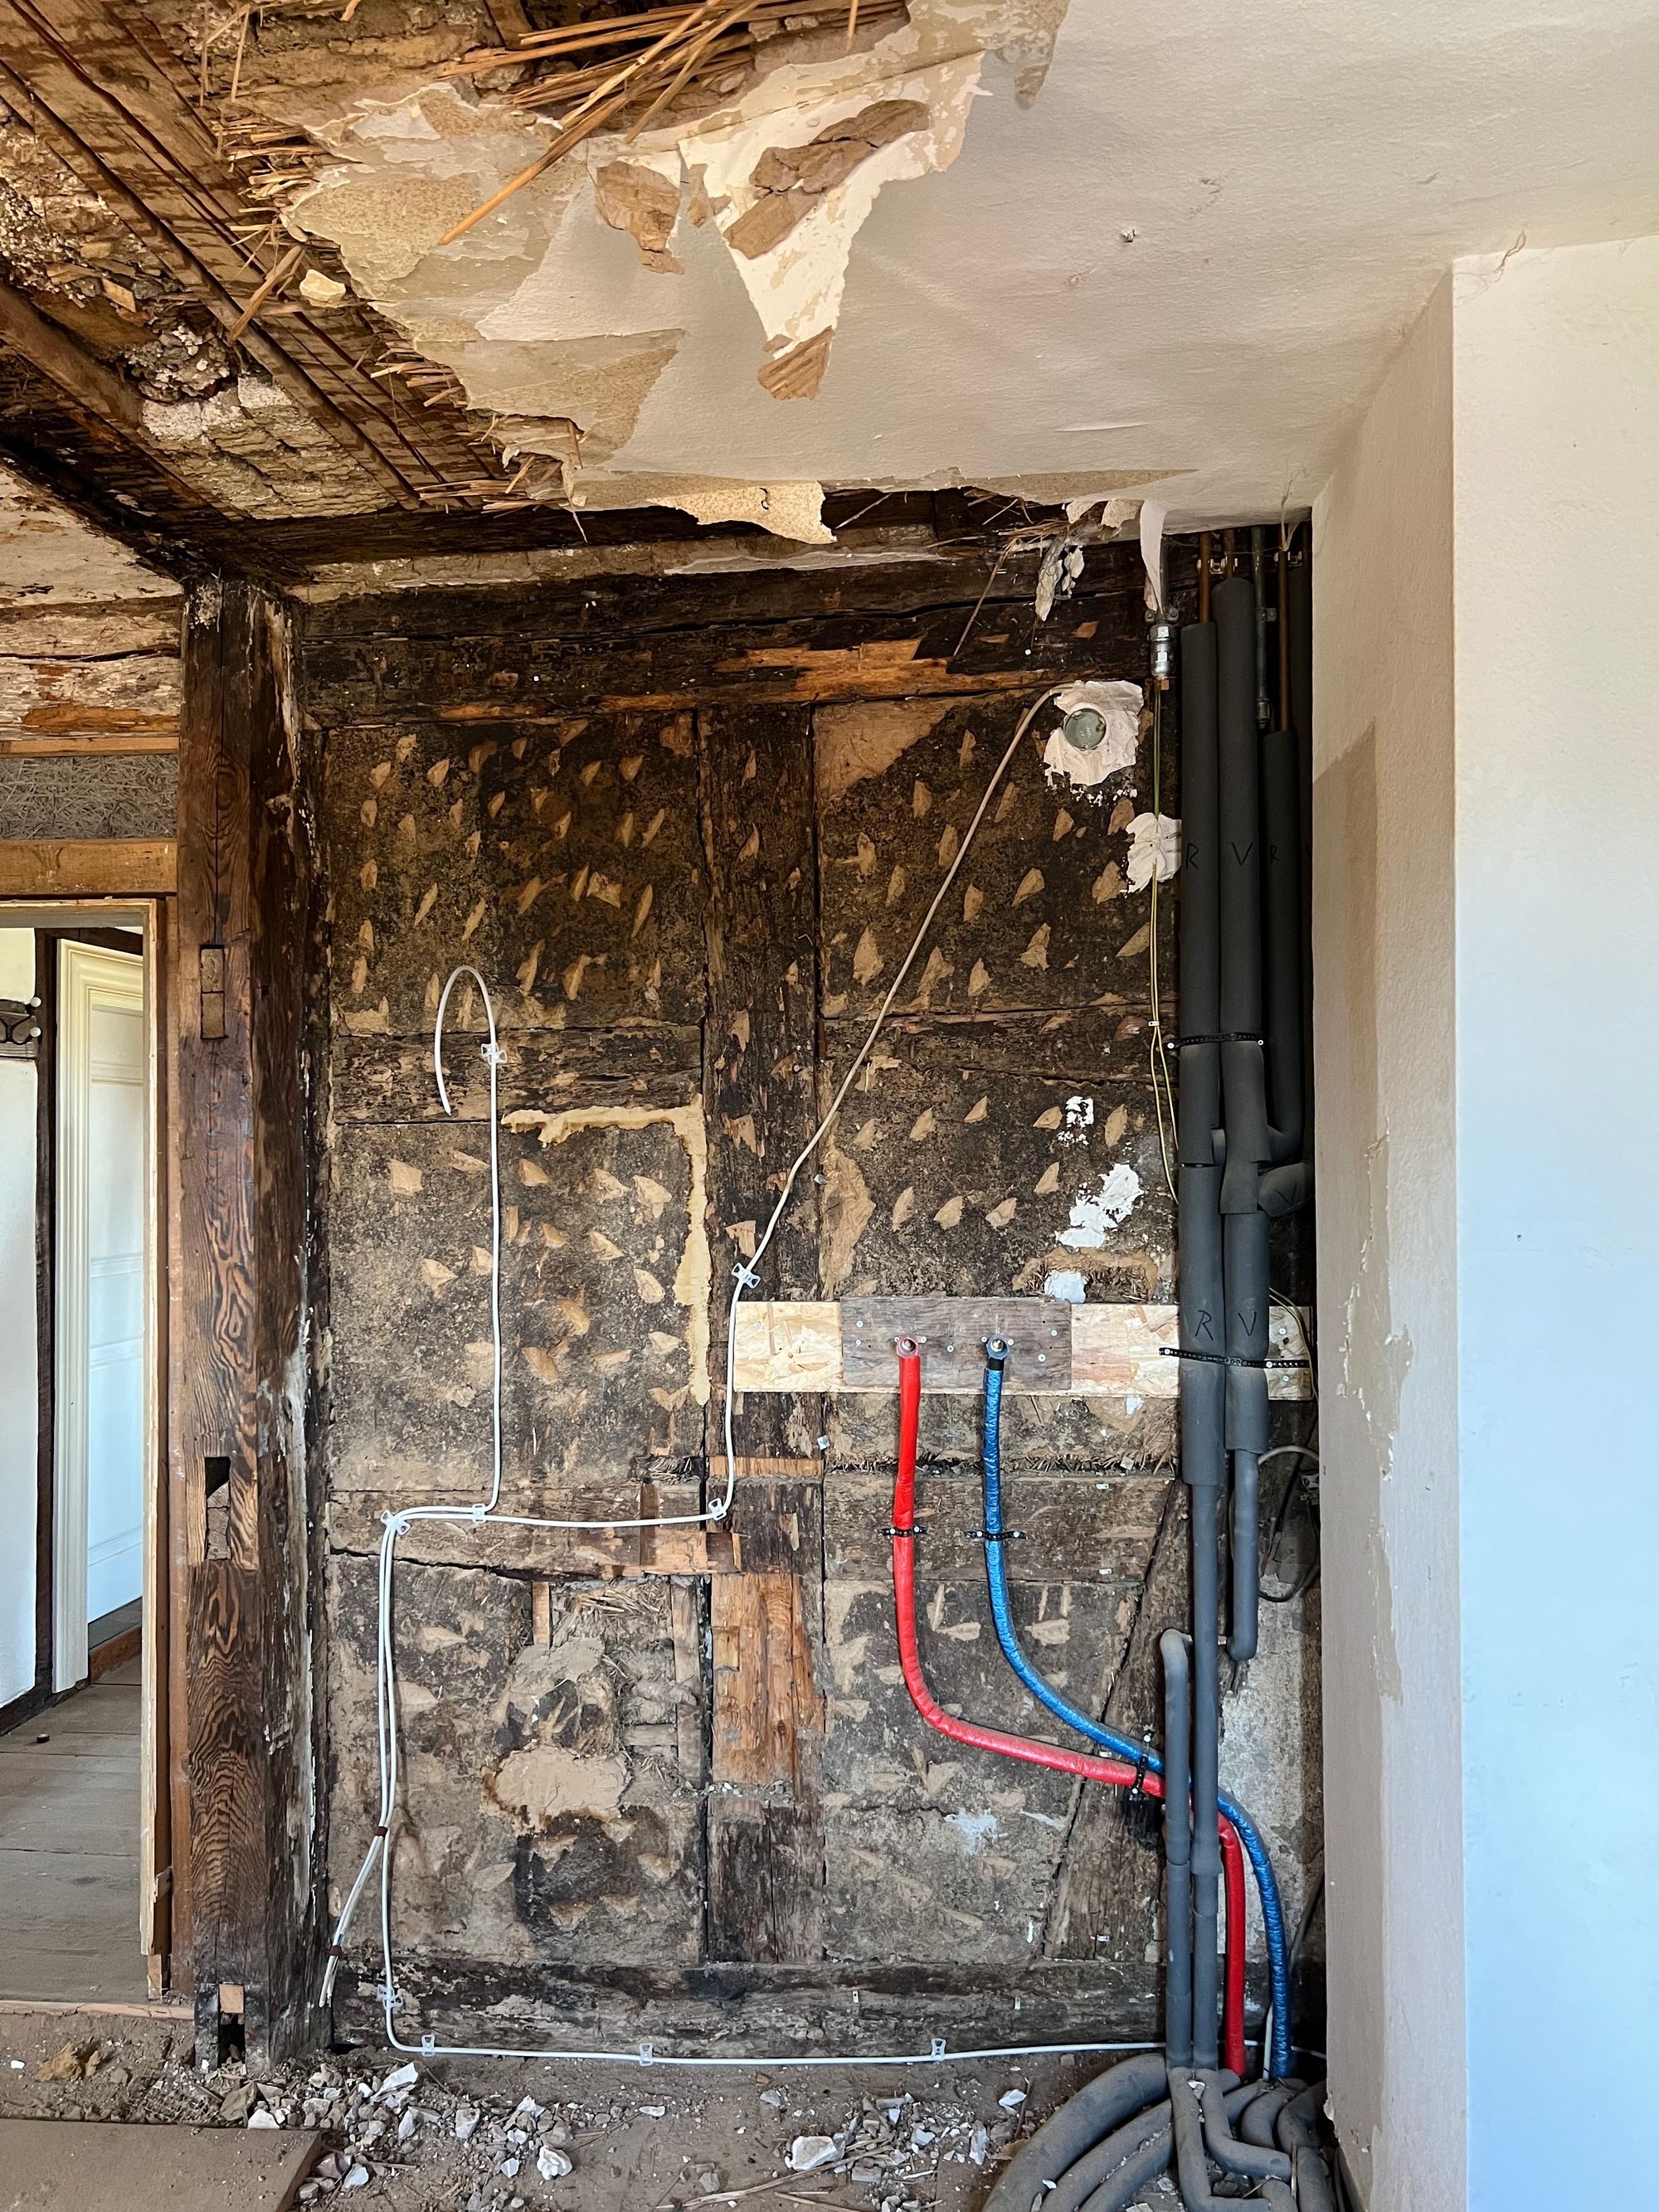
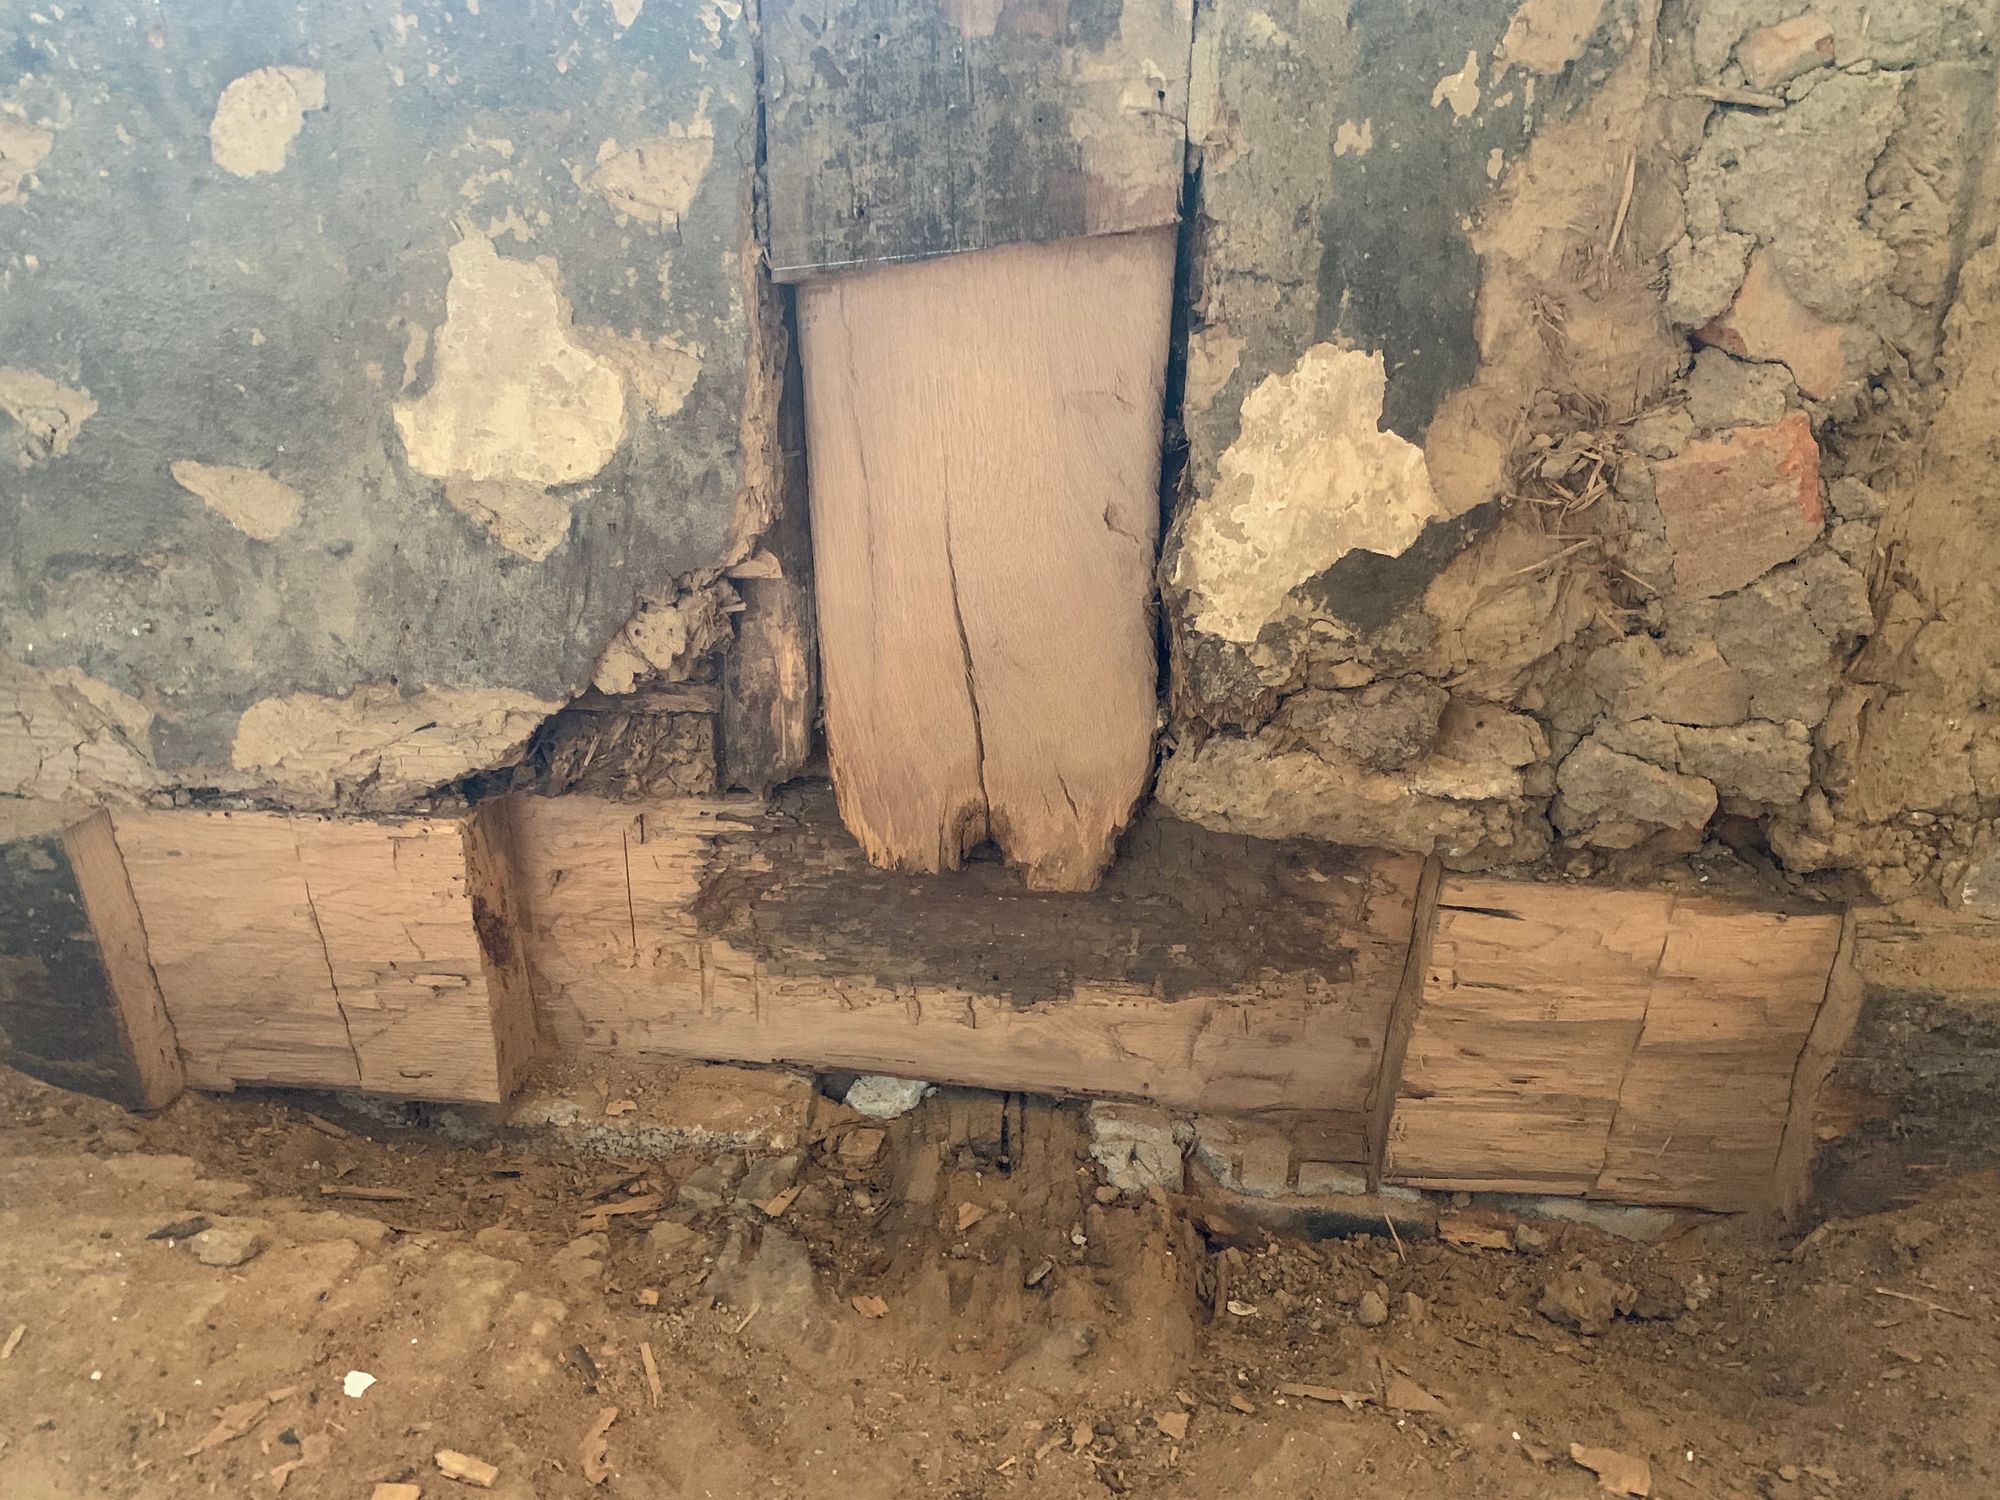
The lab report came back and we were lucky: it’s a way less aggressive fungus that just appears when there is a lot of moisture and not the “real dry rot” (such a weird name). To make sure we find out what caused that moisture we got in touch with our frame carpenter (top-tip: if you ever own a half-timbered house, find a frame carpenter you trust because they will start poking holes into the precious old wooden beams of your house using a screw driver to find rotten wood). Following a bit of investigation it was quite clear: there definitely was a leak in one of the bathrooms in the attic floor some years ago that caused a lot of water to drip into the ceilings and walls 🎉. The way the floor was build didn’t really help (coug plastic foils) with allowing the moisture to escape and the previous owner seems to have fixed the problem only on the surface so unfortunately some of the wooden beams needed to be repaired.
2. Another Brick in the Wall
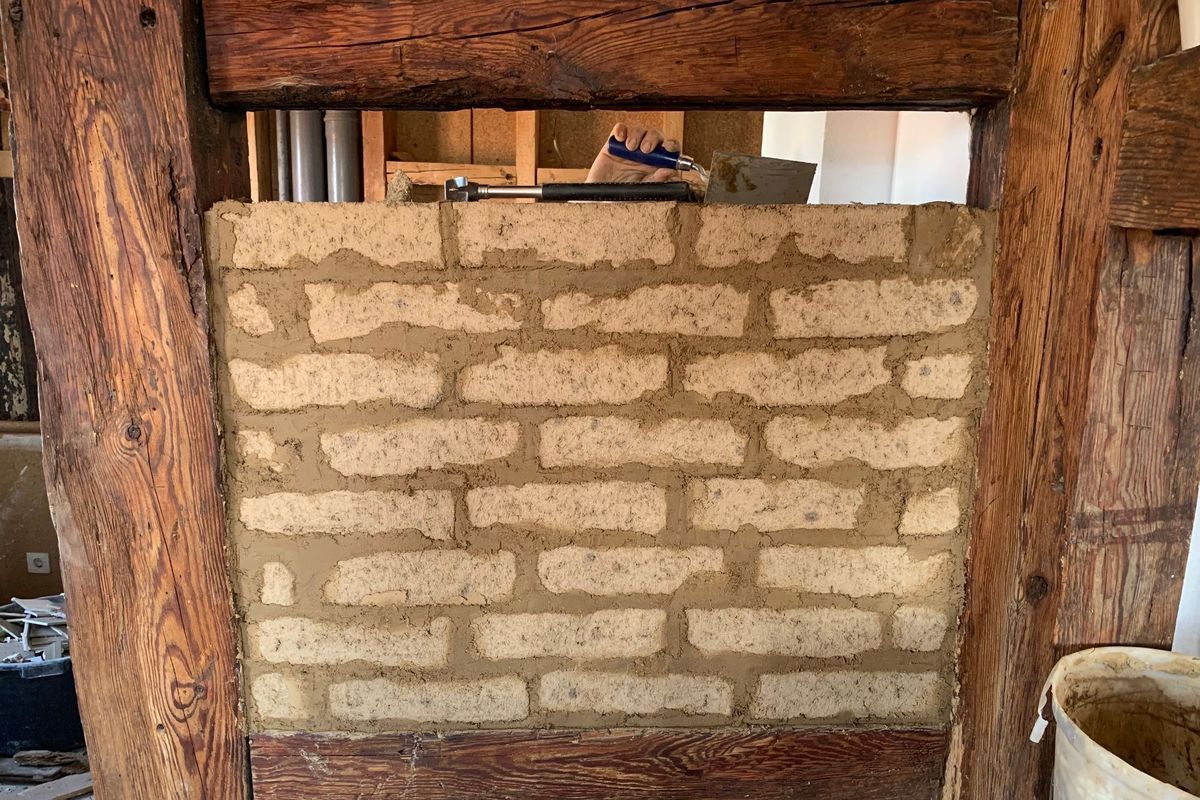
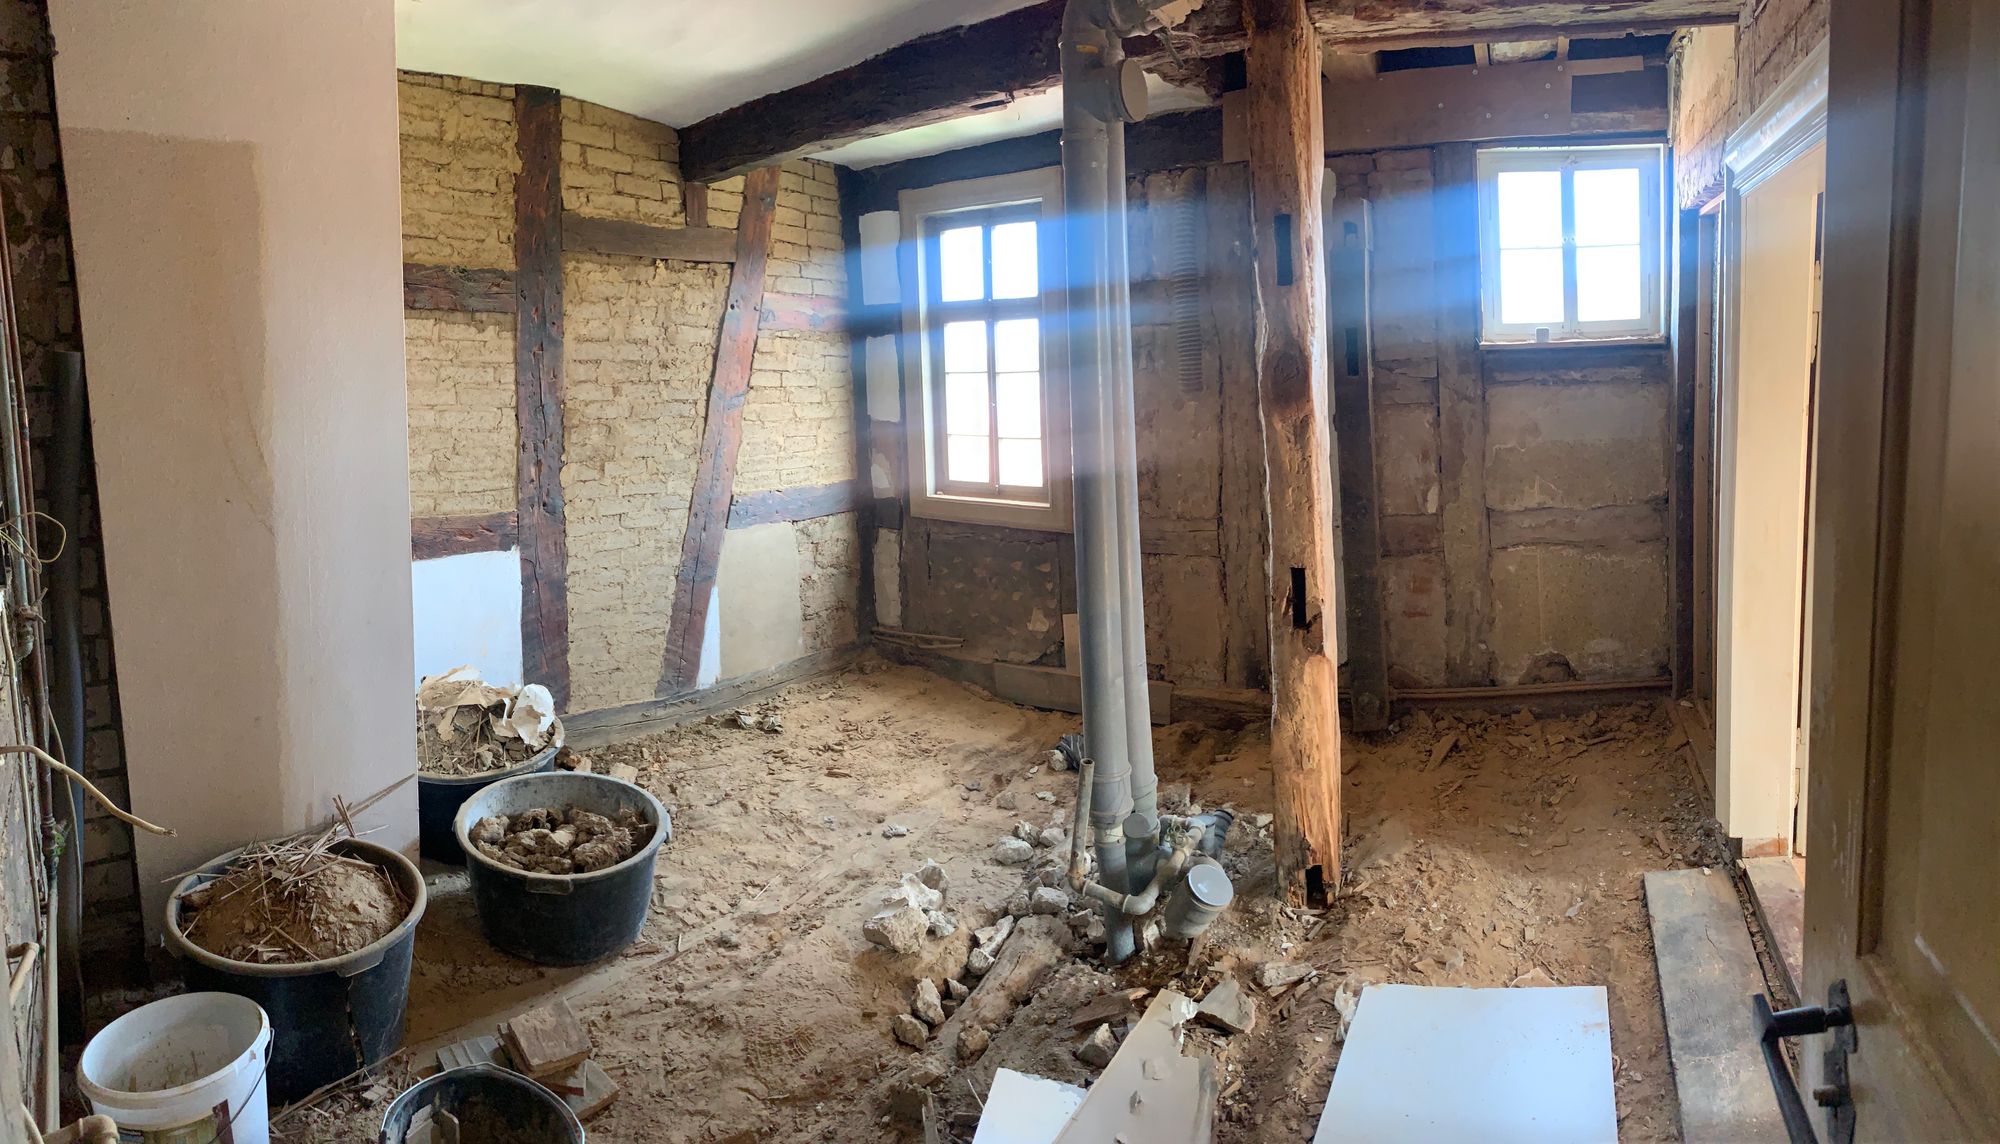
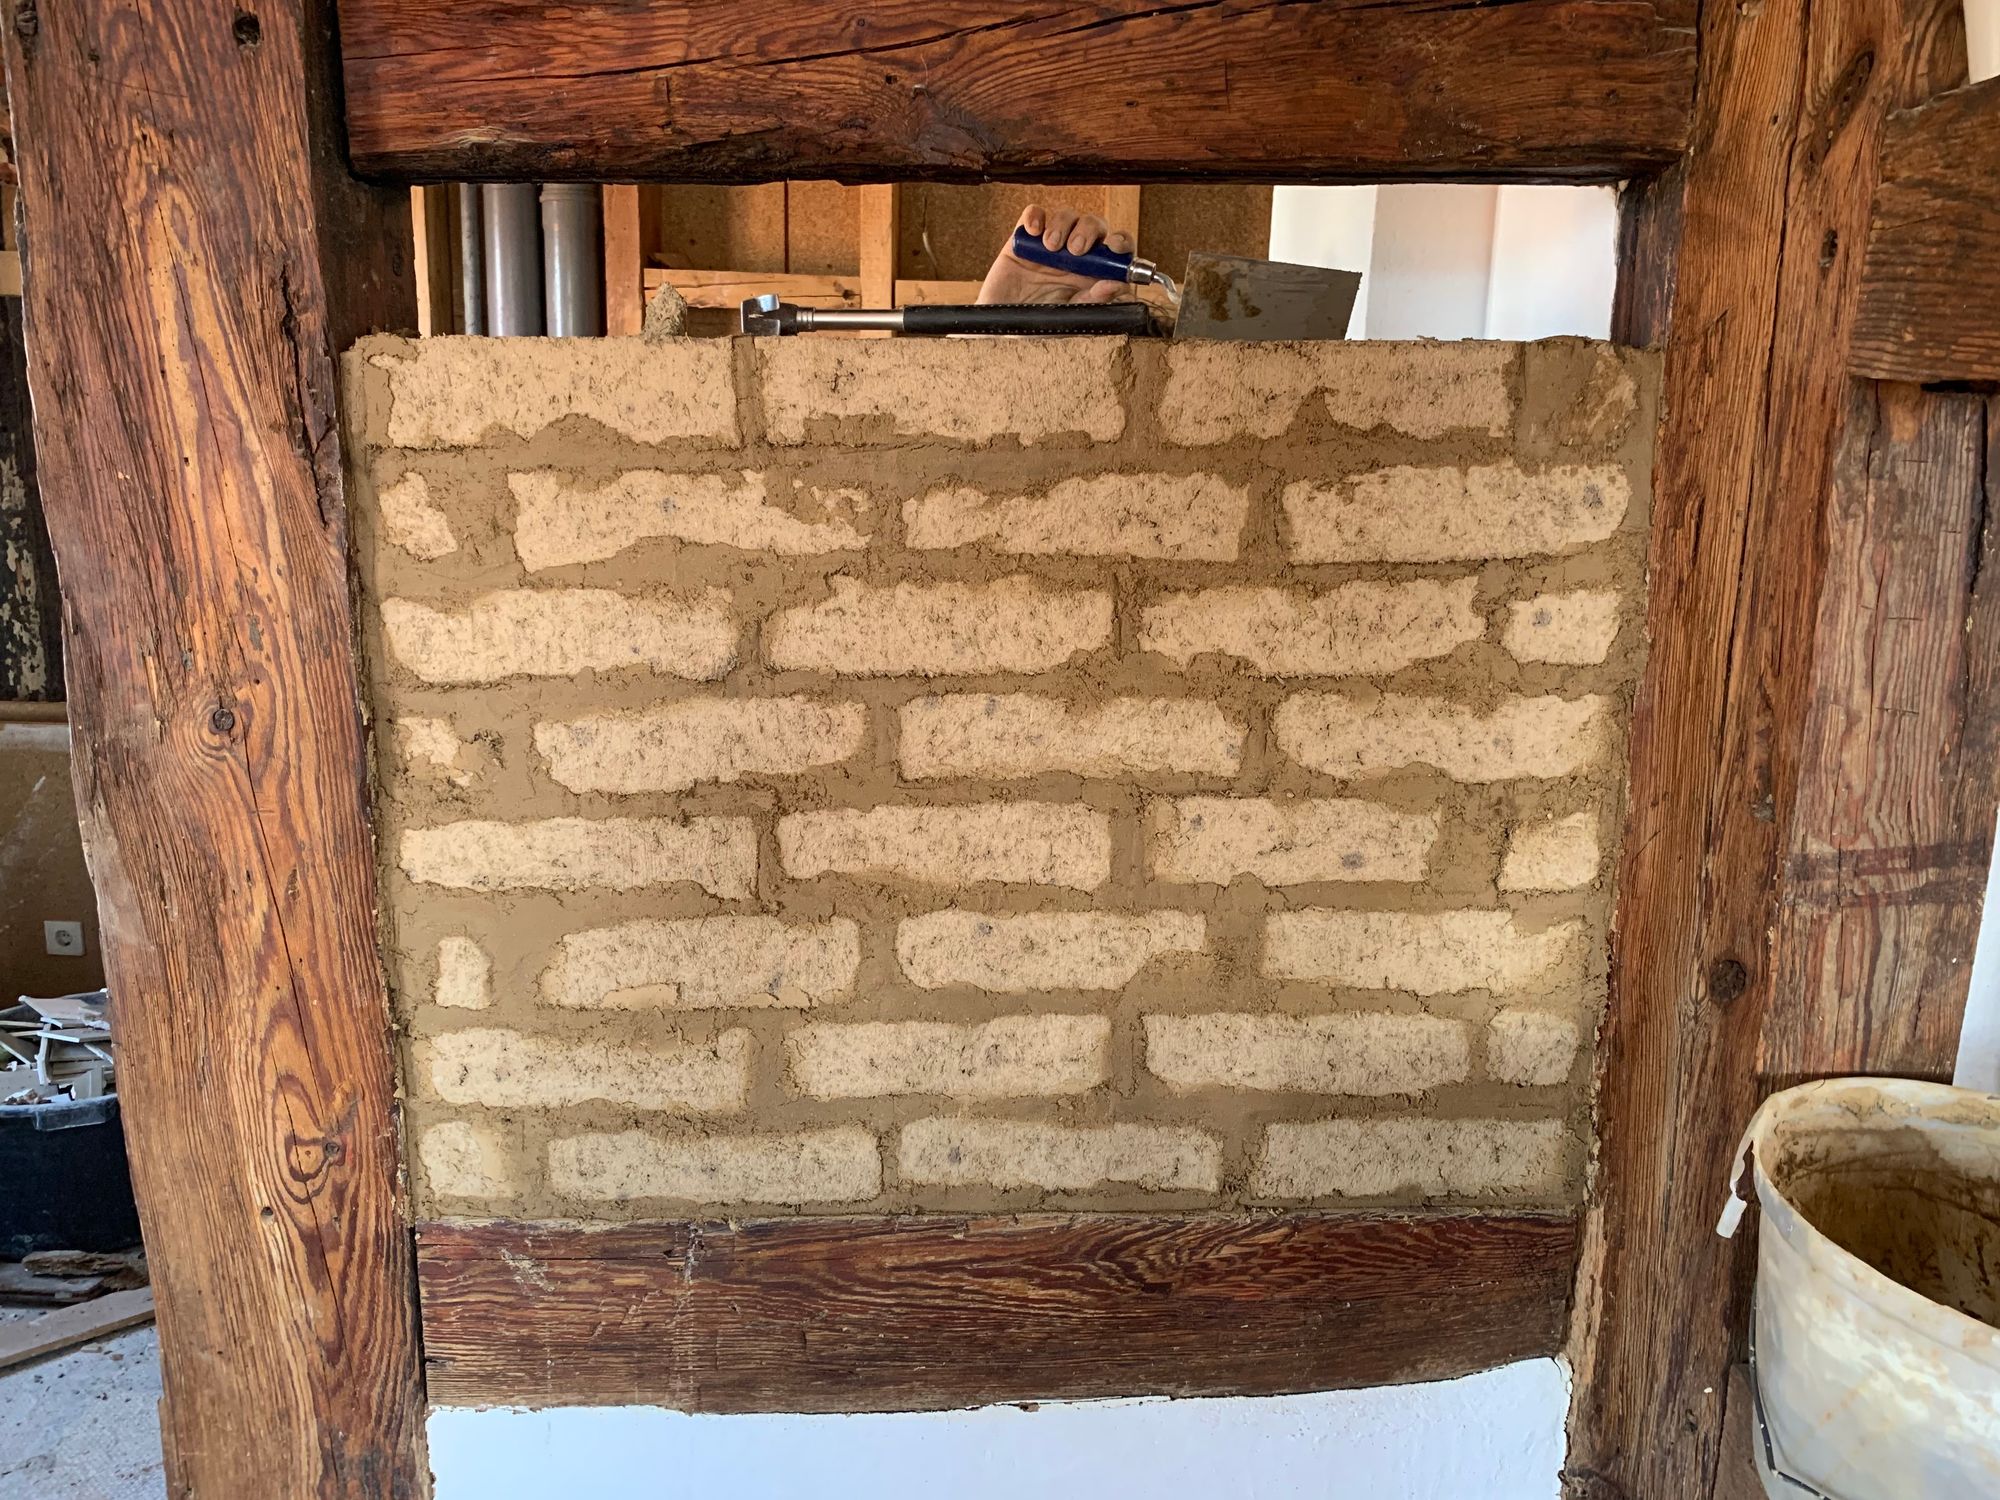
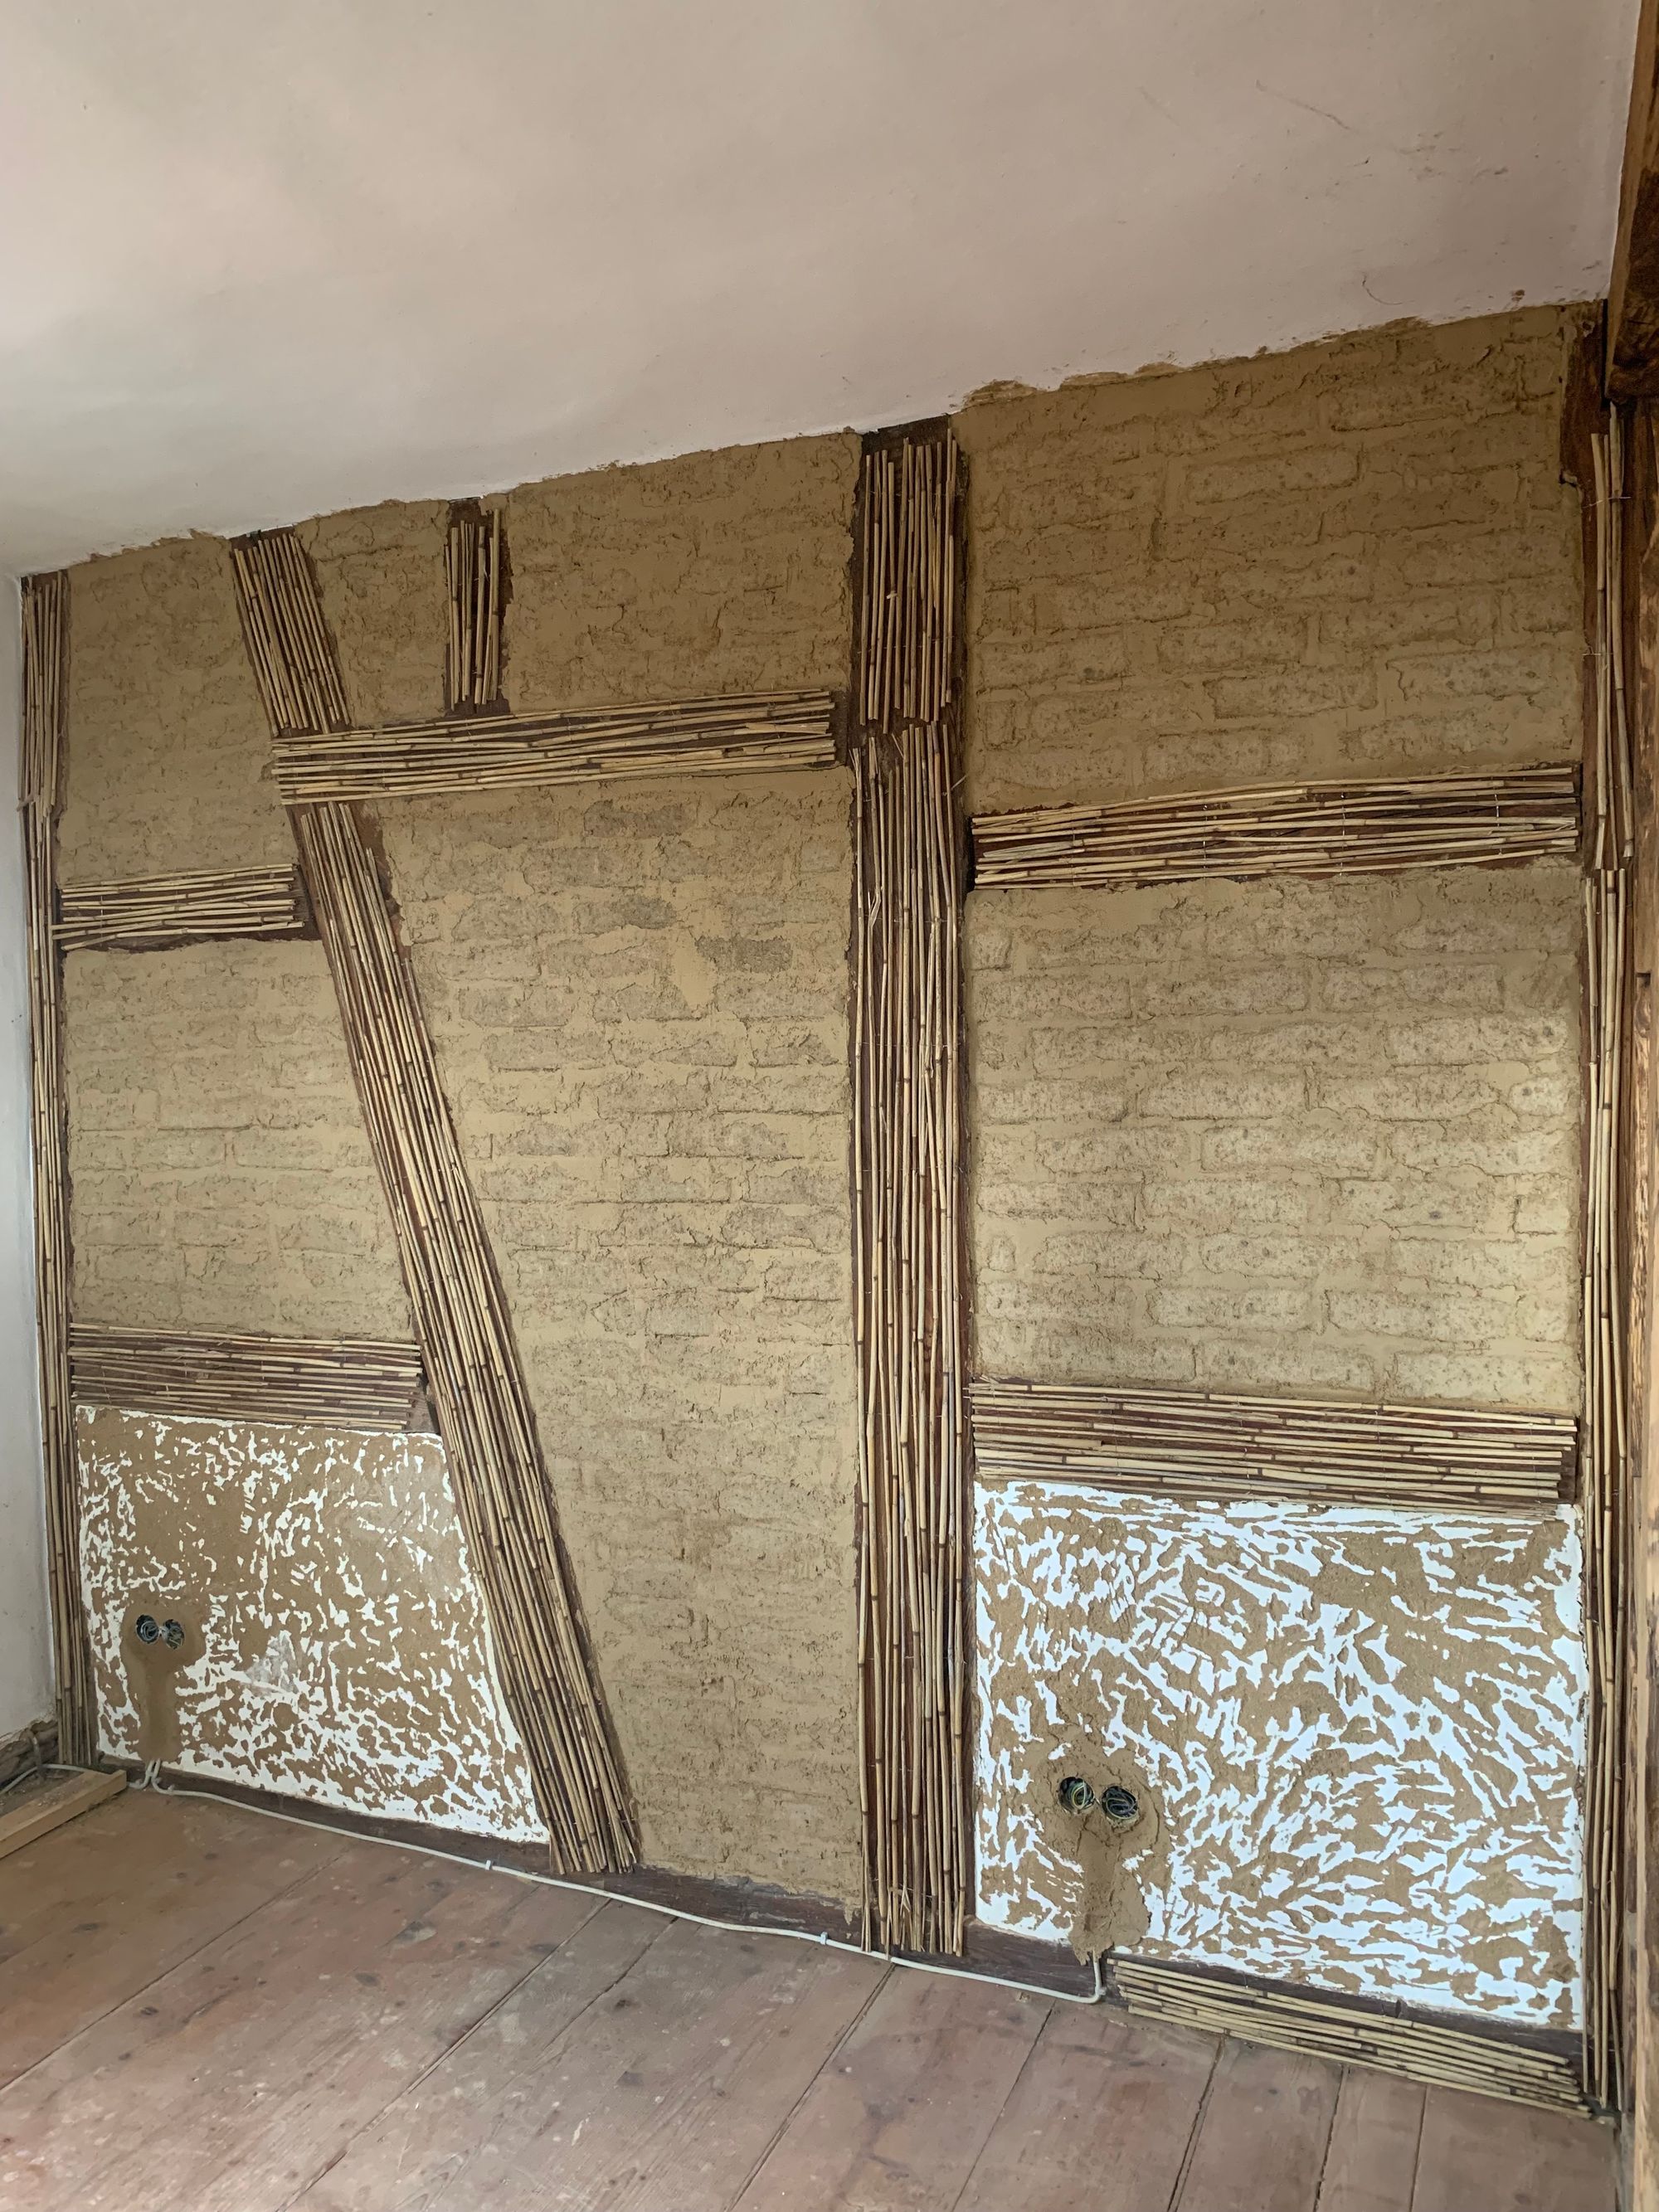
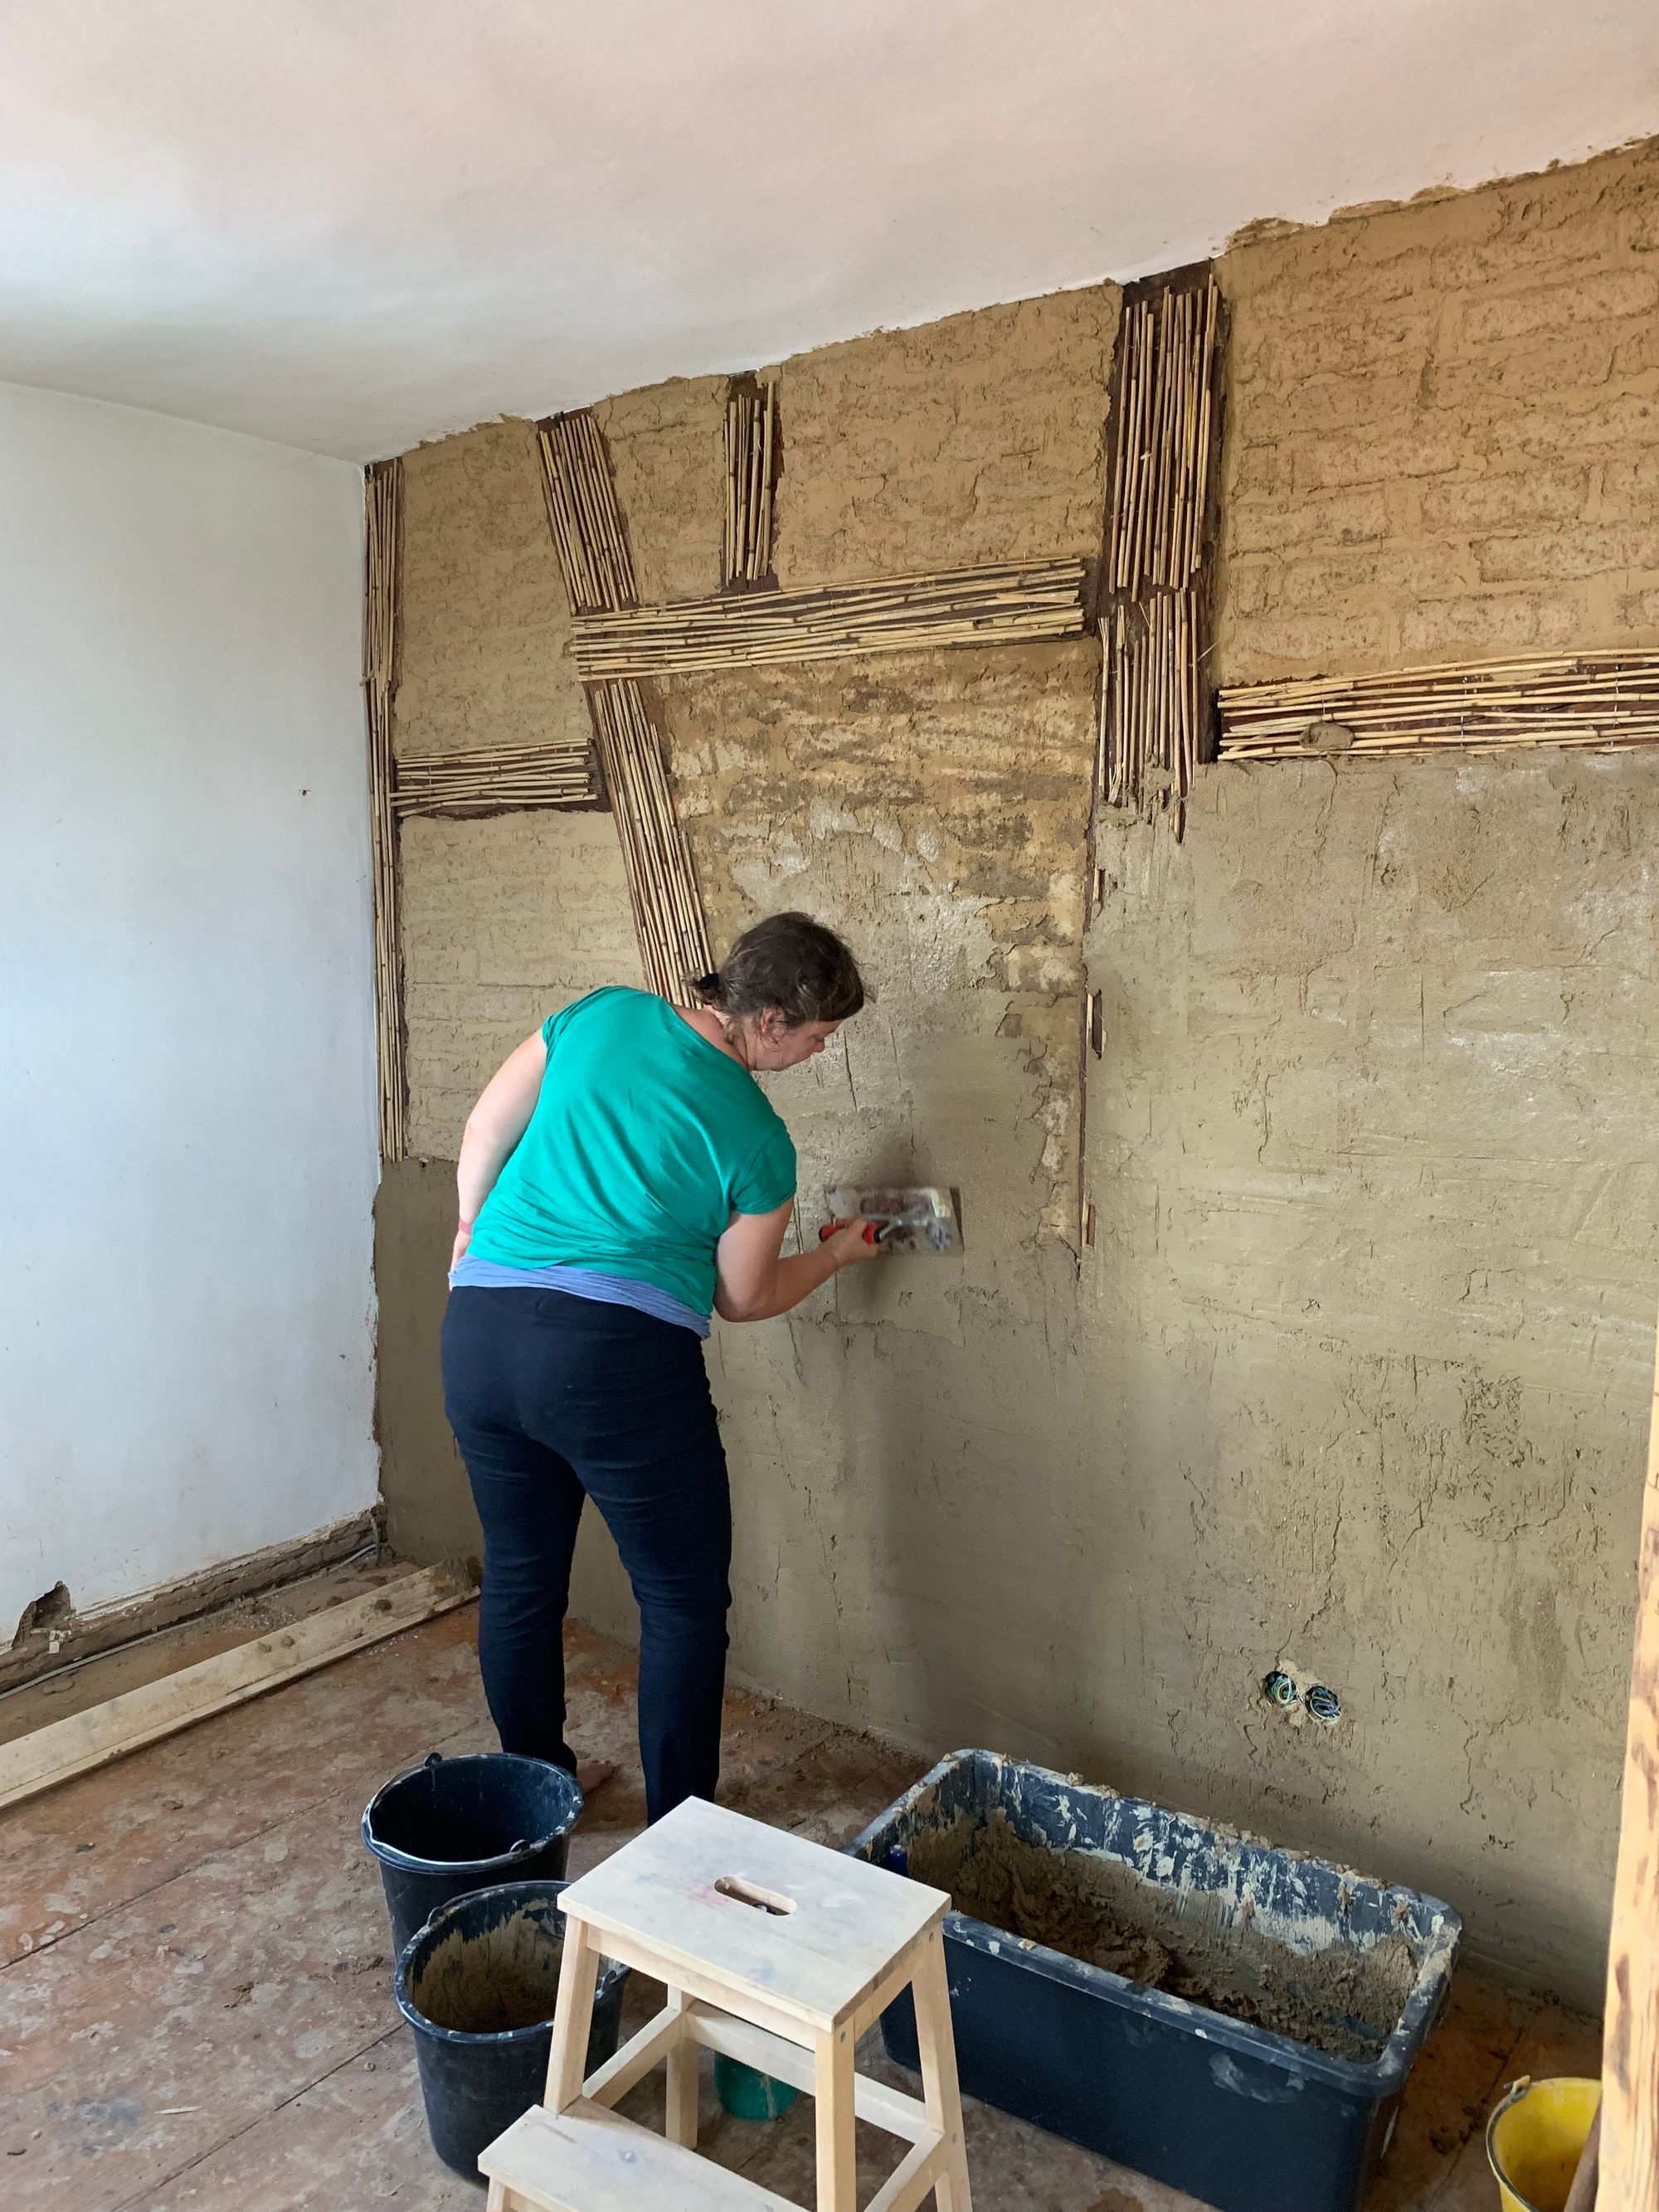
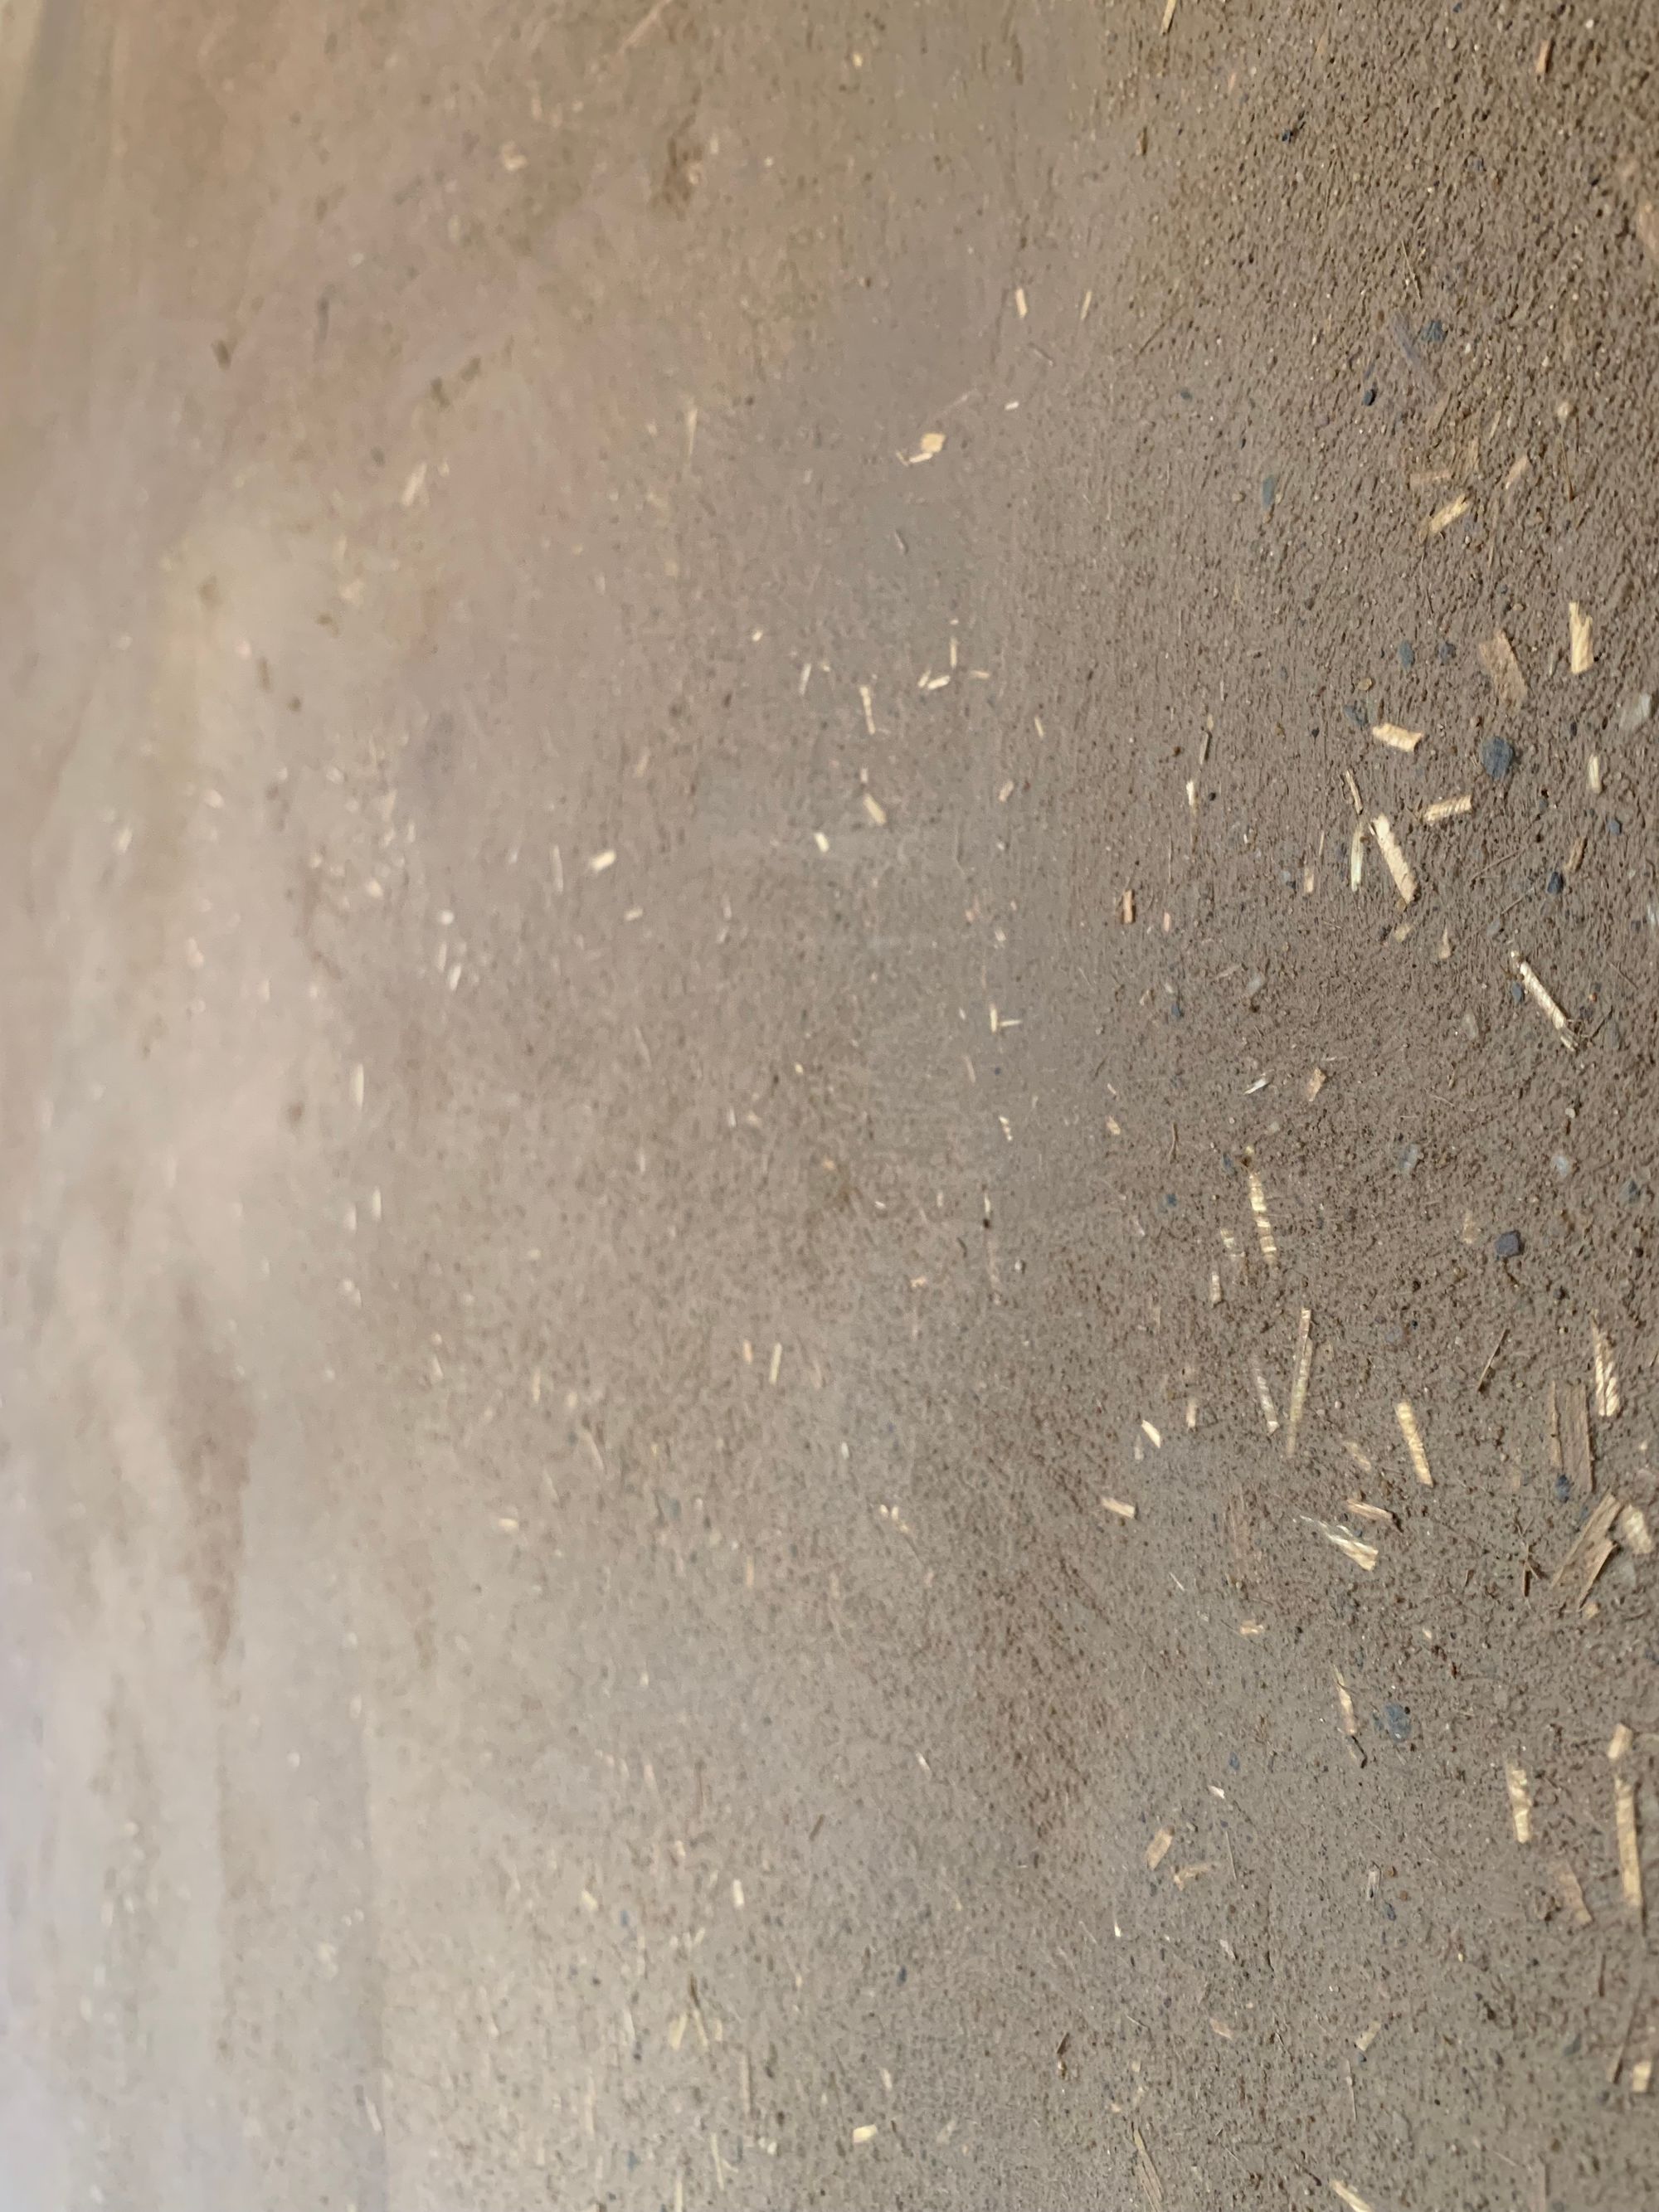
For now it was mostly about destroying walls – now let’s build one! As you may remember, the plan was to merge two rooms (bathroom and kitchen) and close one opening to the living room. Fortunately, the opening was just a half-timbered wall where they’ve removed the historic stake and clay/straw fillings between the wooden structure – therefore we only needed to put “something” in there again. We chose to use bricks made out of clay and straw as they are based on materials that existed in the time the house was build (and are super environmental friendly), but easier to work with compared to the historic process. Once the opening was closed, we’ve attached reed to the wooden beams so the clay plaster actually sticks and put the first layer onto the wall. We’ve used clay plaster mixed with straw and will put another layer with a smaller grain size on top of it in the next step.
- the opening (view from the future bathroom into the living room)
- The first opening almost closed (my wife did that)
- All openings closed + reed attached to the beams
- My wife putting on the first layer of clay plaster
- Surface of the first layer of clay plaster
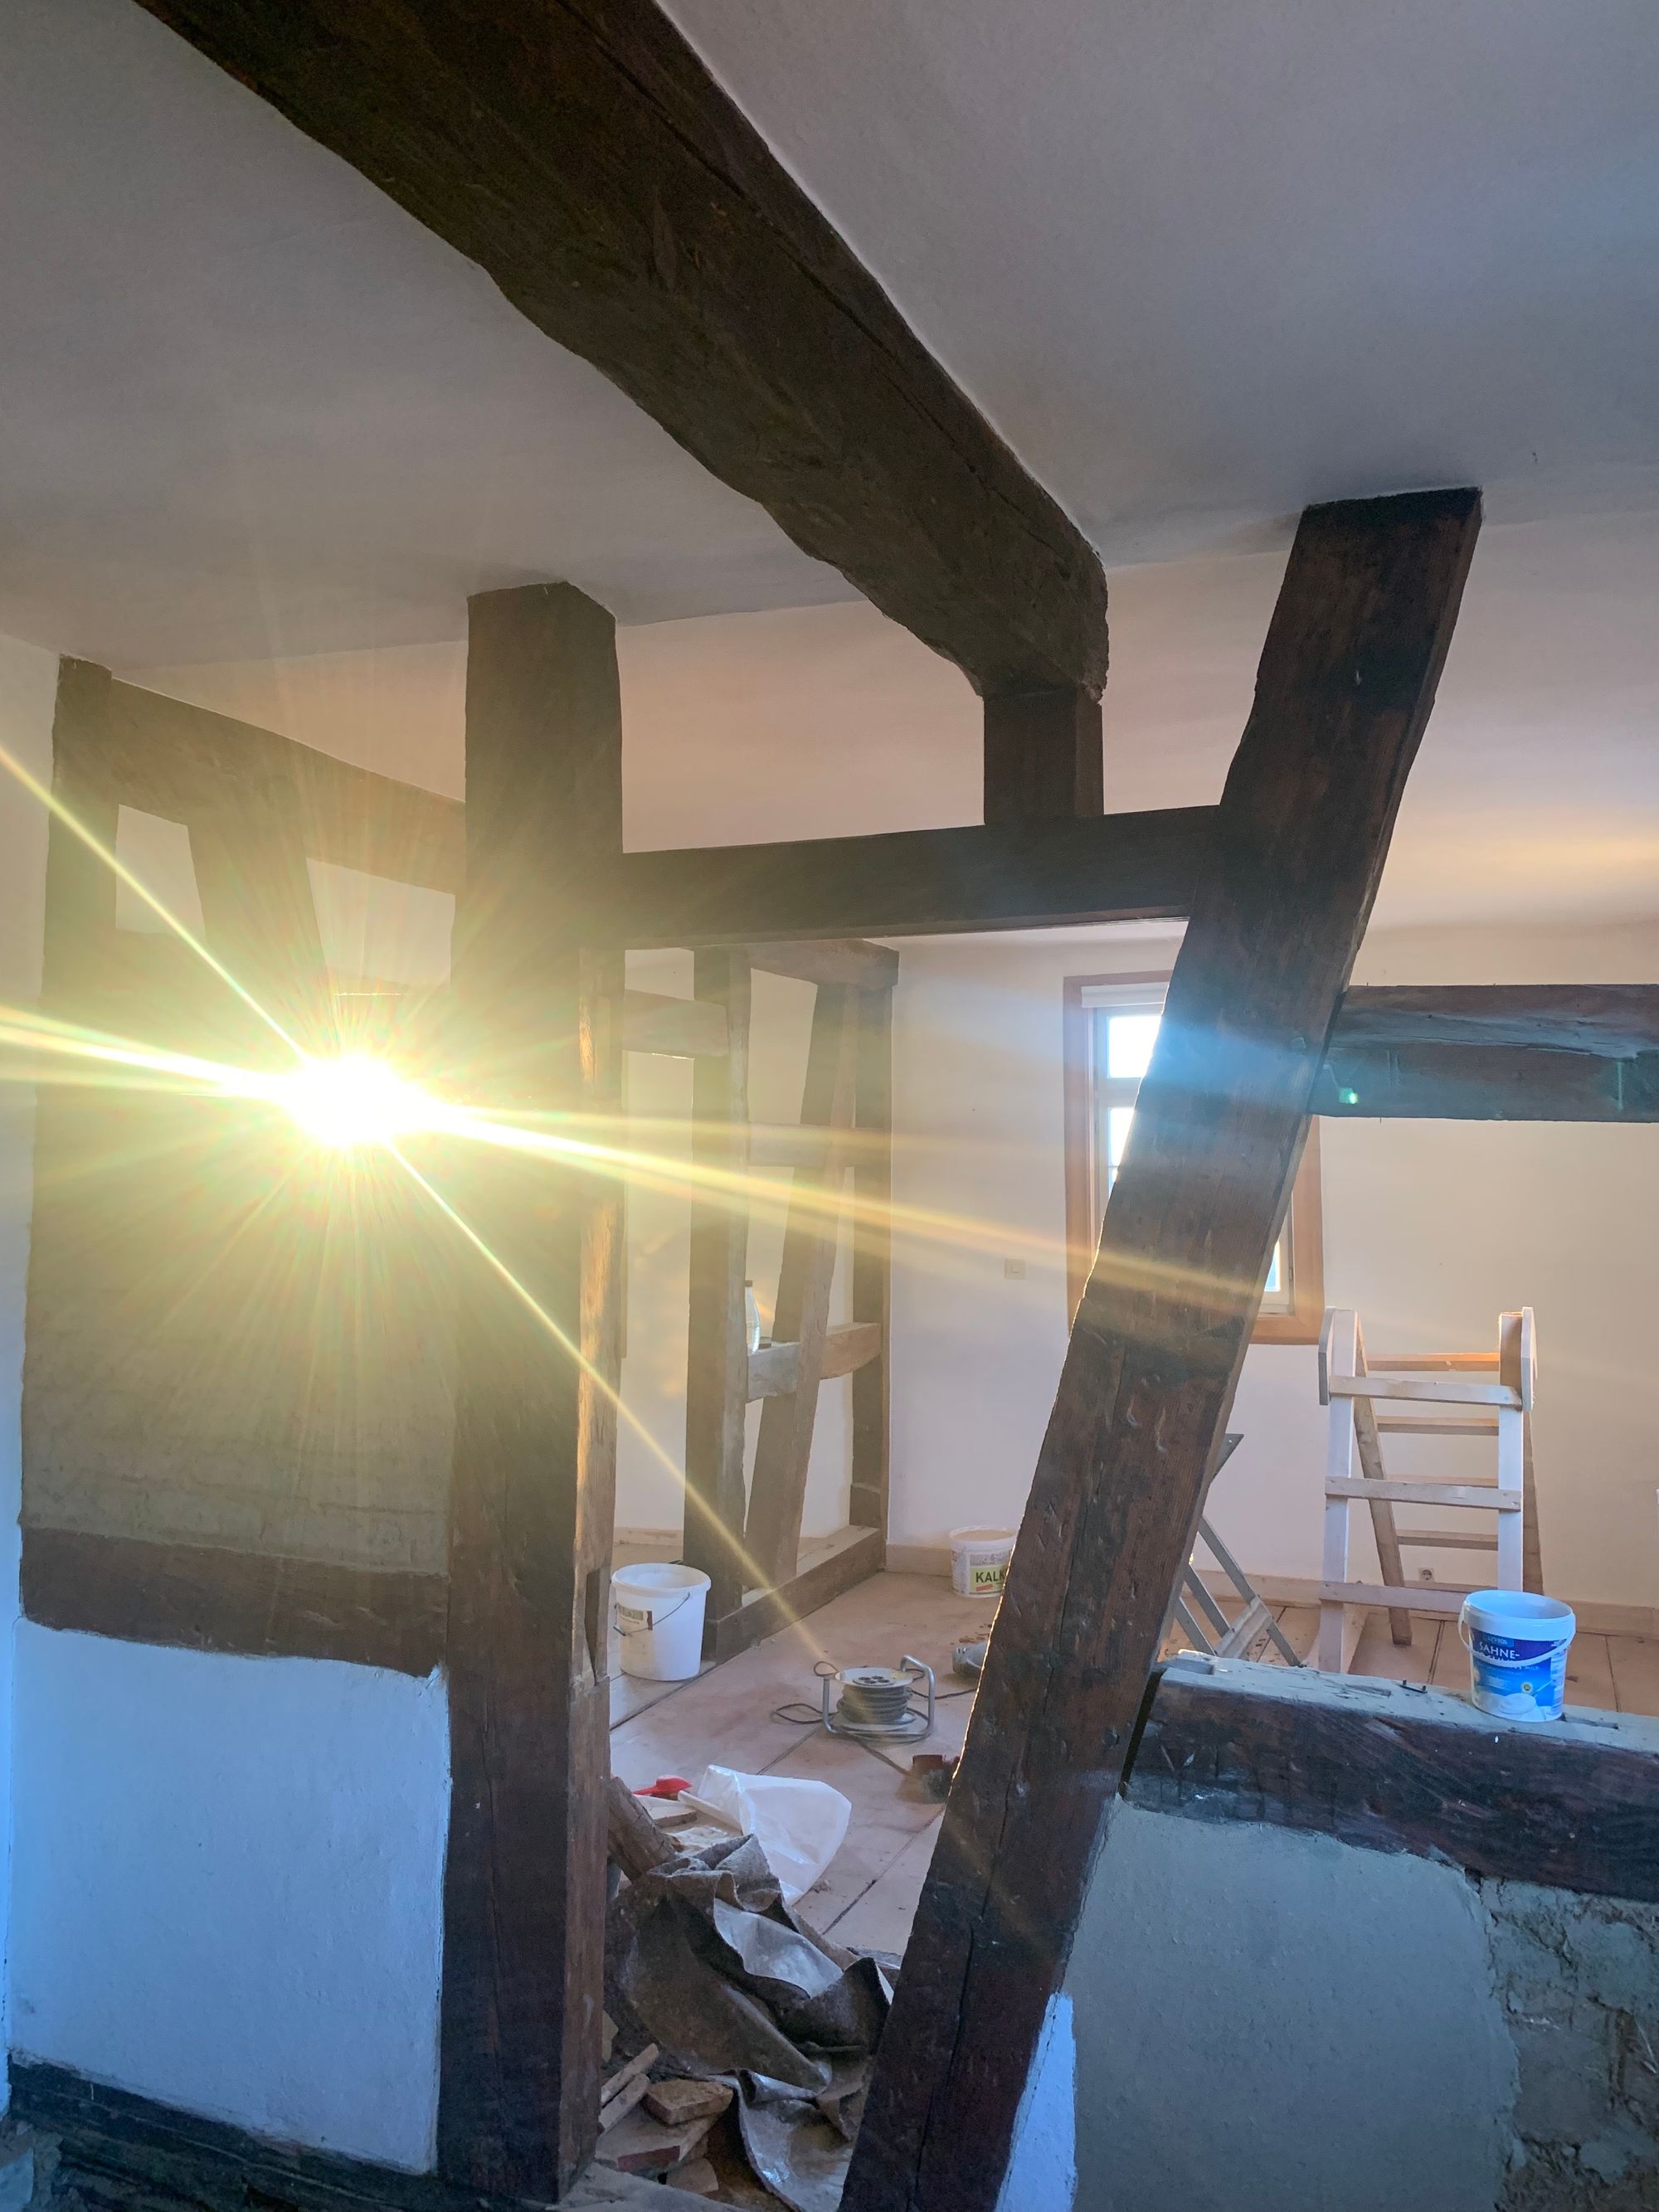
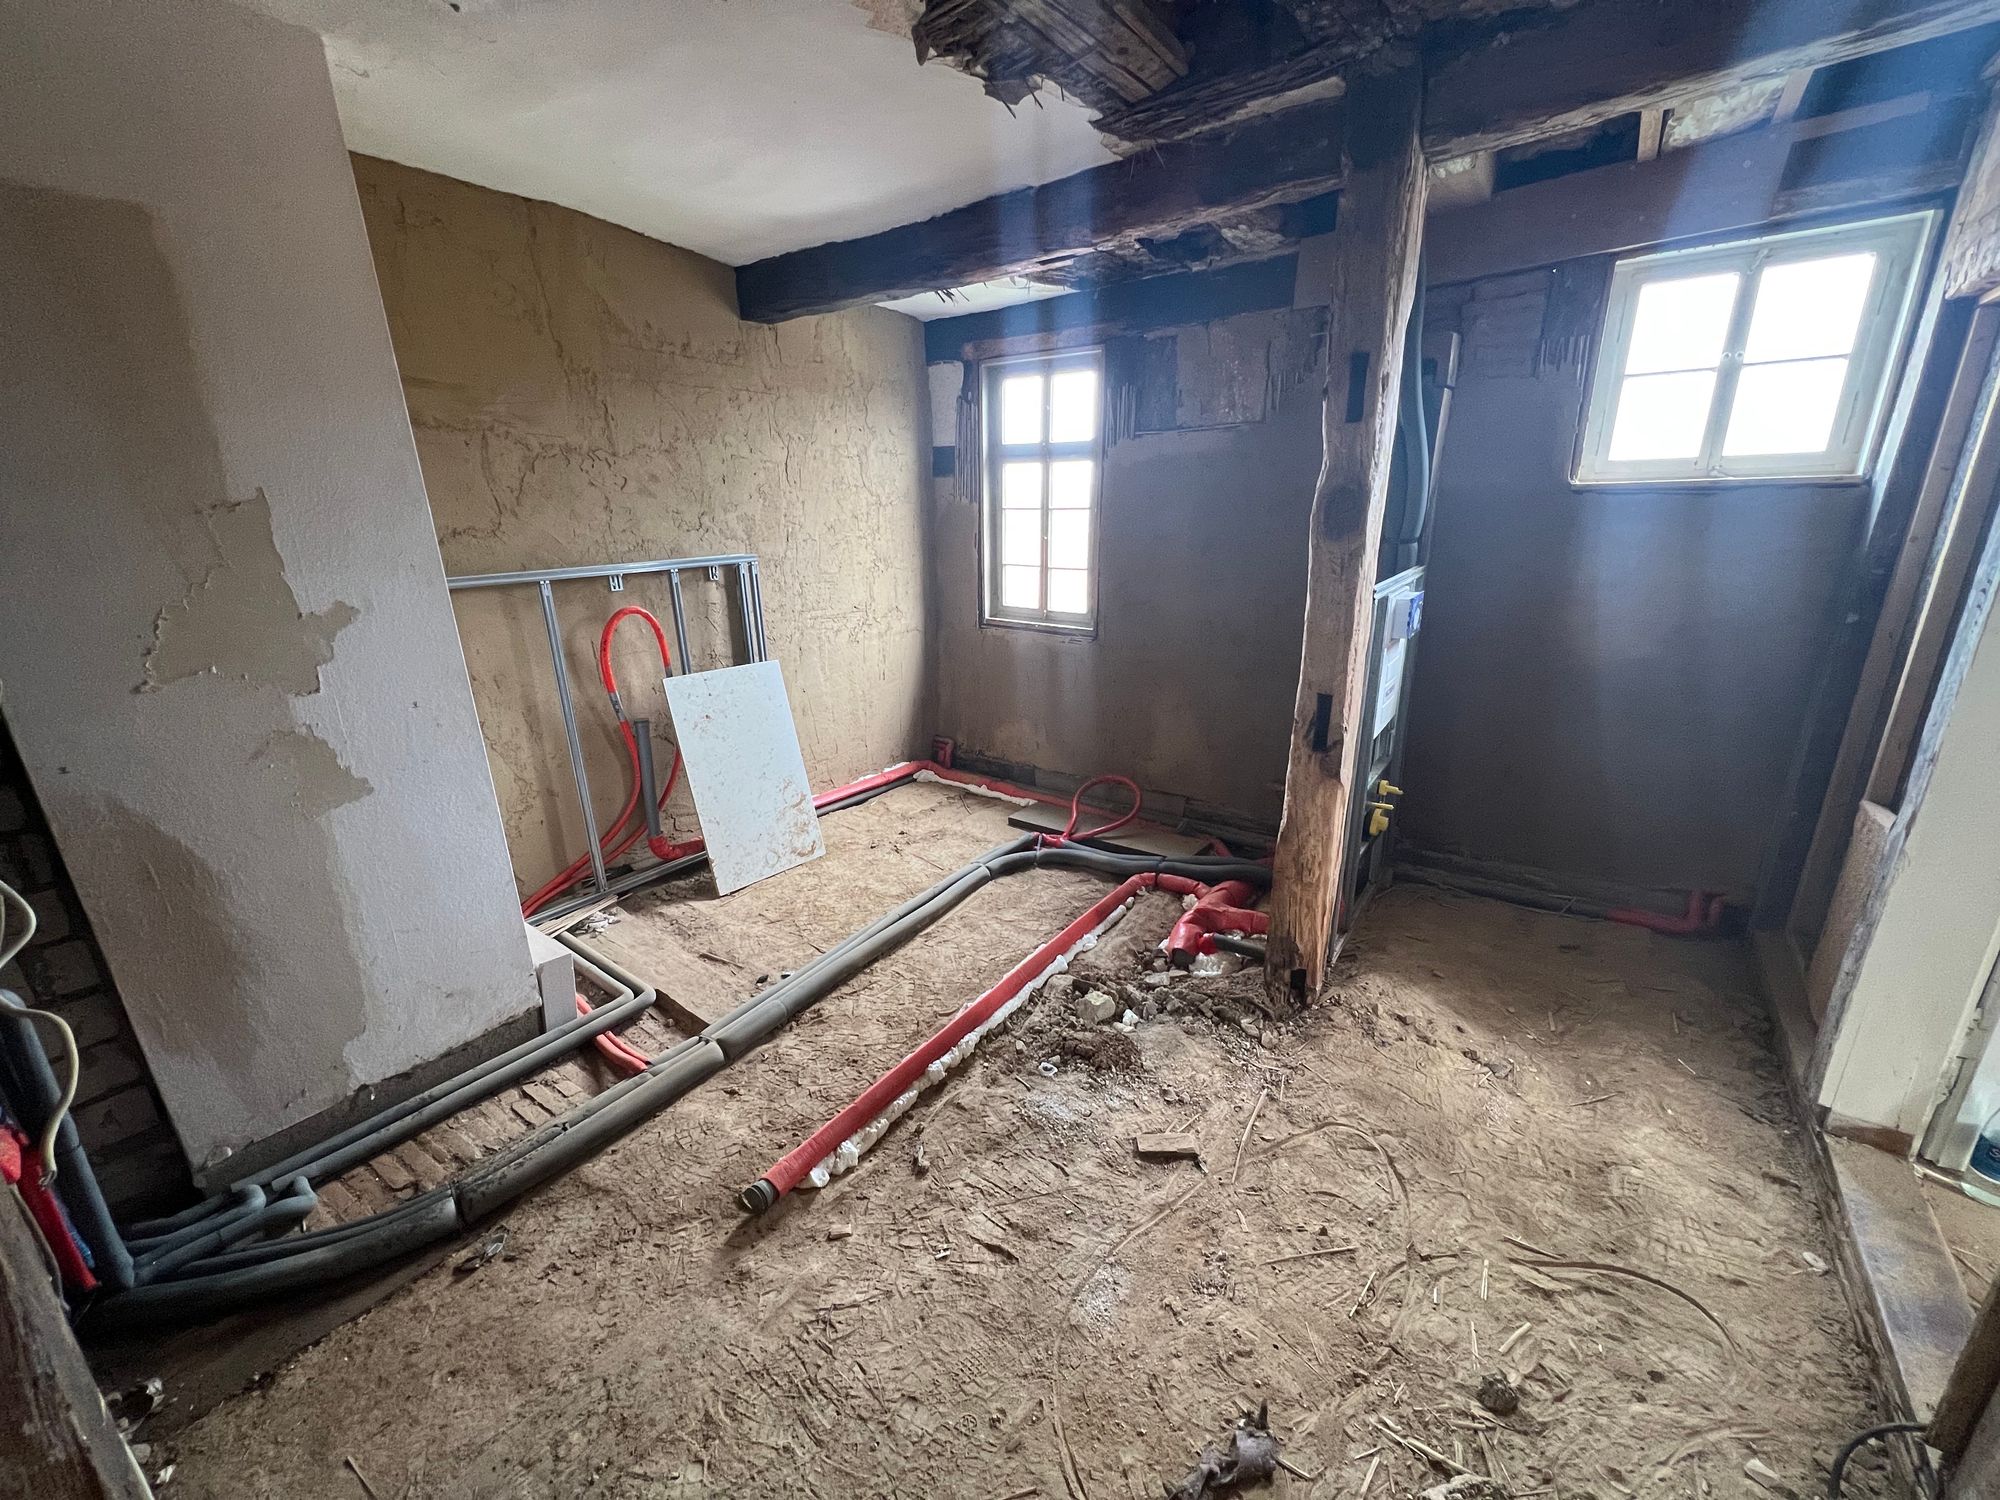
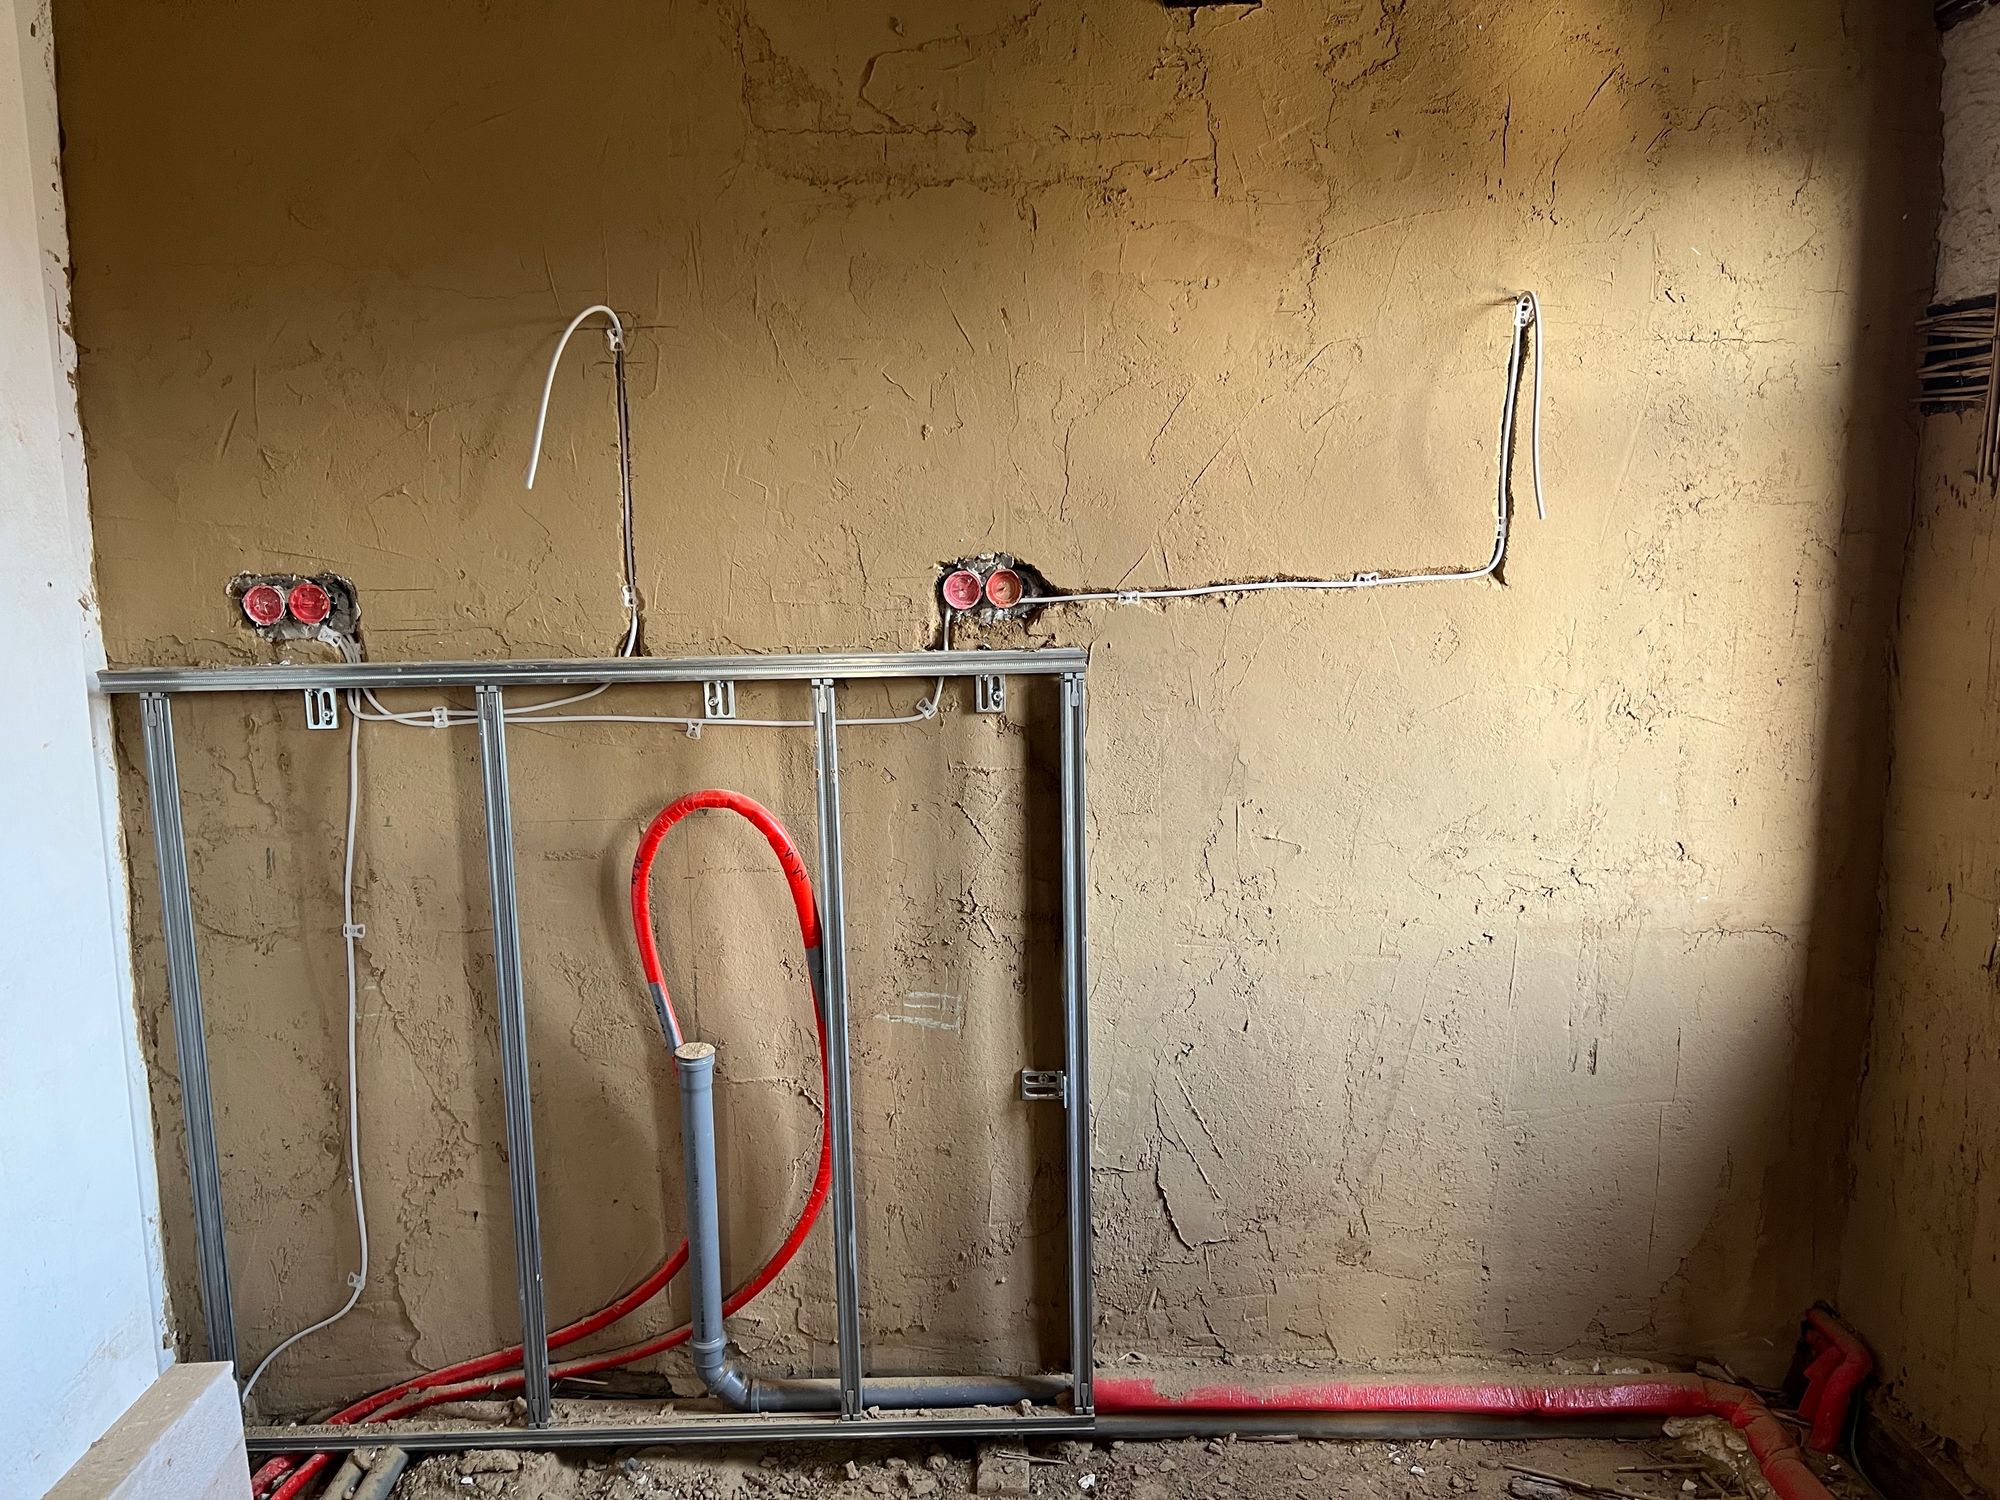
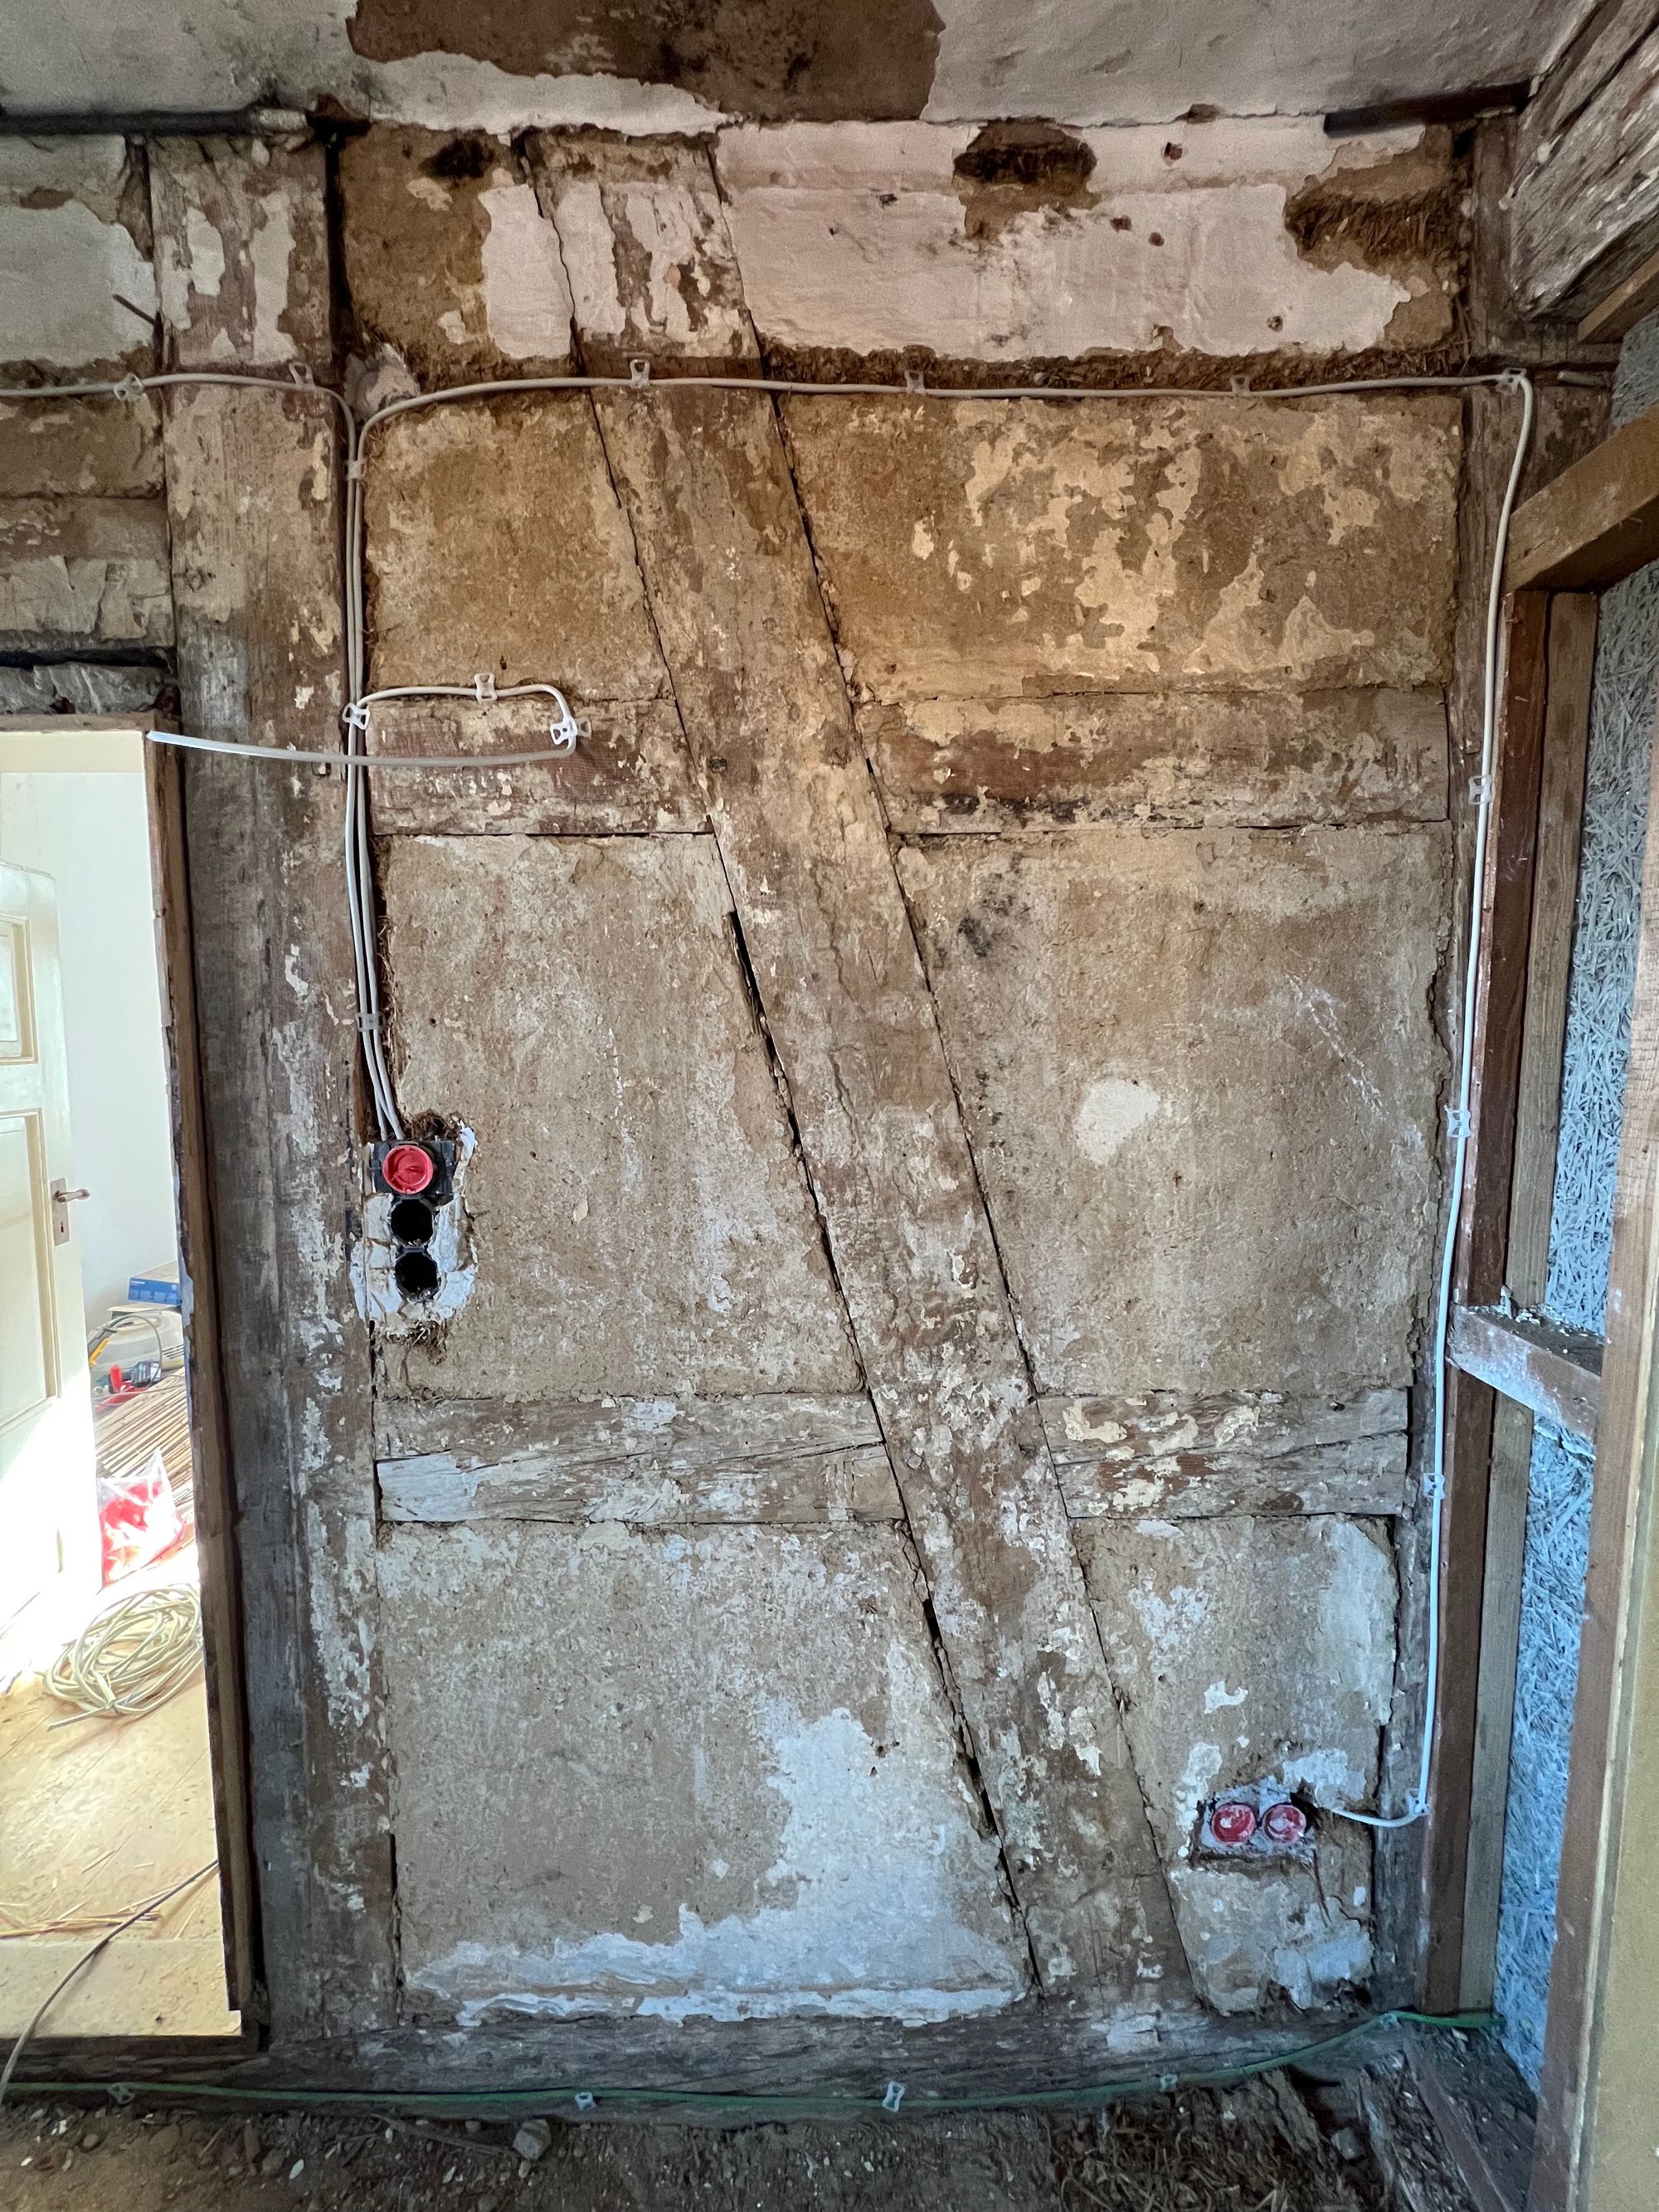
3. (Briefly) Hand it Over to the Experts
Next step in our little project was to redo the bathroom and electric installation. That’s one of those things we did not do ourselves (As I almost got electrocuted as a child For some unknown reason I really don’t like electricity and we really wanted to avoid having issues with water leaks again). You can also see that we finished some of the base layer clay plaster and how an original wall used to look like (one wall is covered in soot as it was an open fire kitchen back in the 18th century).