Bathroom: Episode III
1. Safe Step
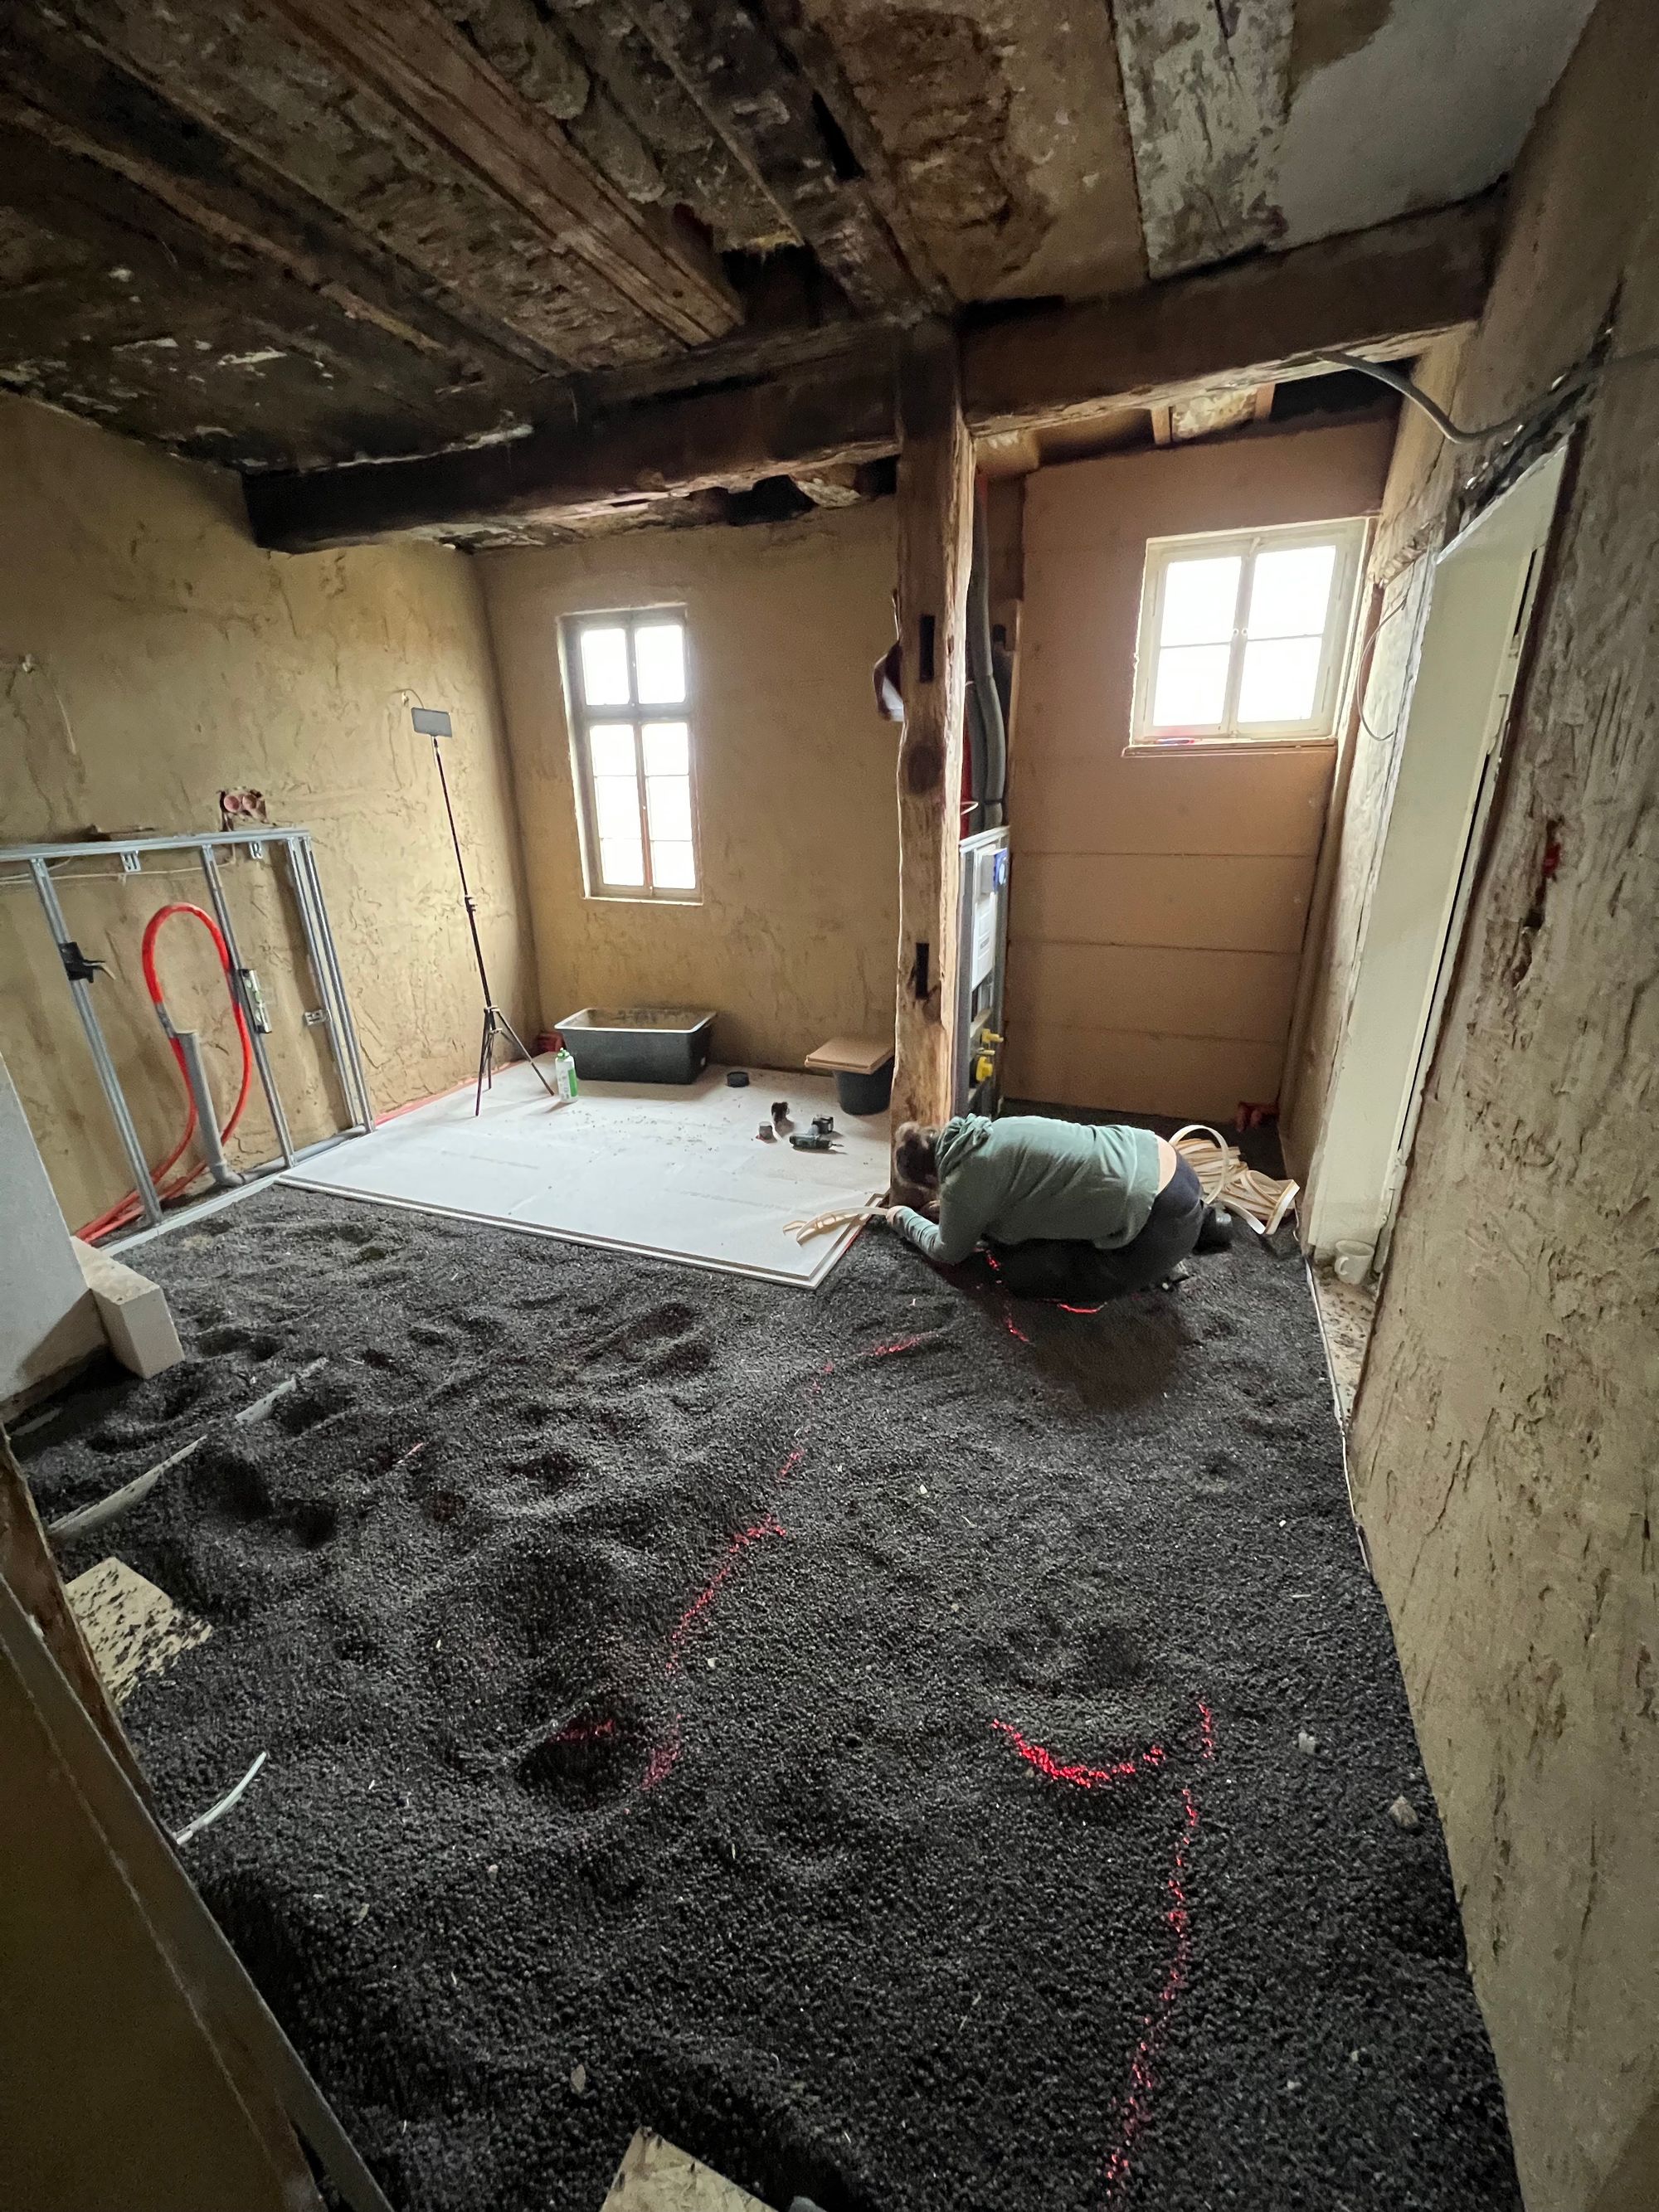
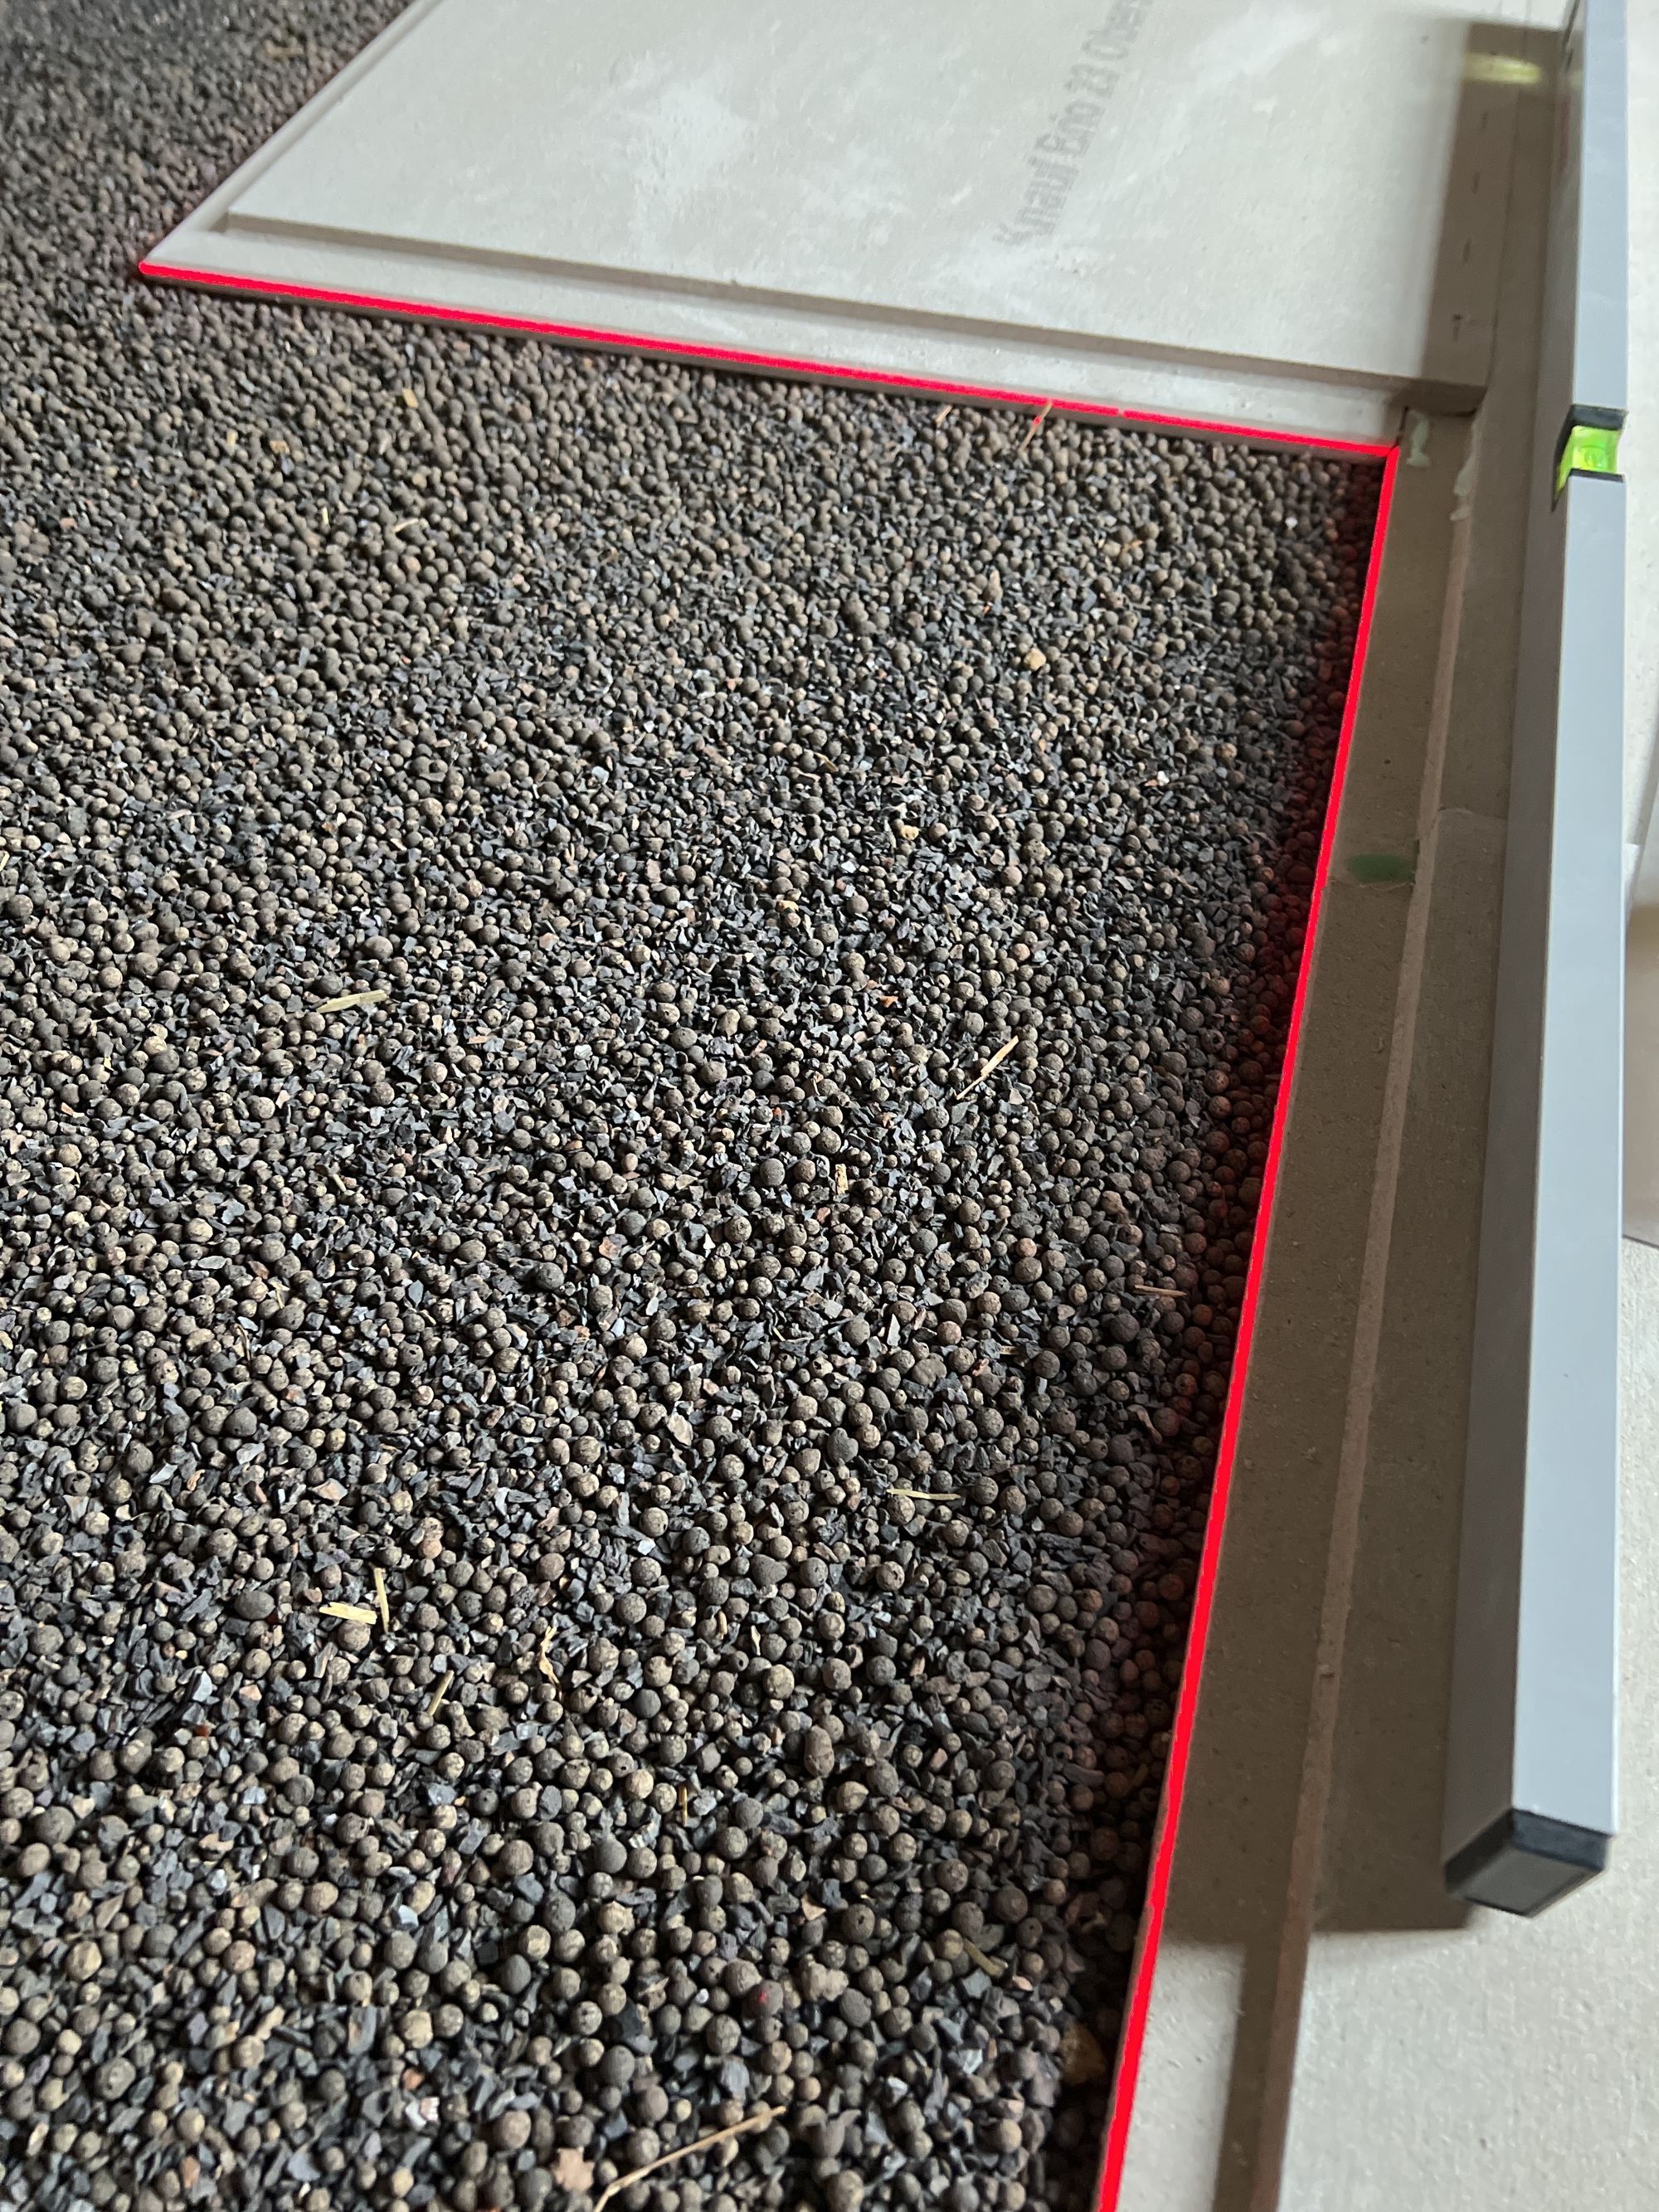
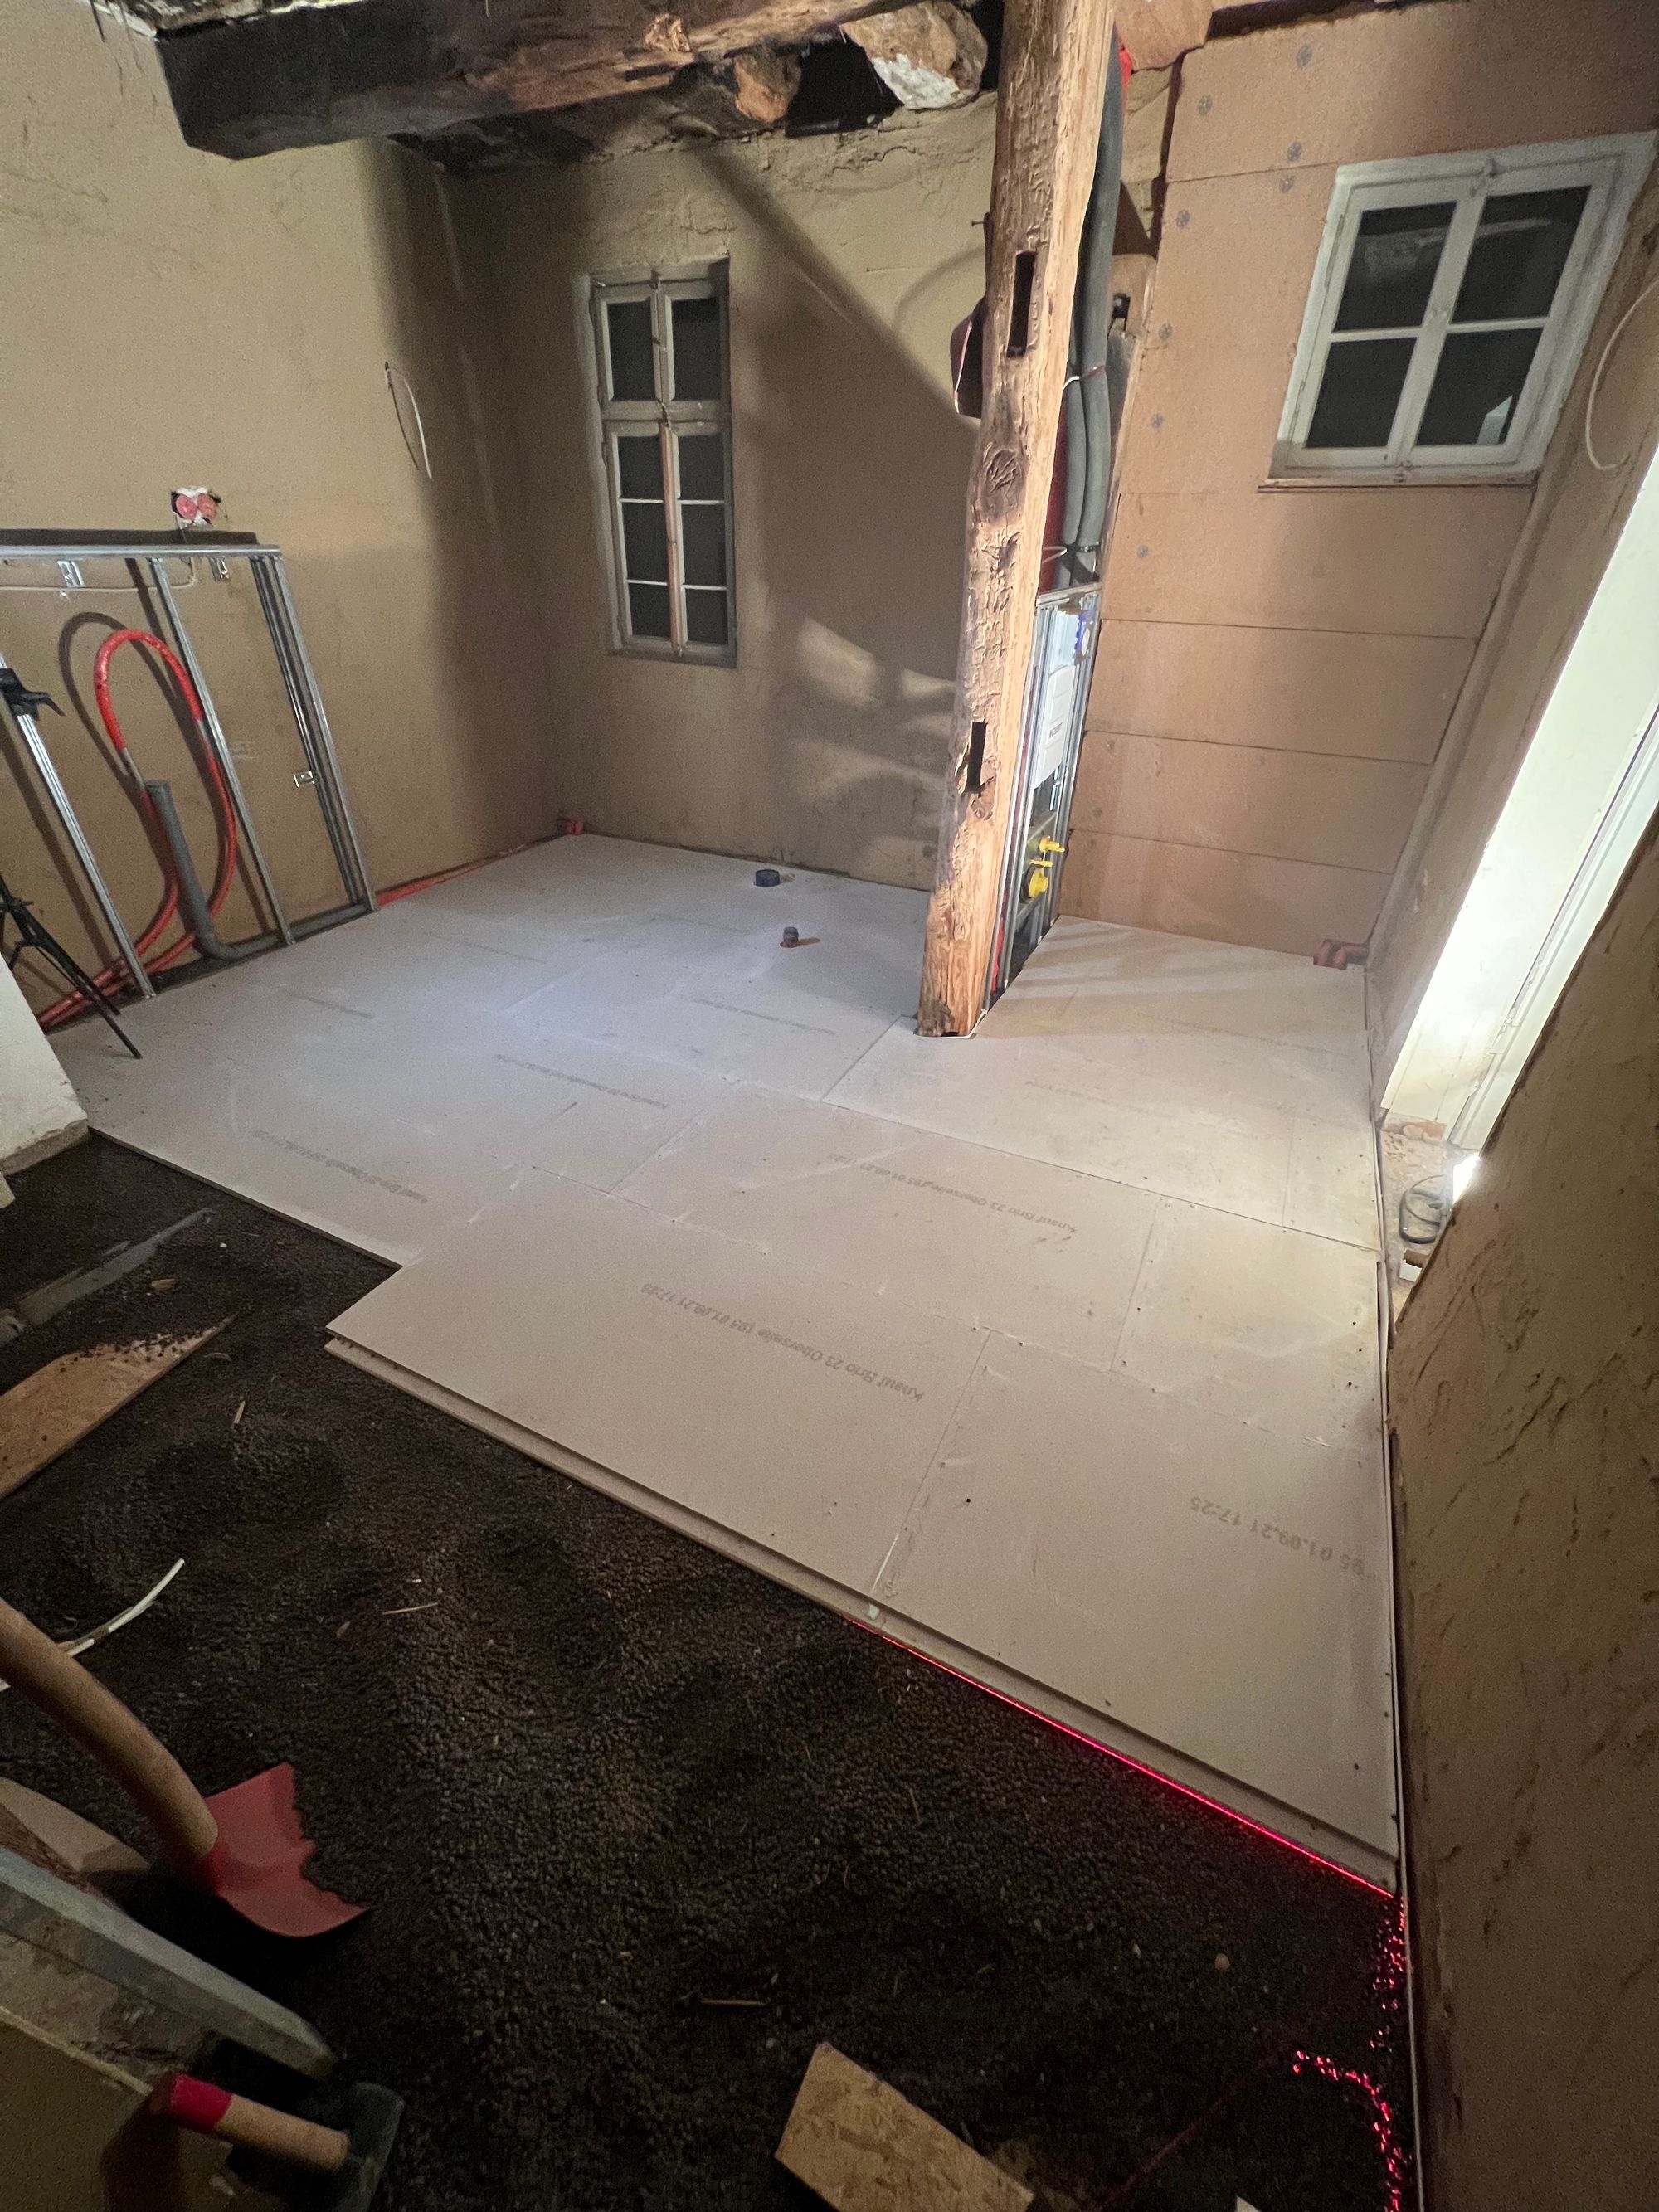
As soon as all the pipes and wires were done we started with re-building the floor. It was crucial to finally get this done as the wooden beam ceiling already suffered a lot by people trampling on it whilst building the installation. As we had a massive height difference of 11cm from one side of the room to the other we choose to first use a layer of loose bulk to level it, before we fit the dry screed. We’ve mostly used small pieces of slate, as they transport moisture very well and have a lot of sharp edges and thus provide a solid base for the dry screed boards. We were not 100% happy with the fact that we had to use dry screed as it’s made from gypsum (produced as a by-product of coal power plants using flue-gas desulfurization) and not ecological at all, but it was the best option given the circumstances. It took us two days to lay the floor as we constantly had to check that everything is level (lasers, yay! ❤️) and we were so exhausted that we forgot to take a picture of the final state 😴 In the last picture you can already see what we started to do next: insulating the outside wall.
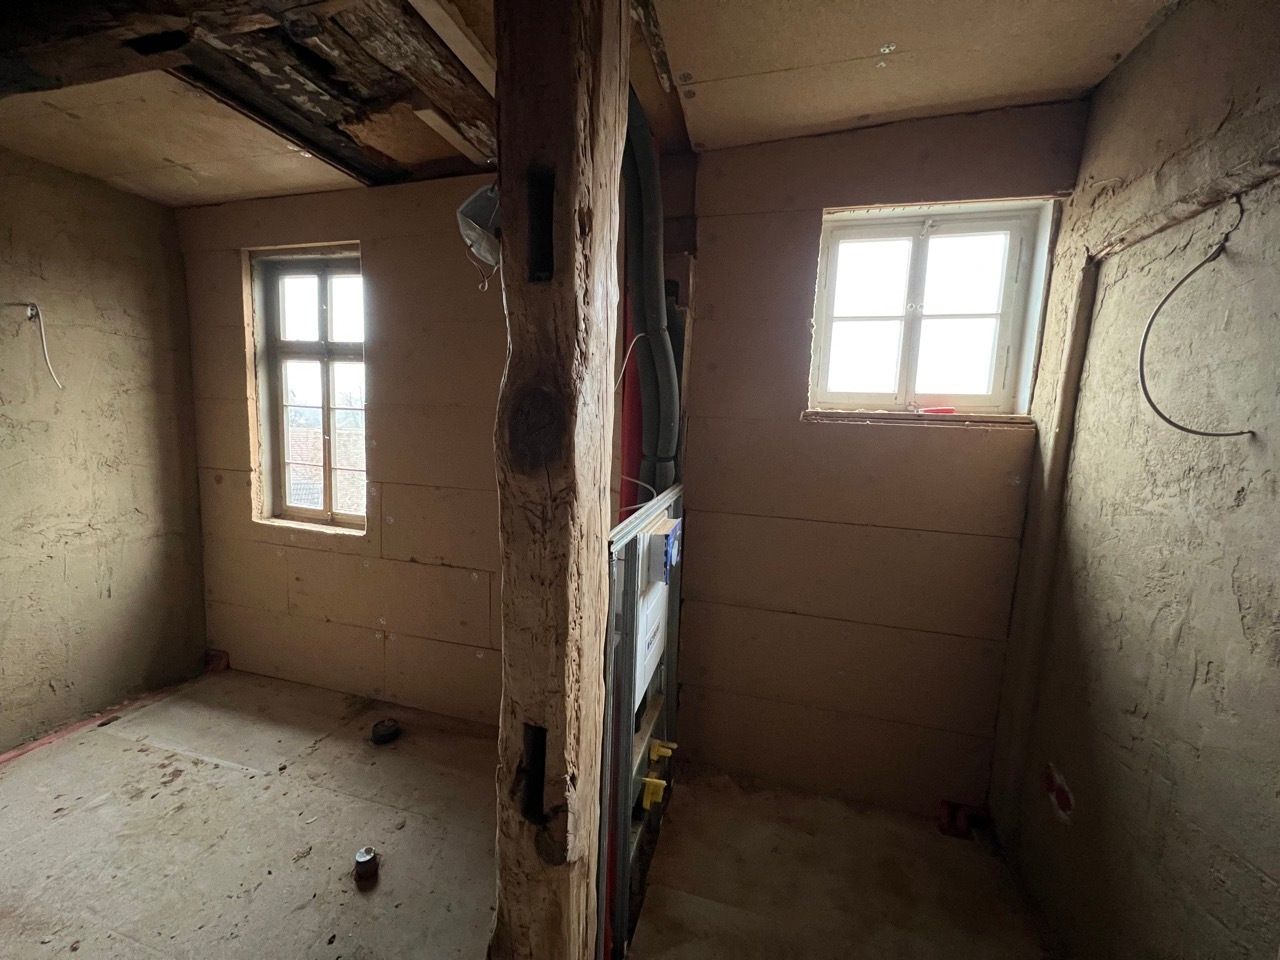
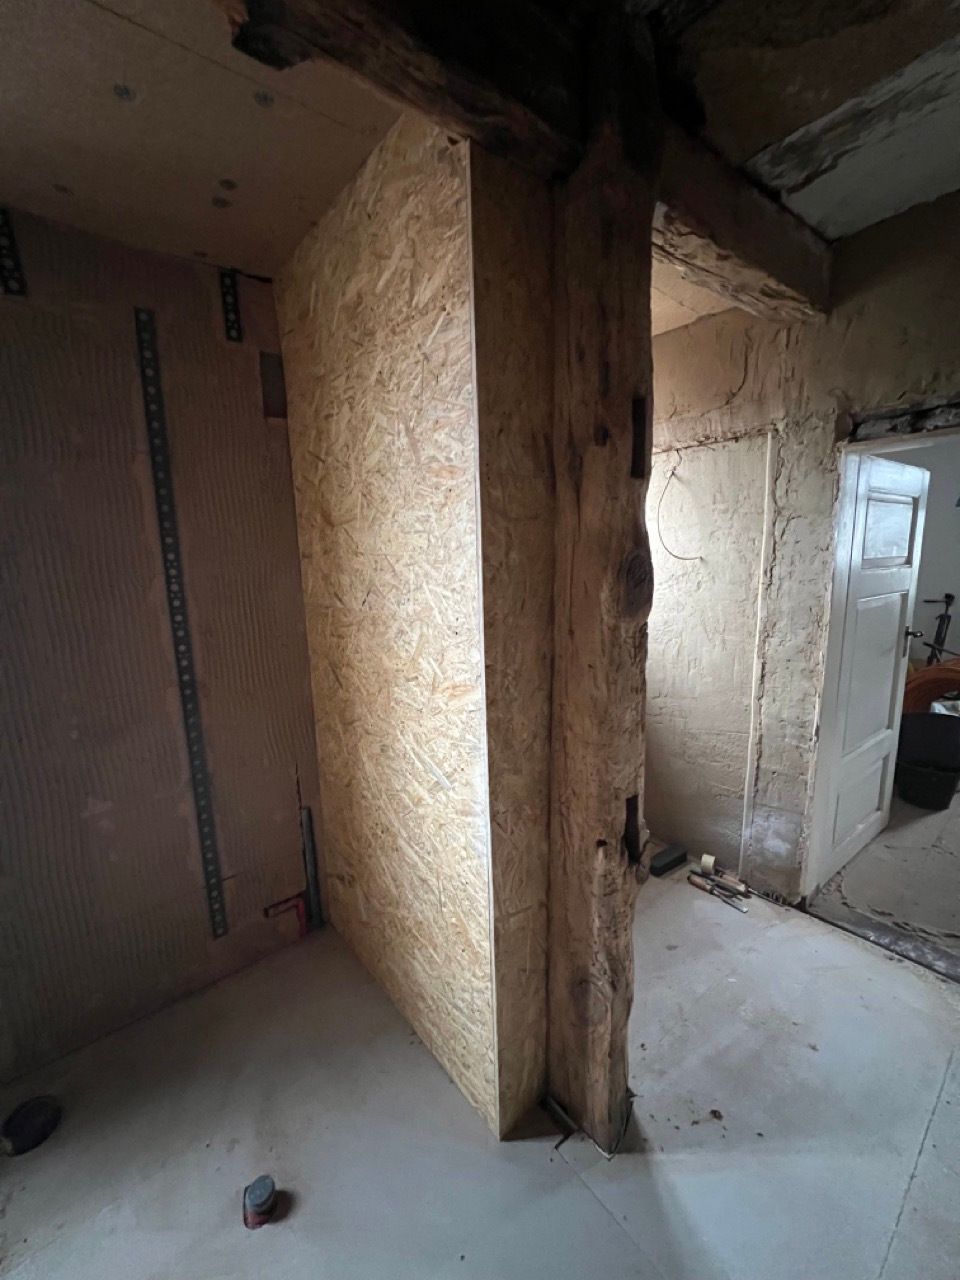
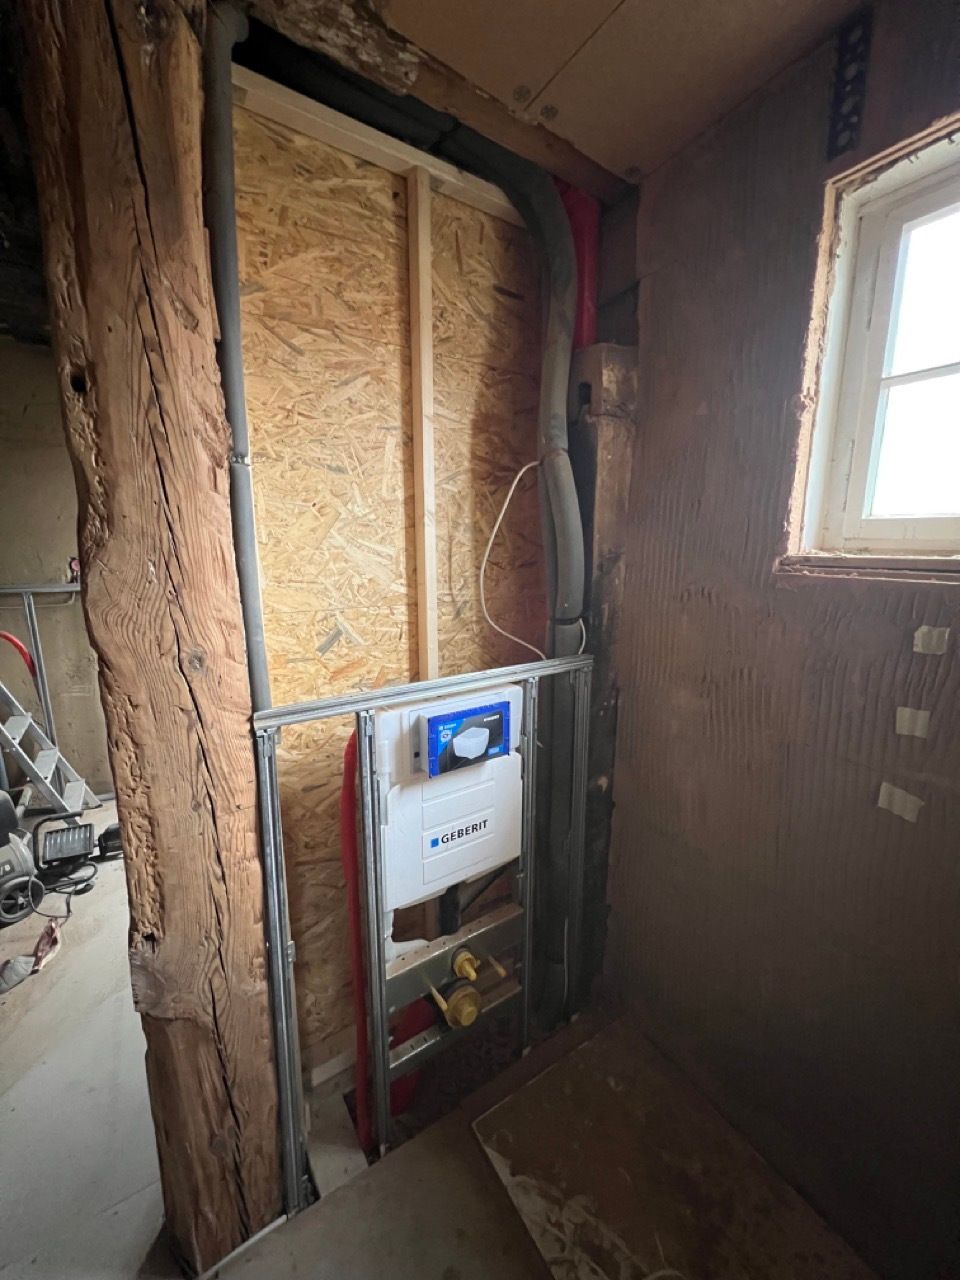
2. Cozy
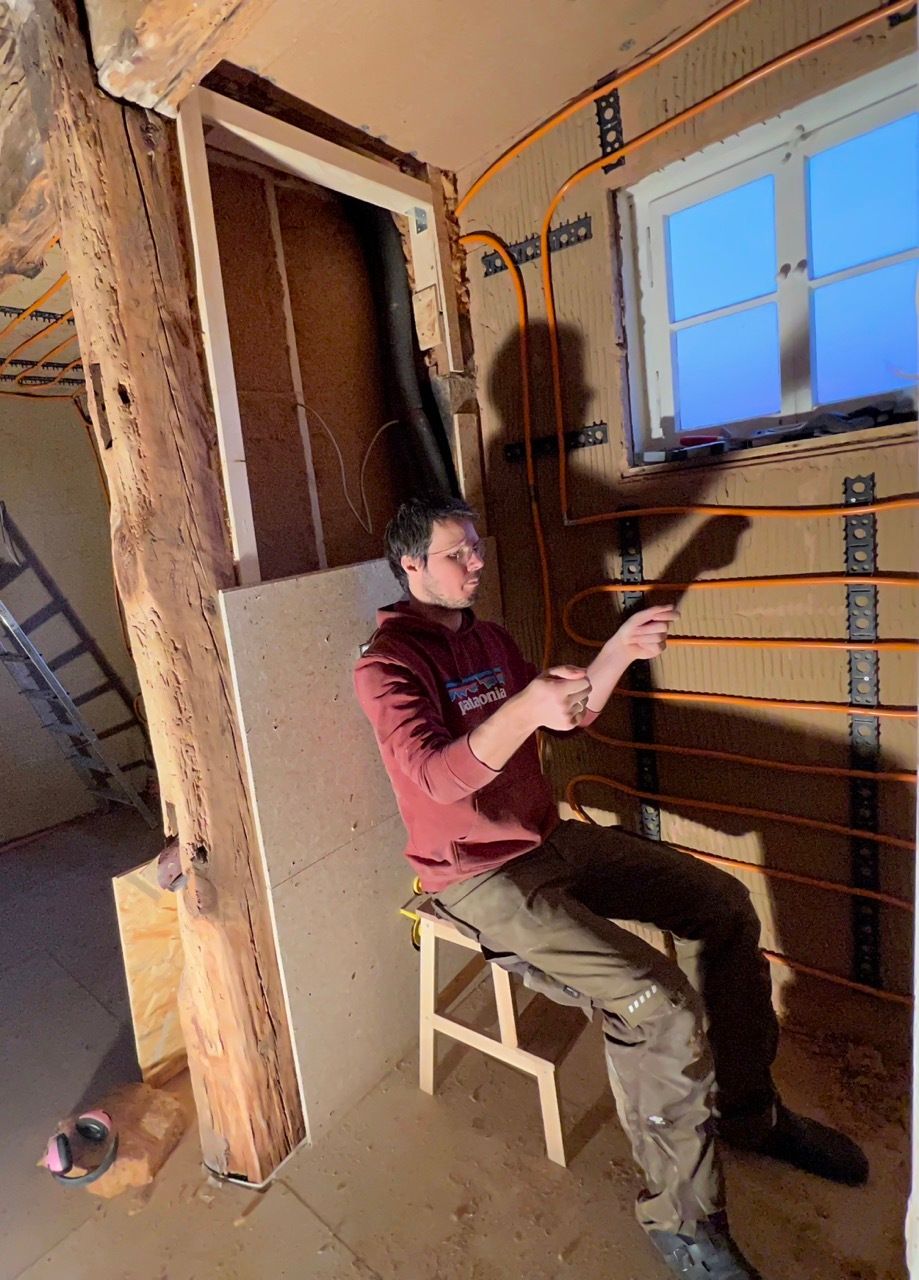
Having a solid floor to step on was a huge improvement and we could finally start with building things on top of it as well as insulating the outside walls. First, we build the wooden construction to hide all the plumbing for the toilet. The biggest challenge here again was that nothing is level in this house and our fancy laser did proof to be useless. In addition, the wooden beam that we wanted to keep exposed was very … let’s say dynamic. Nevertheless, I’m quite happy with how it turned out. Following a quick check with an early toilet prototype we moved on to finalizing the next todo: insulating the walls and installing the tubes for our wall- and ceiling heating. Being the ecological hippies we are, we’ve used tiles made out of wood fibres for insulating the wall from the inside. We choose to insulate from the inside as we did not want to cover-up the outside of the wall where you can see the half-timbered pattern – and as the house is a cultural monument we would not have been allowed to do that anyways 😅. After the tiles were attached (using a special type of clay “glue” and a couple of screws) we went on to attach the clips that we used to eventually fix the tubes of the heating. As you can see in the video it’s kind of fun, but also had its challenging moments – especially on the ceiling, but more on that later…