Bathroom: Episode IV
1. Radiant Heat
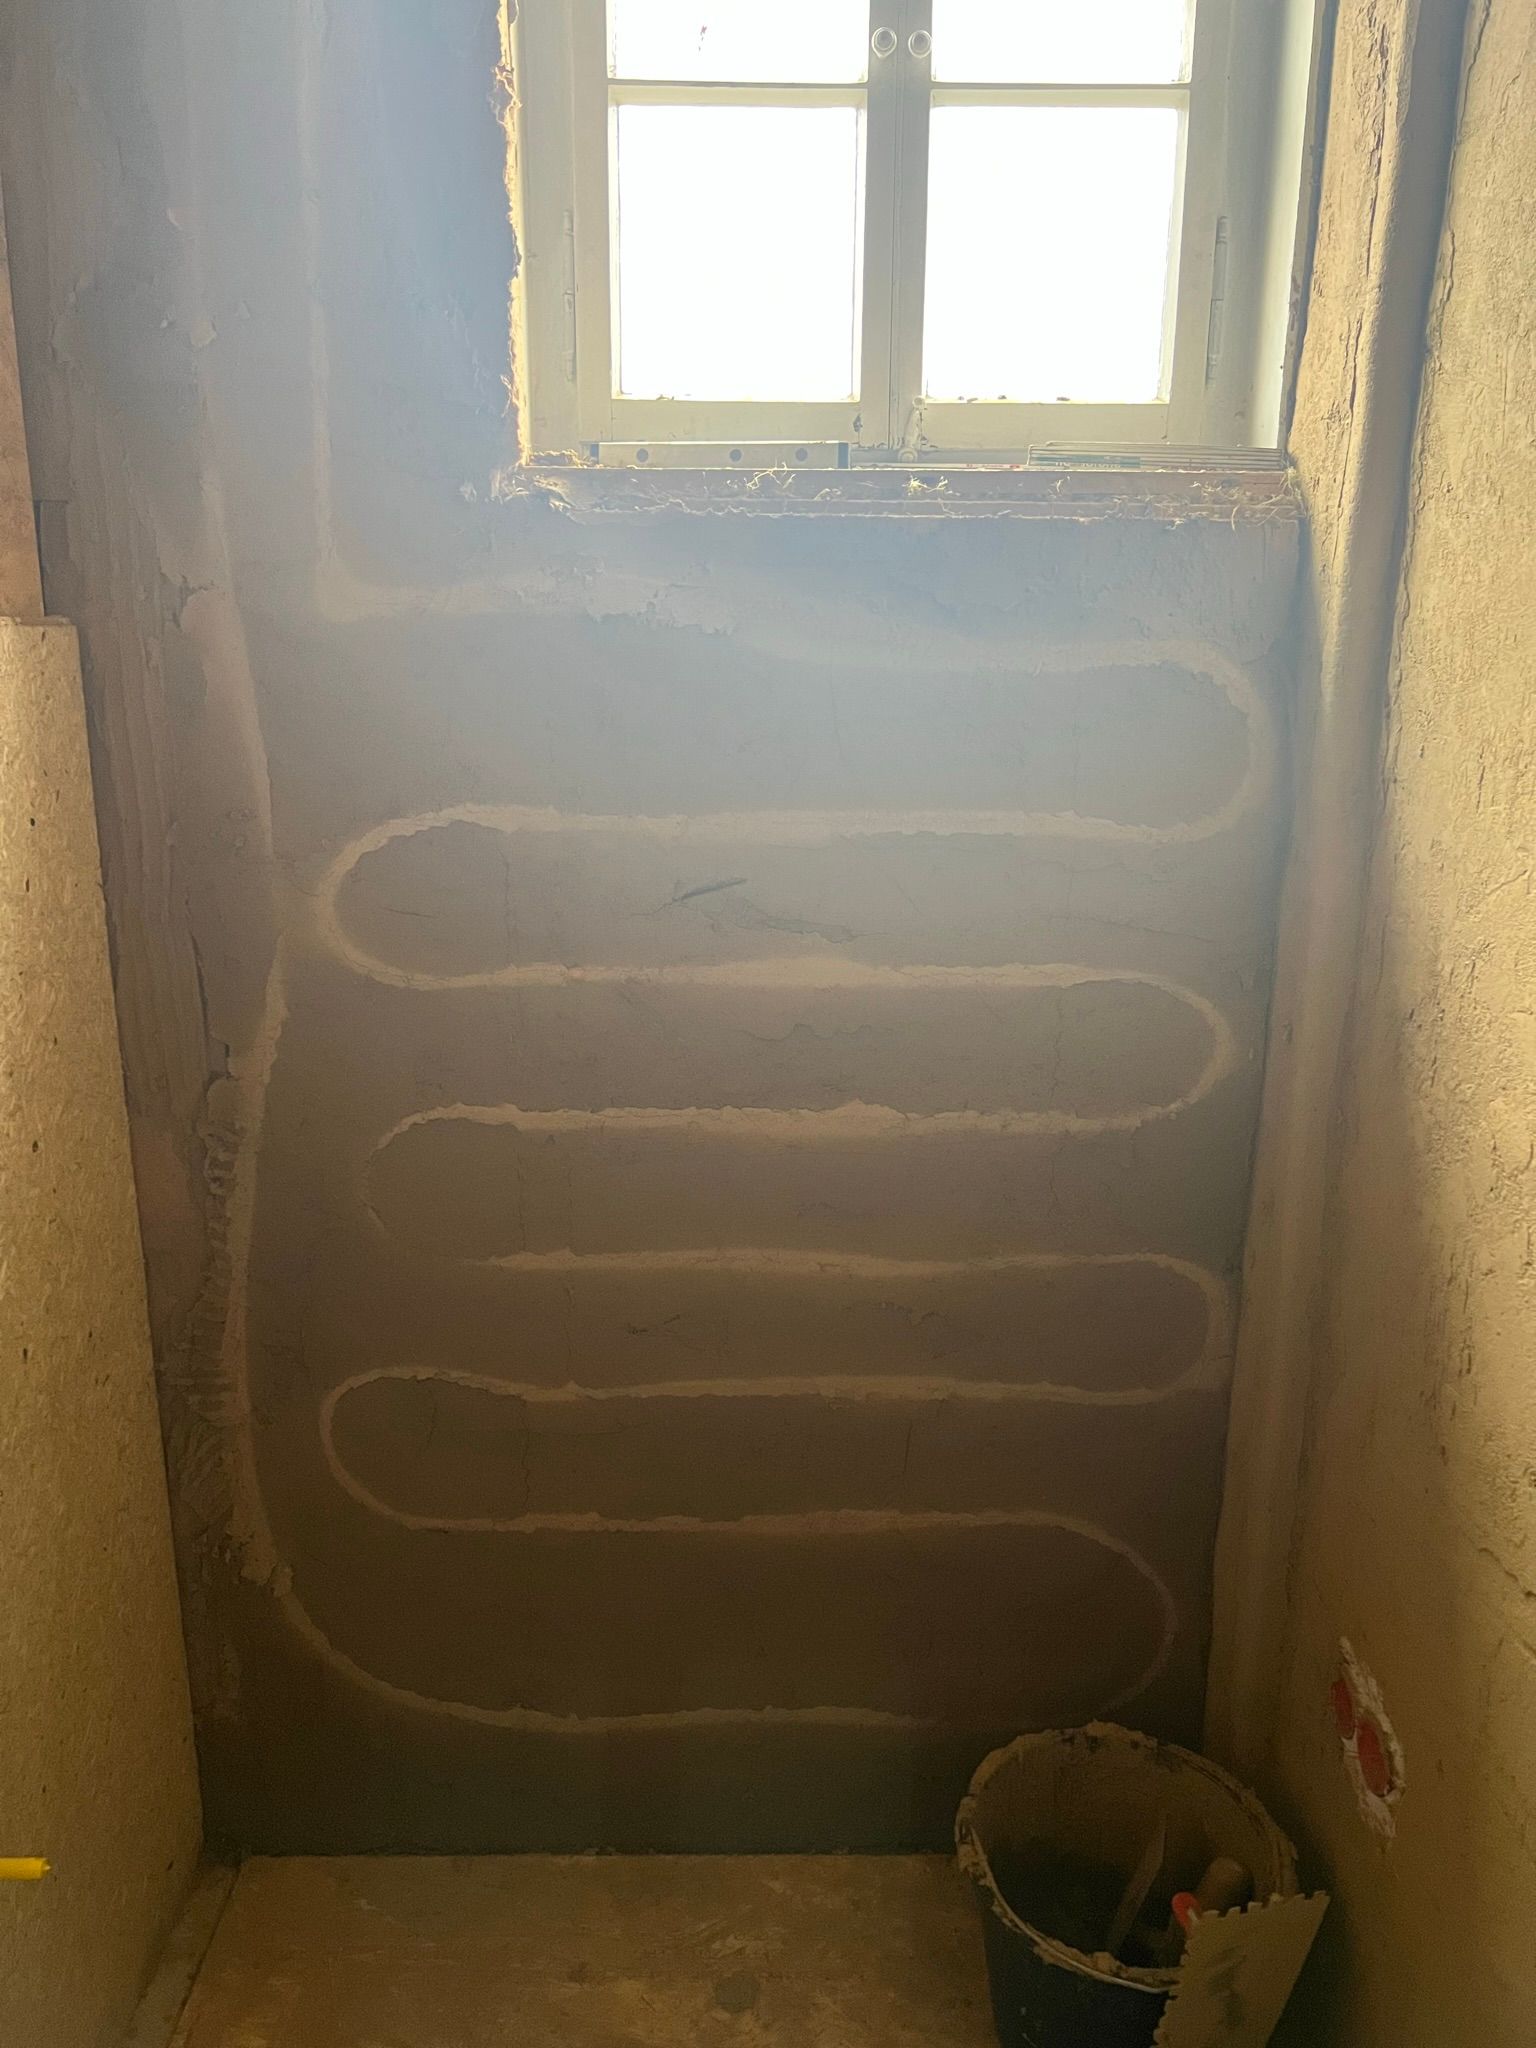
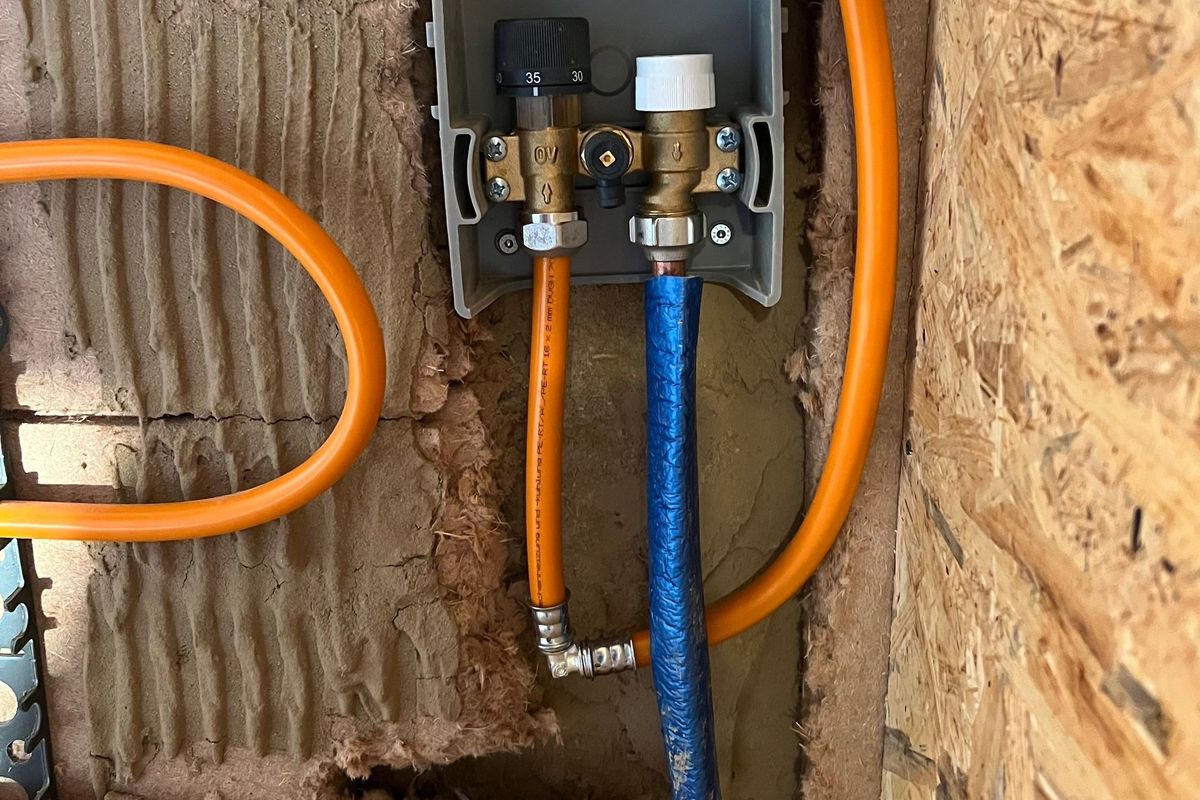
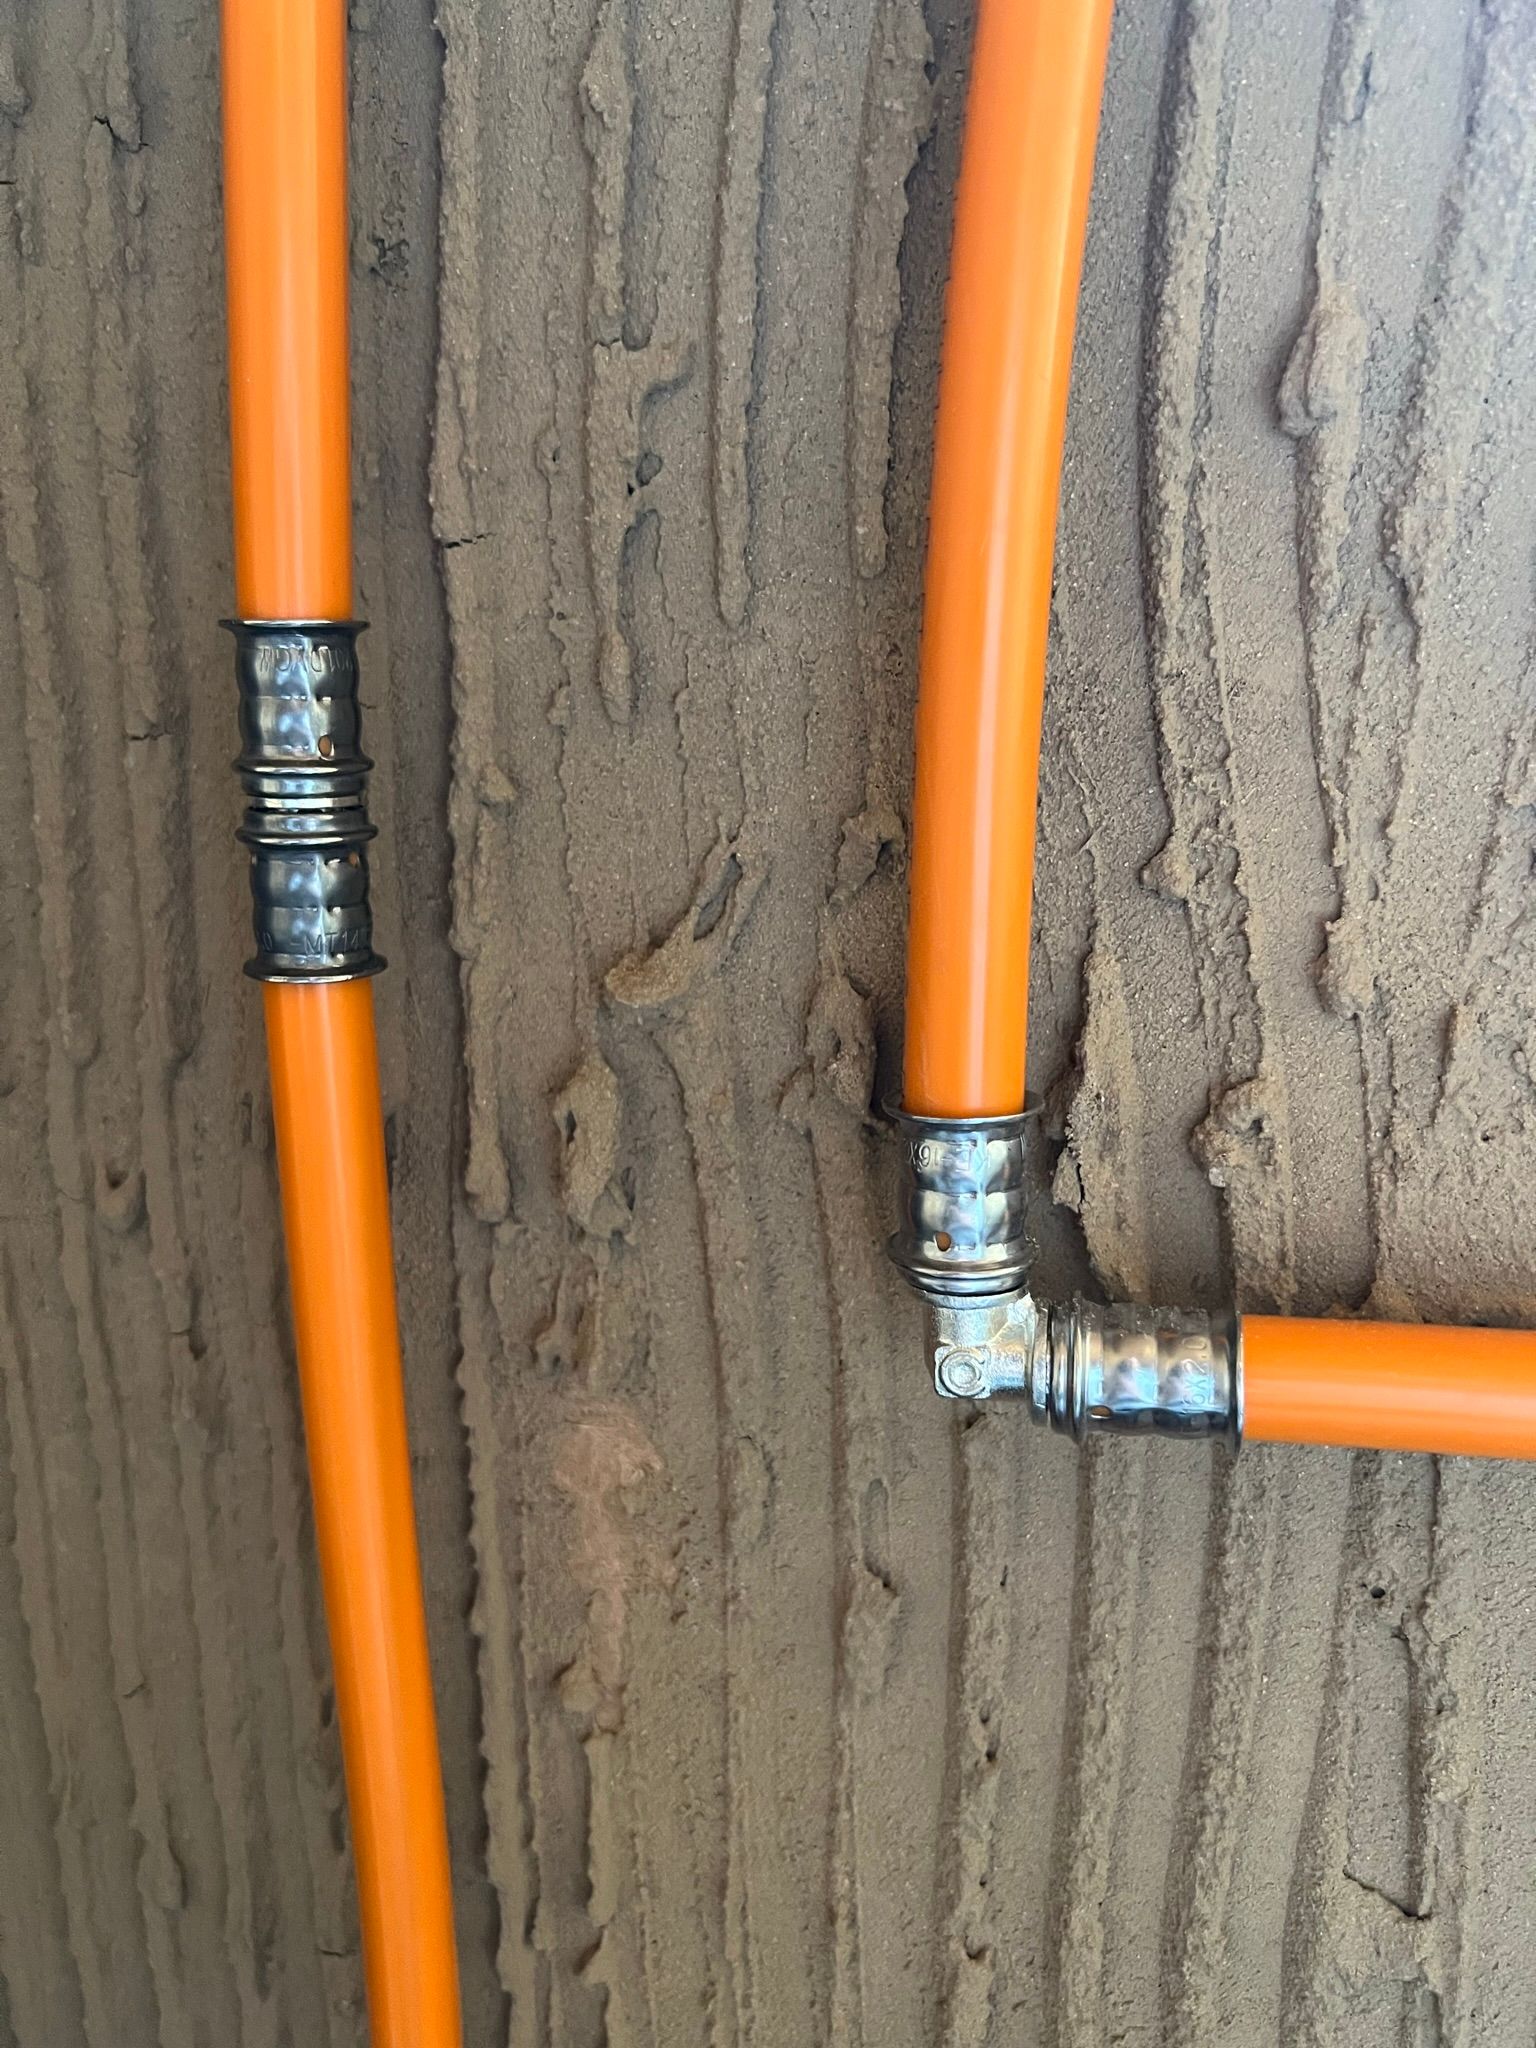
The next step was to connect and test the wall heating and then cover it in a thick layer of clay plaster. We were a bit anxious about leakages as we needed to cut the wall heating pipes in multiple places and join them back together using swayed socket fittings.
Luckily everything worked out well and soon enough the pipes were filled with warm water. 🔥
Then we started with the plaster work. As we were able to work as a team in parallel 💪💪 we were done in about half a day with the only thing missing: the bit at the ceiling.
We definitely underestimated how difficult it would be to get the the plaster to stick to the ceiling and we ended up adding thin layer after layer over the course of two weeks. 🐌 It was tedious work and sometimes half an hour after you’ve added some plaster you would hear a thump and found all the plaster on the floor.
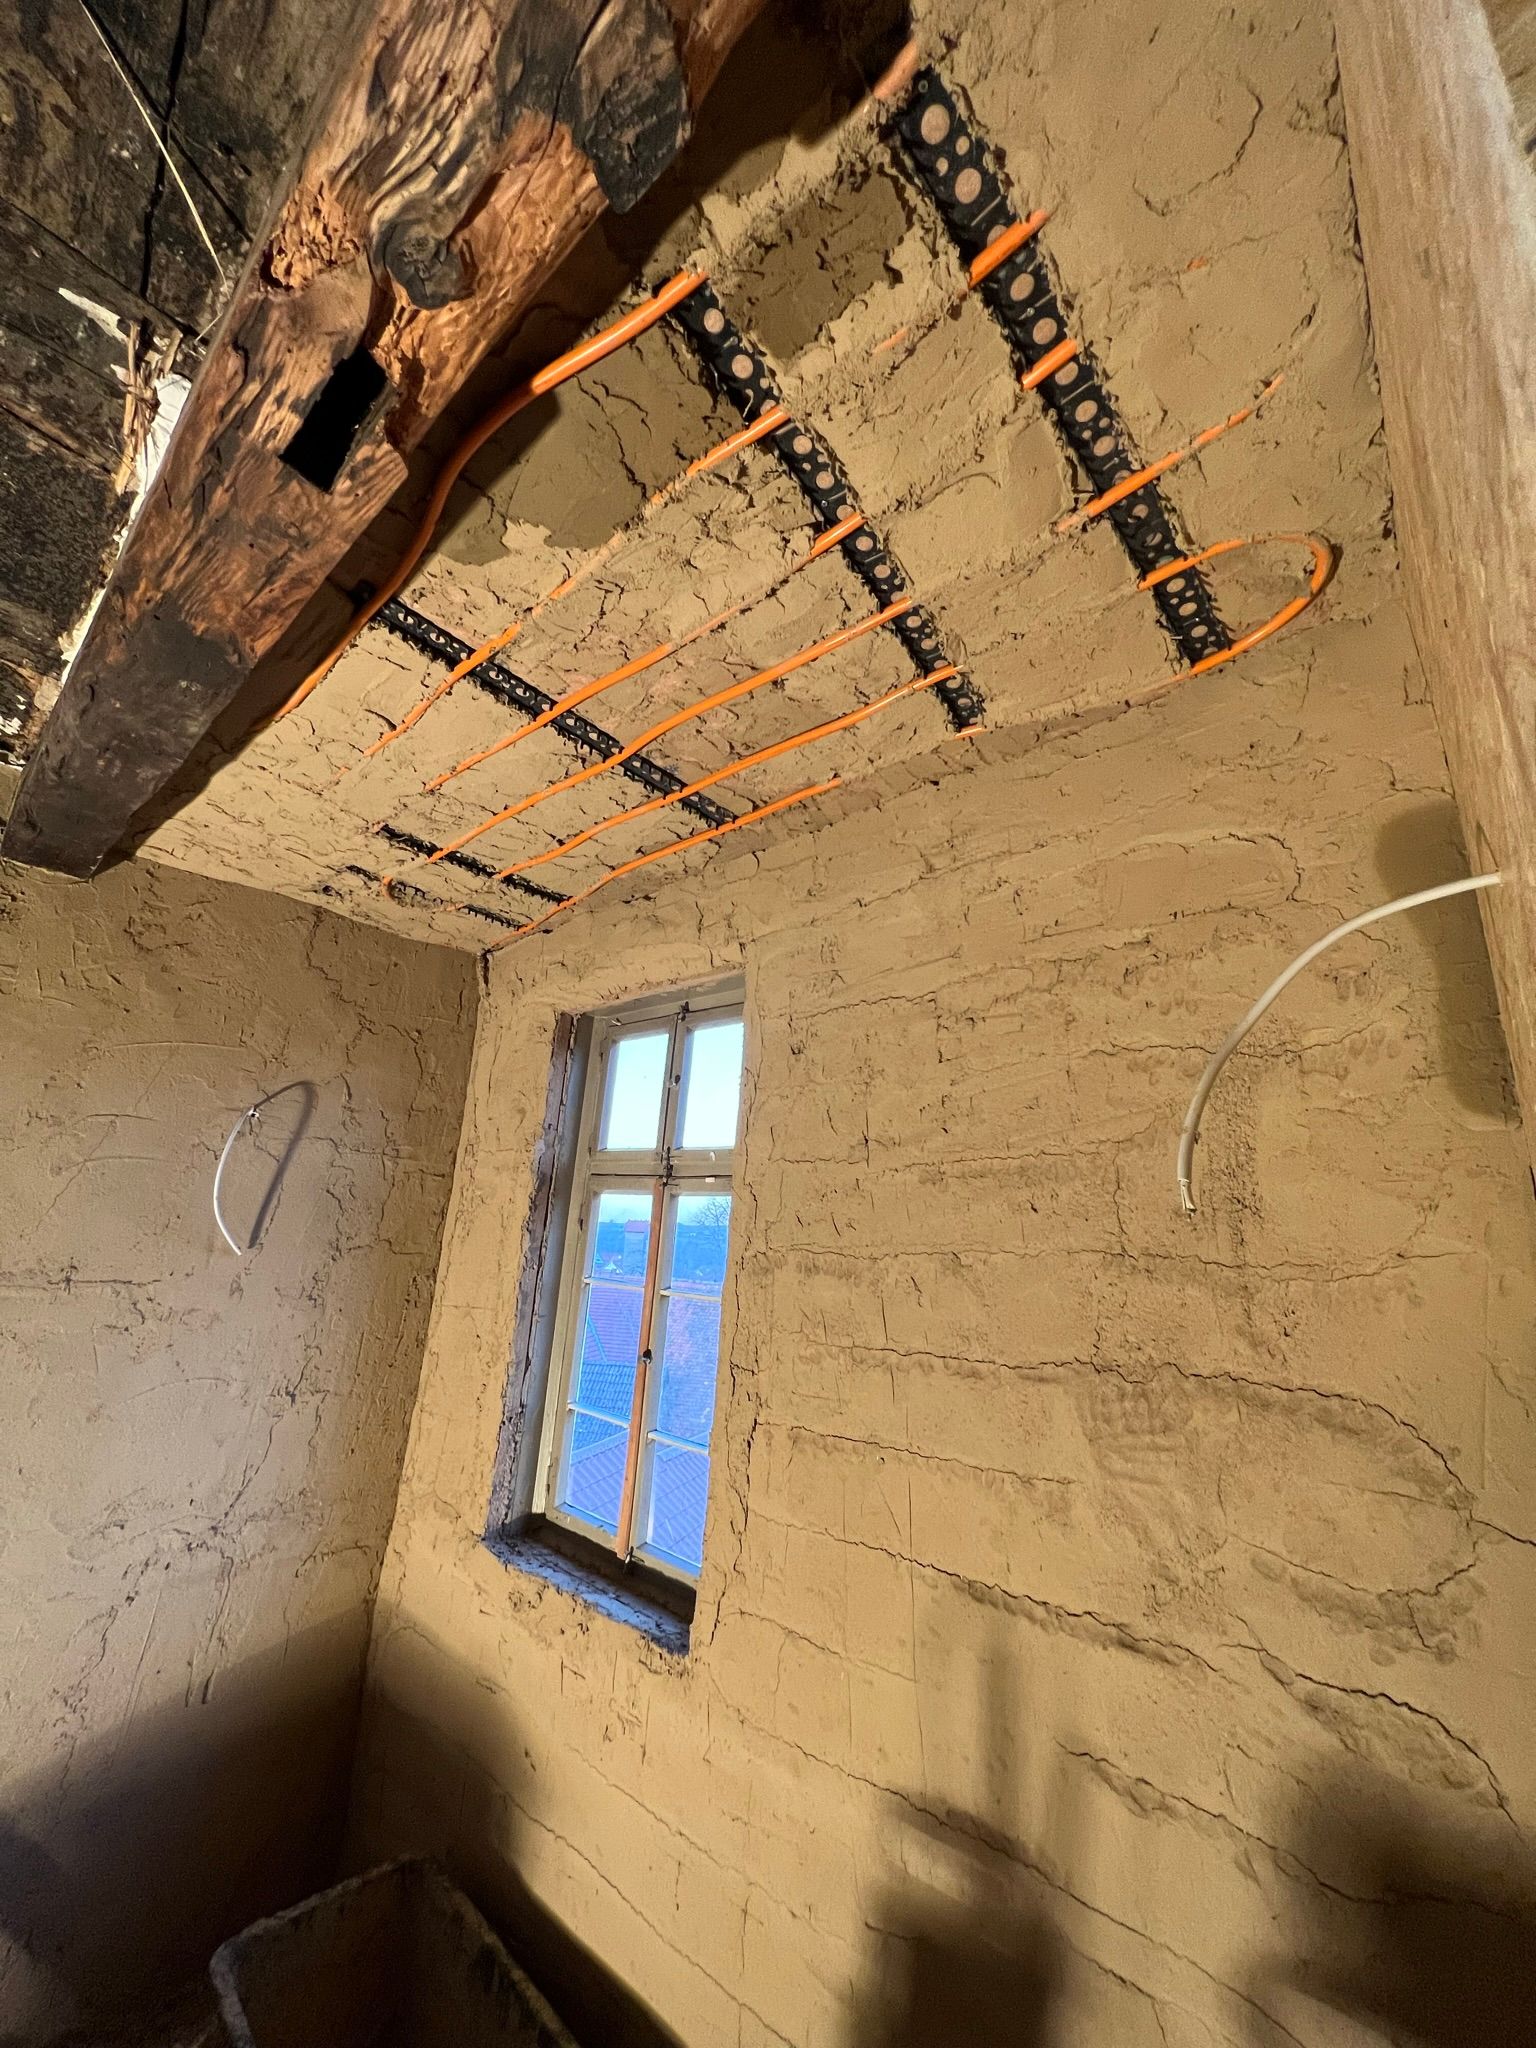
2. Ceiling
Speaking of the ceiling: as we needed to repair some of the wooden beams earlier and rerouted some plumbing, parts of the ceiling were open and we needed to find a way to close it again. The traditional way would have been to use a series of “Lehmwickel” – a piece of oak wood that is wrapped with straw and clay. This time we decided to save some time and money and use wood fiber plates, instead – pretty similar to the ones we’ve used for insulation.
We also decided to take off everything that was added on top of the original ceiling parts that were still intact (various types of plaster, cement based plates) to start fresh. Turned out this was a good choice as we found black mold 🎉 We happily removed the mold and added wood fiber boards to have an even surface. We also decided to let one part of the original ceiling exposed – to provide a window into the history of the house.

One of the nice things about the wall heating is that you can also use it to dry the clay plaster.