Bathroom: Episode V
Shower
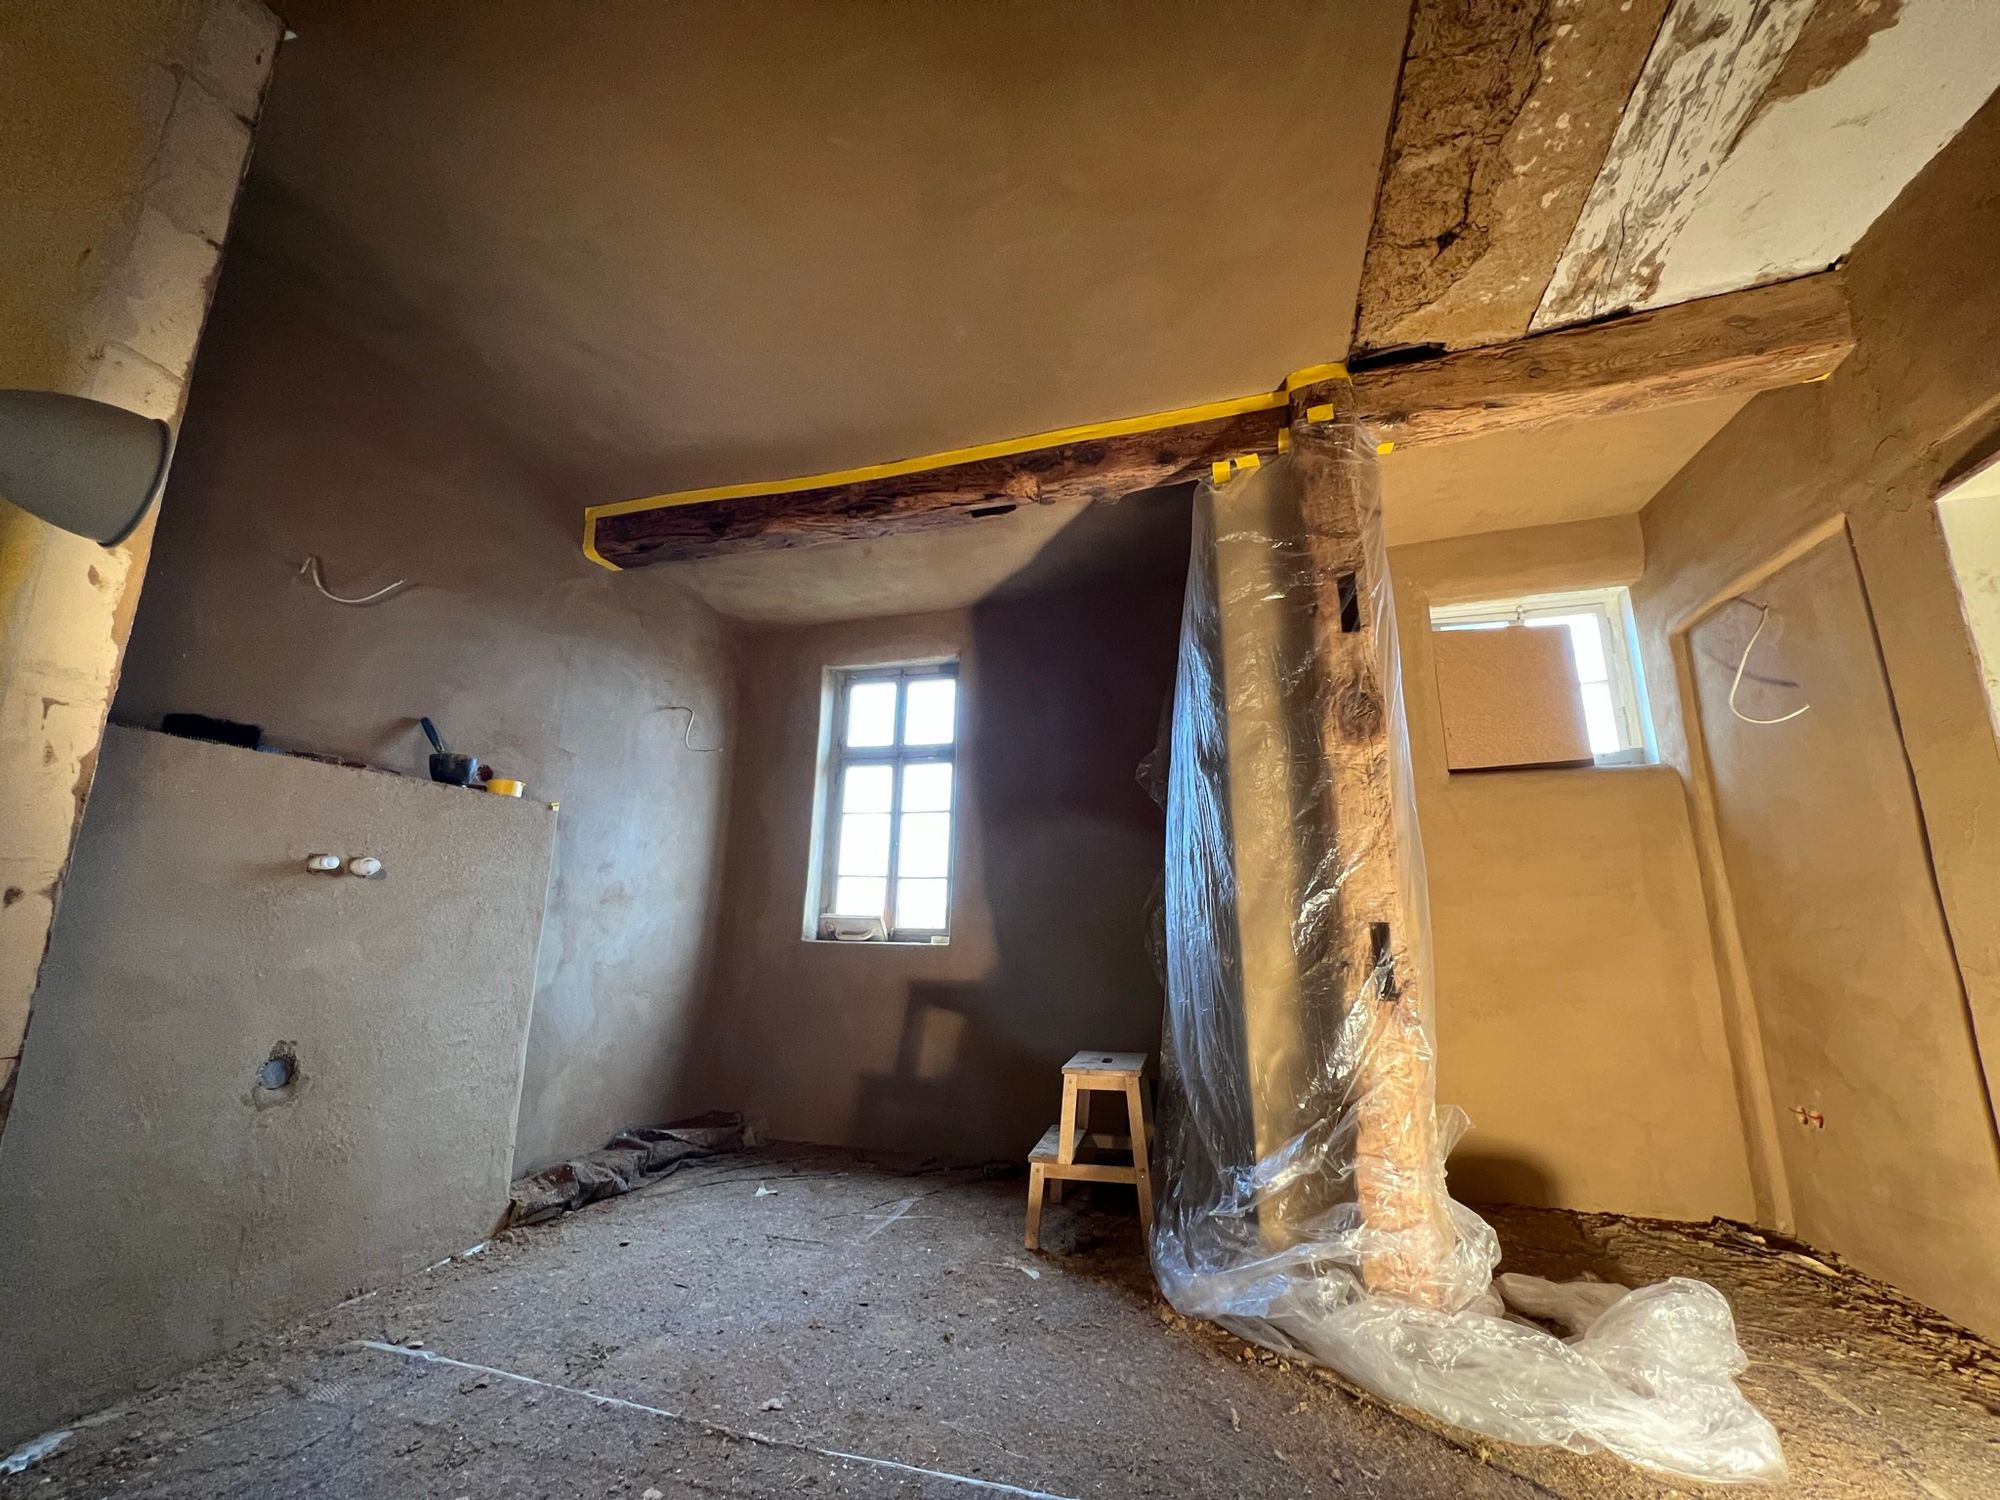
On the left side of our bathroom we want to build a walk-in shower. The next steps towards that goal were:
- Extend the area on the backside of the shower around the chimney to 1 meter
- Close the hole in the chimney where the old gas heater was connected
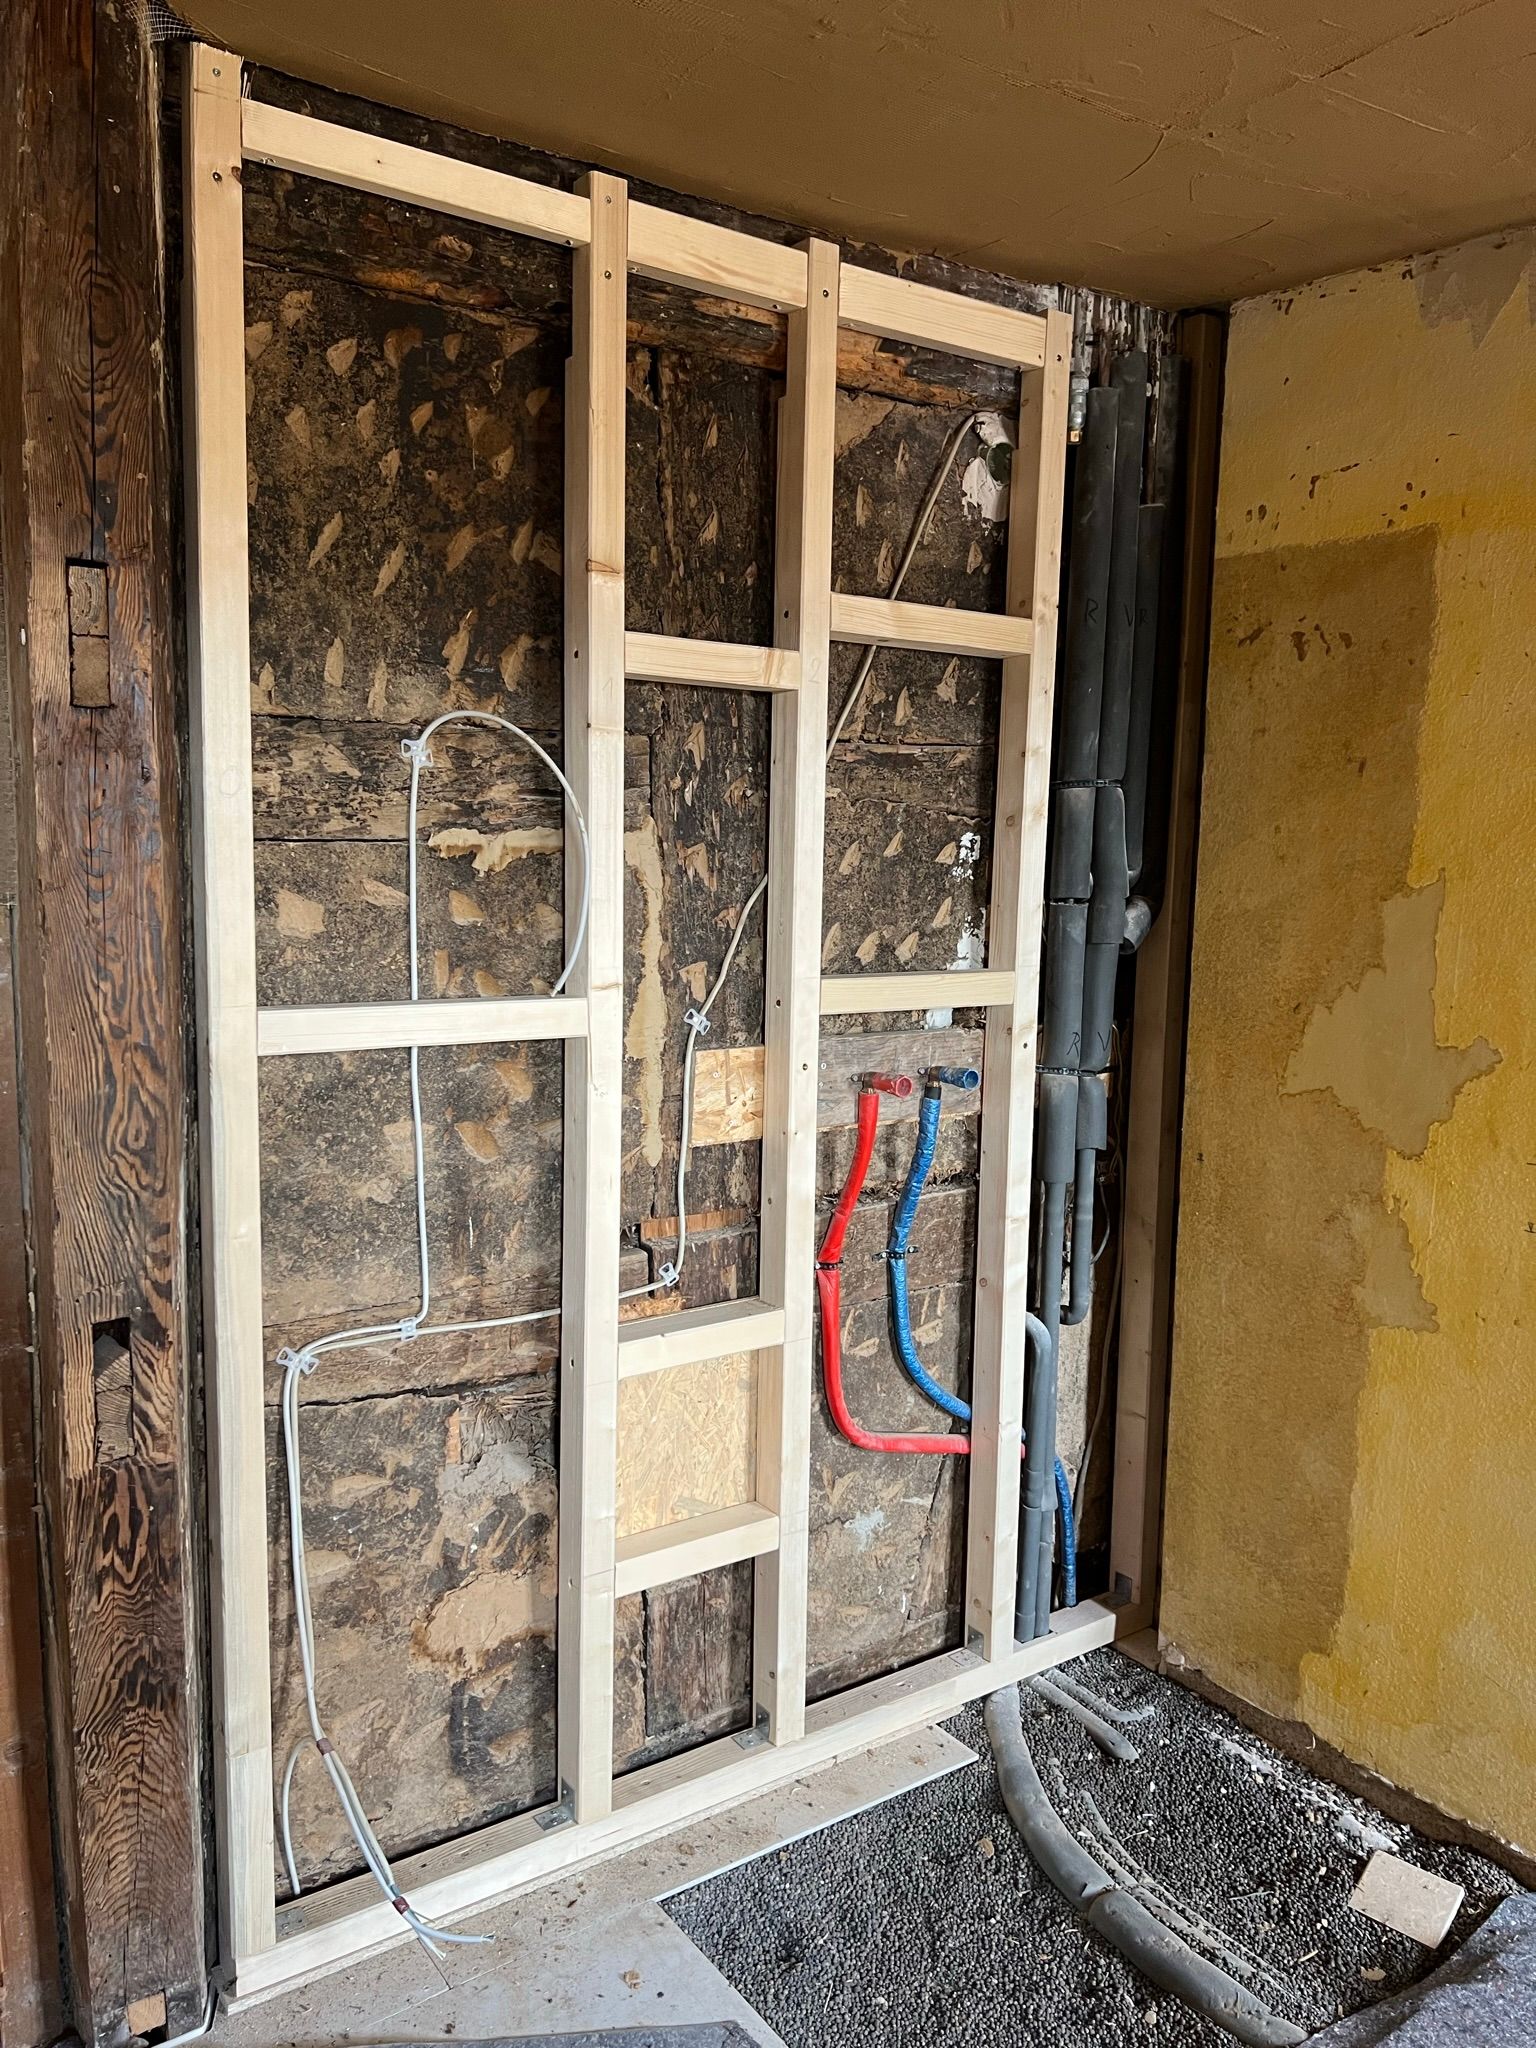
- Build a timber framed wall on the left side of the shower to get an even surface and hide the water installation.
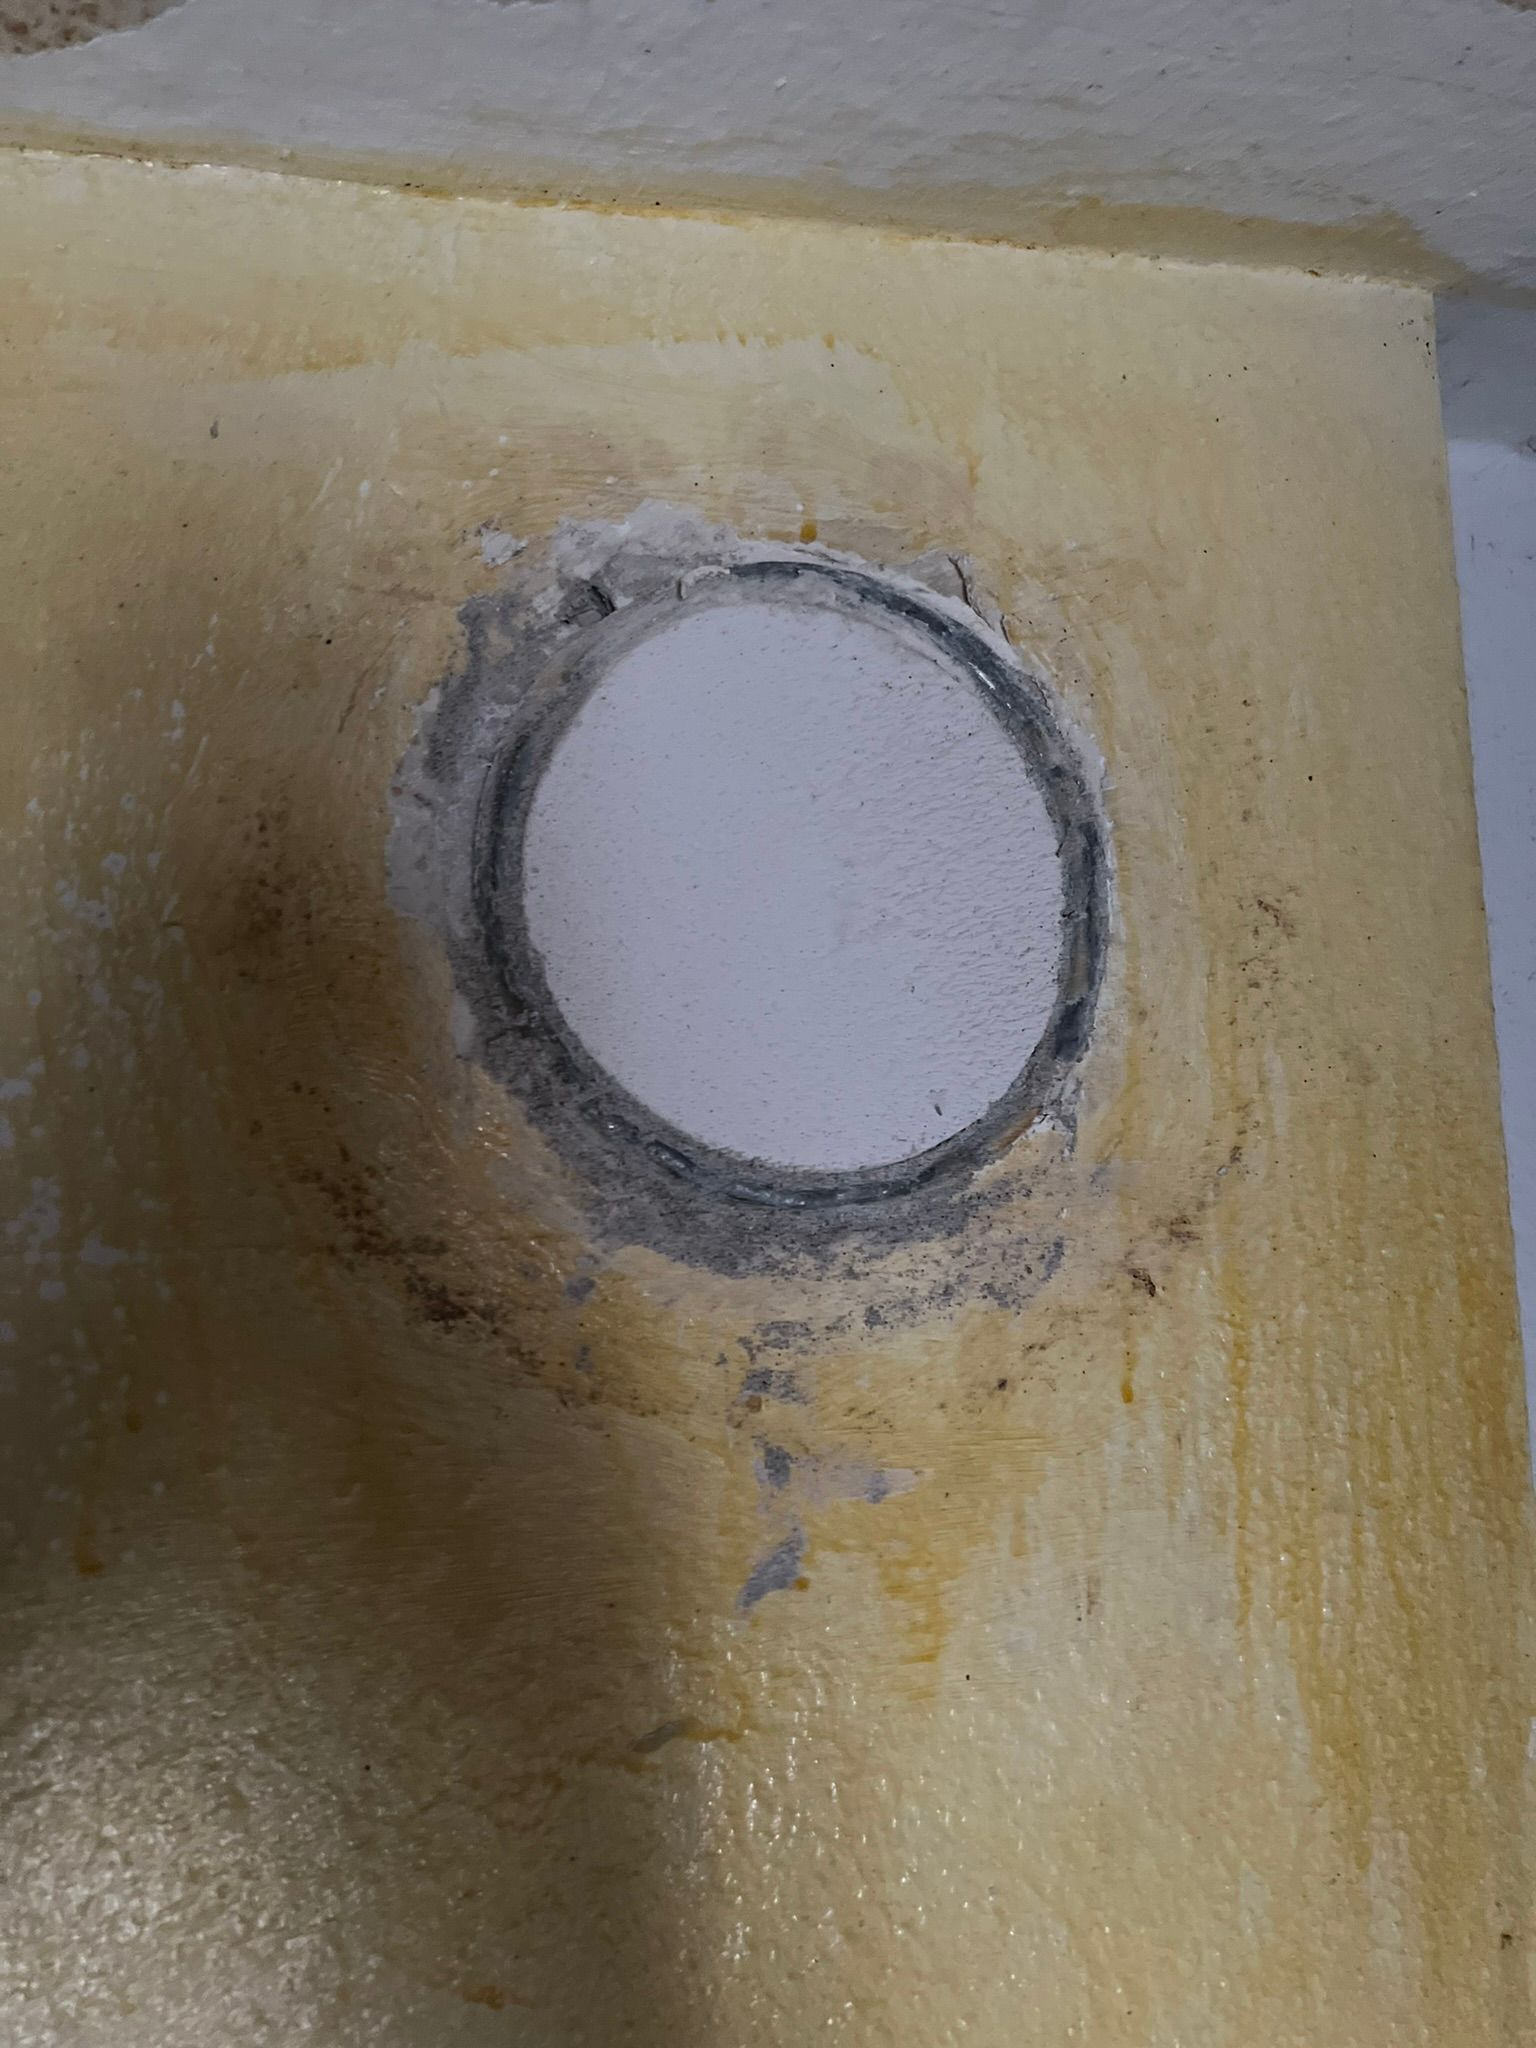
Cinder
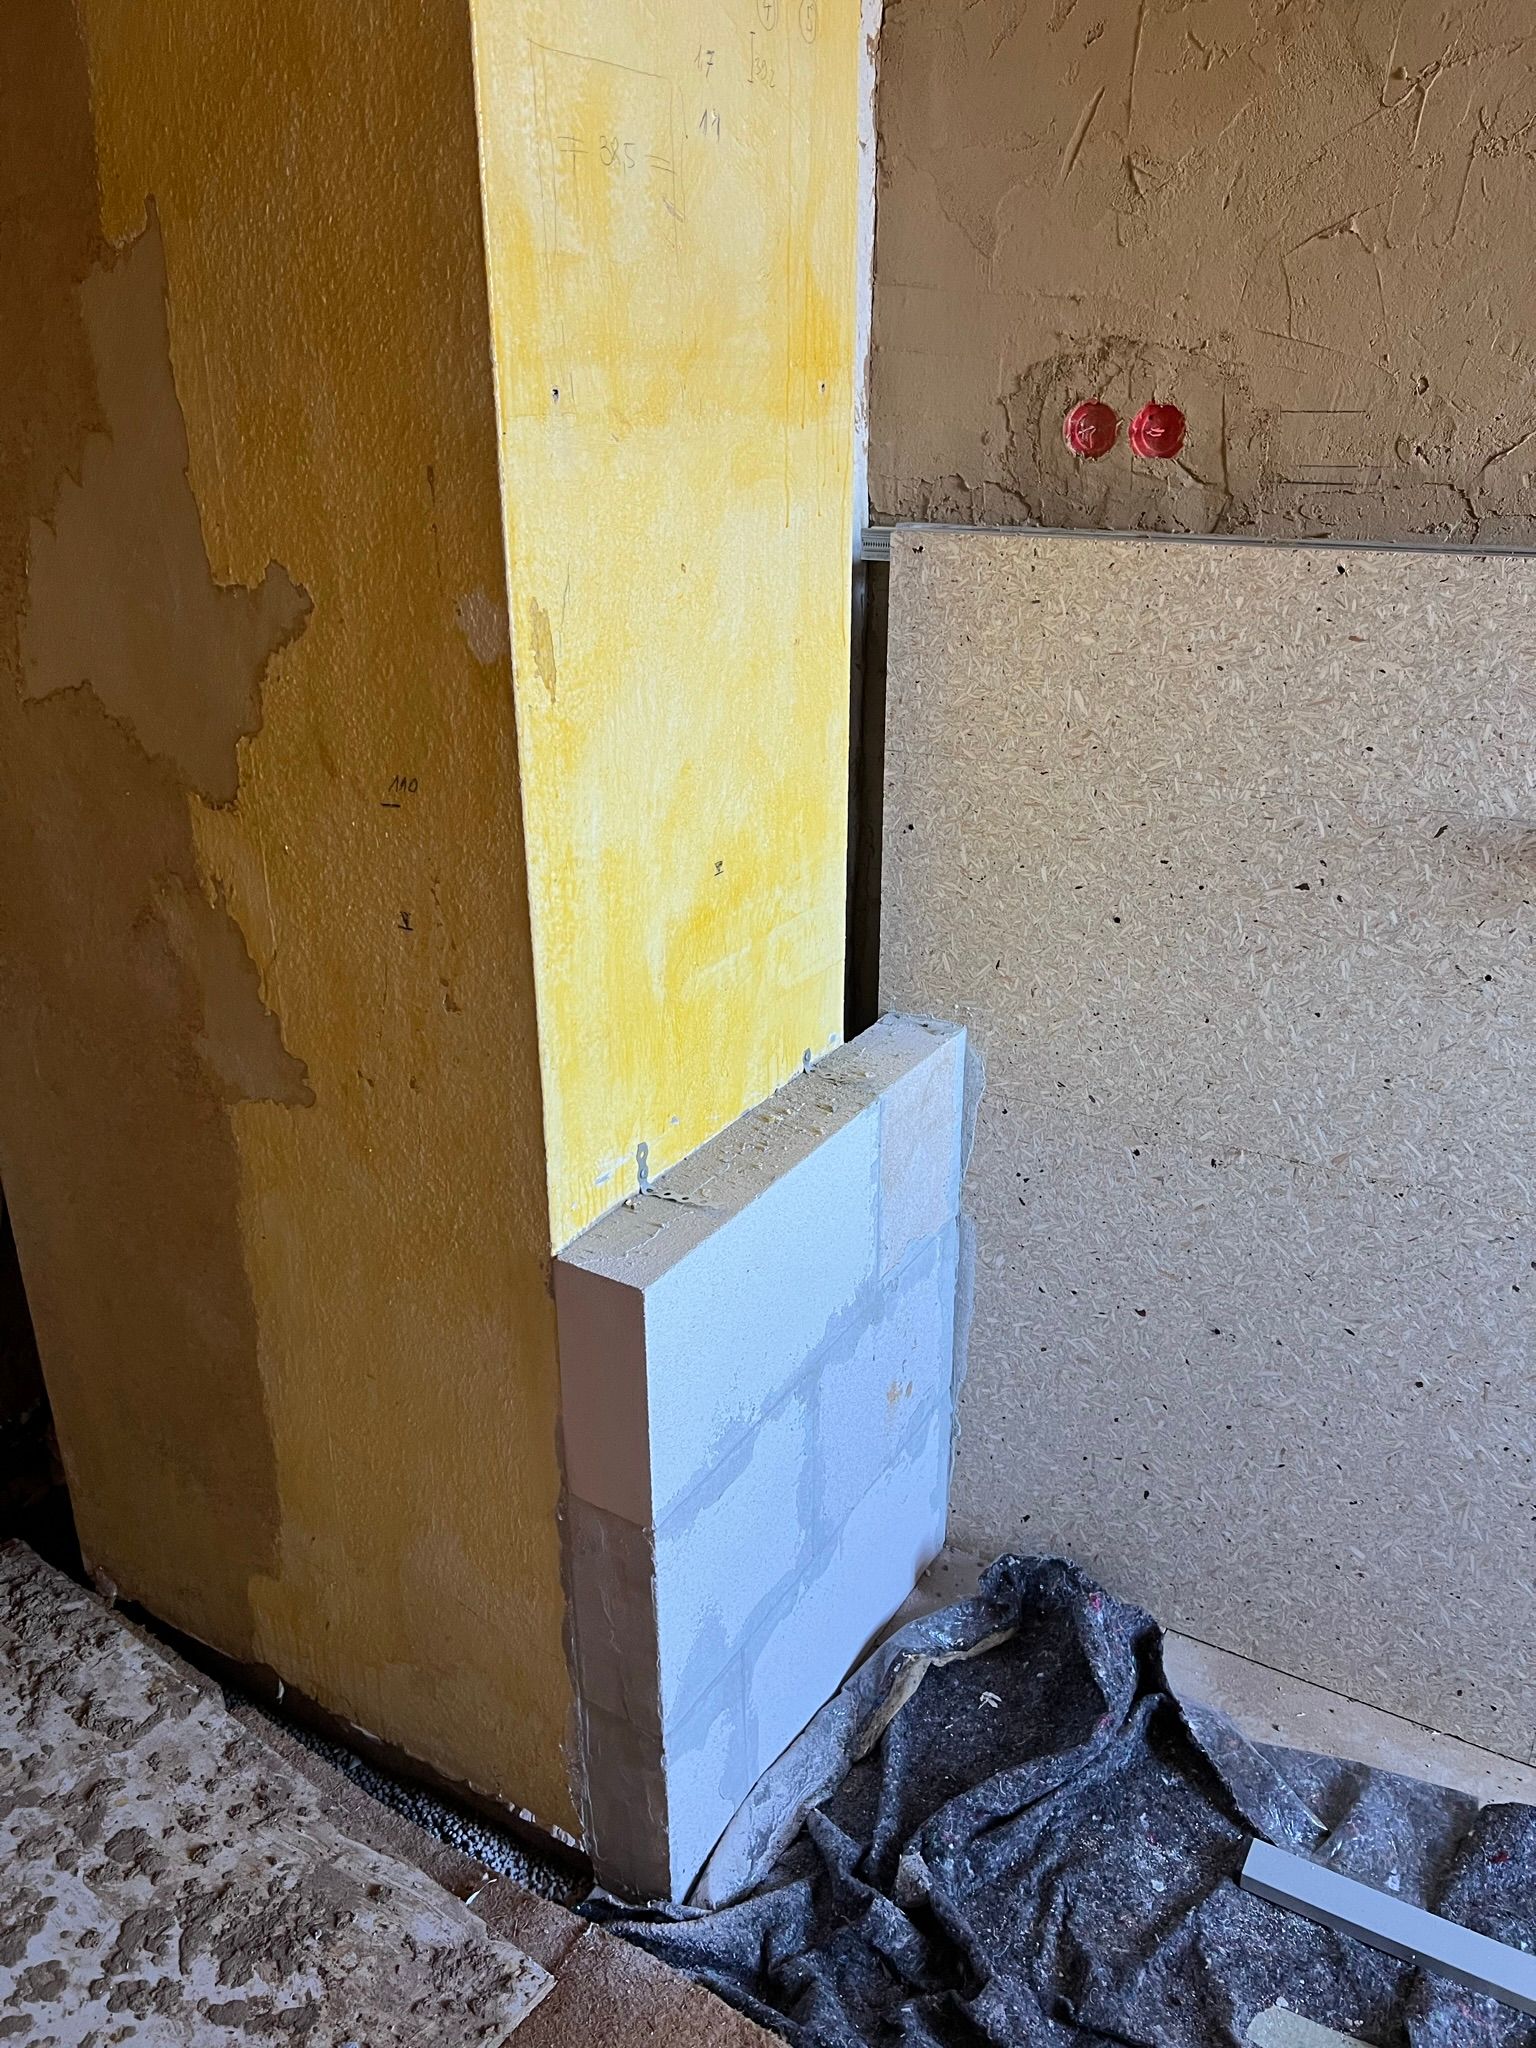
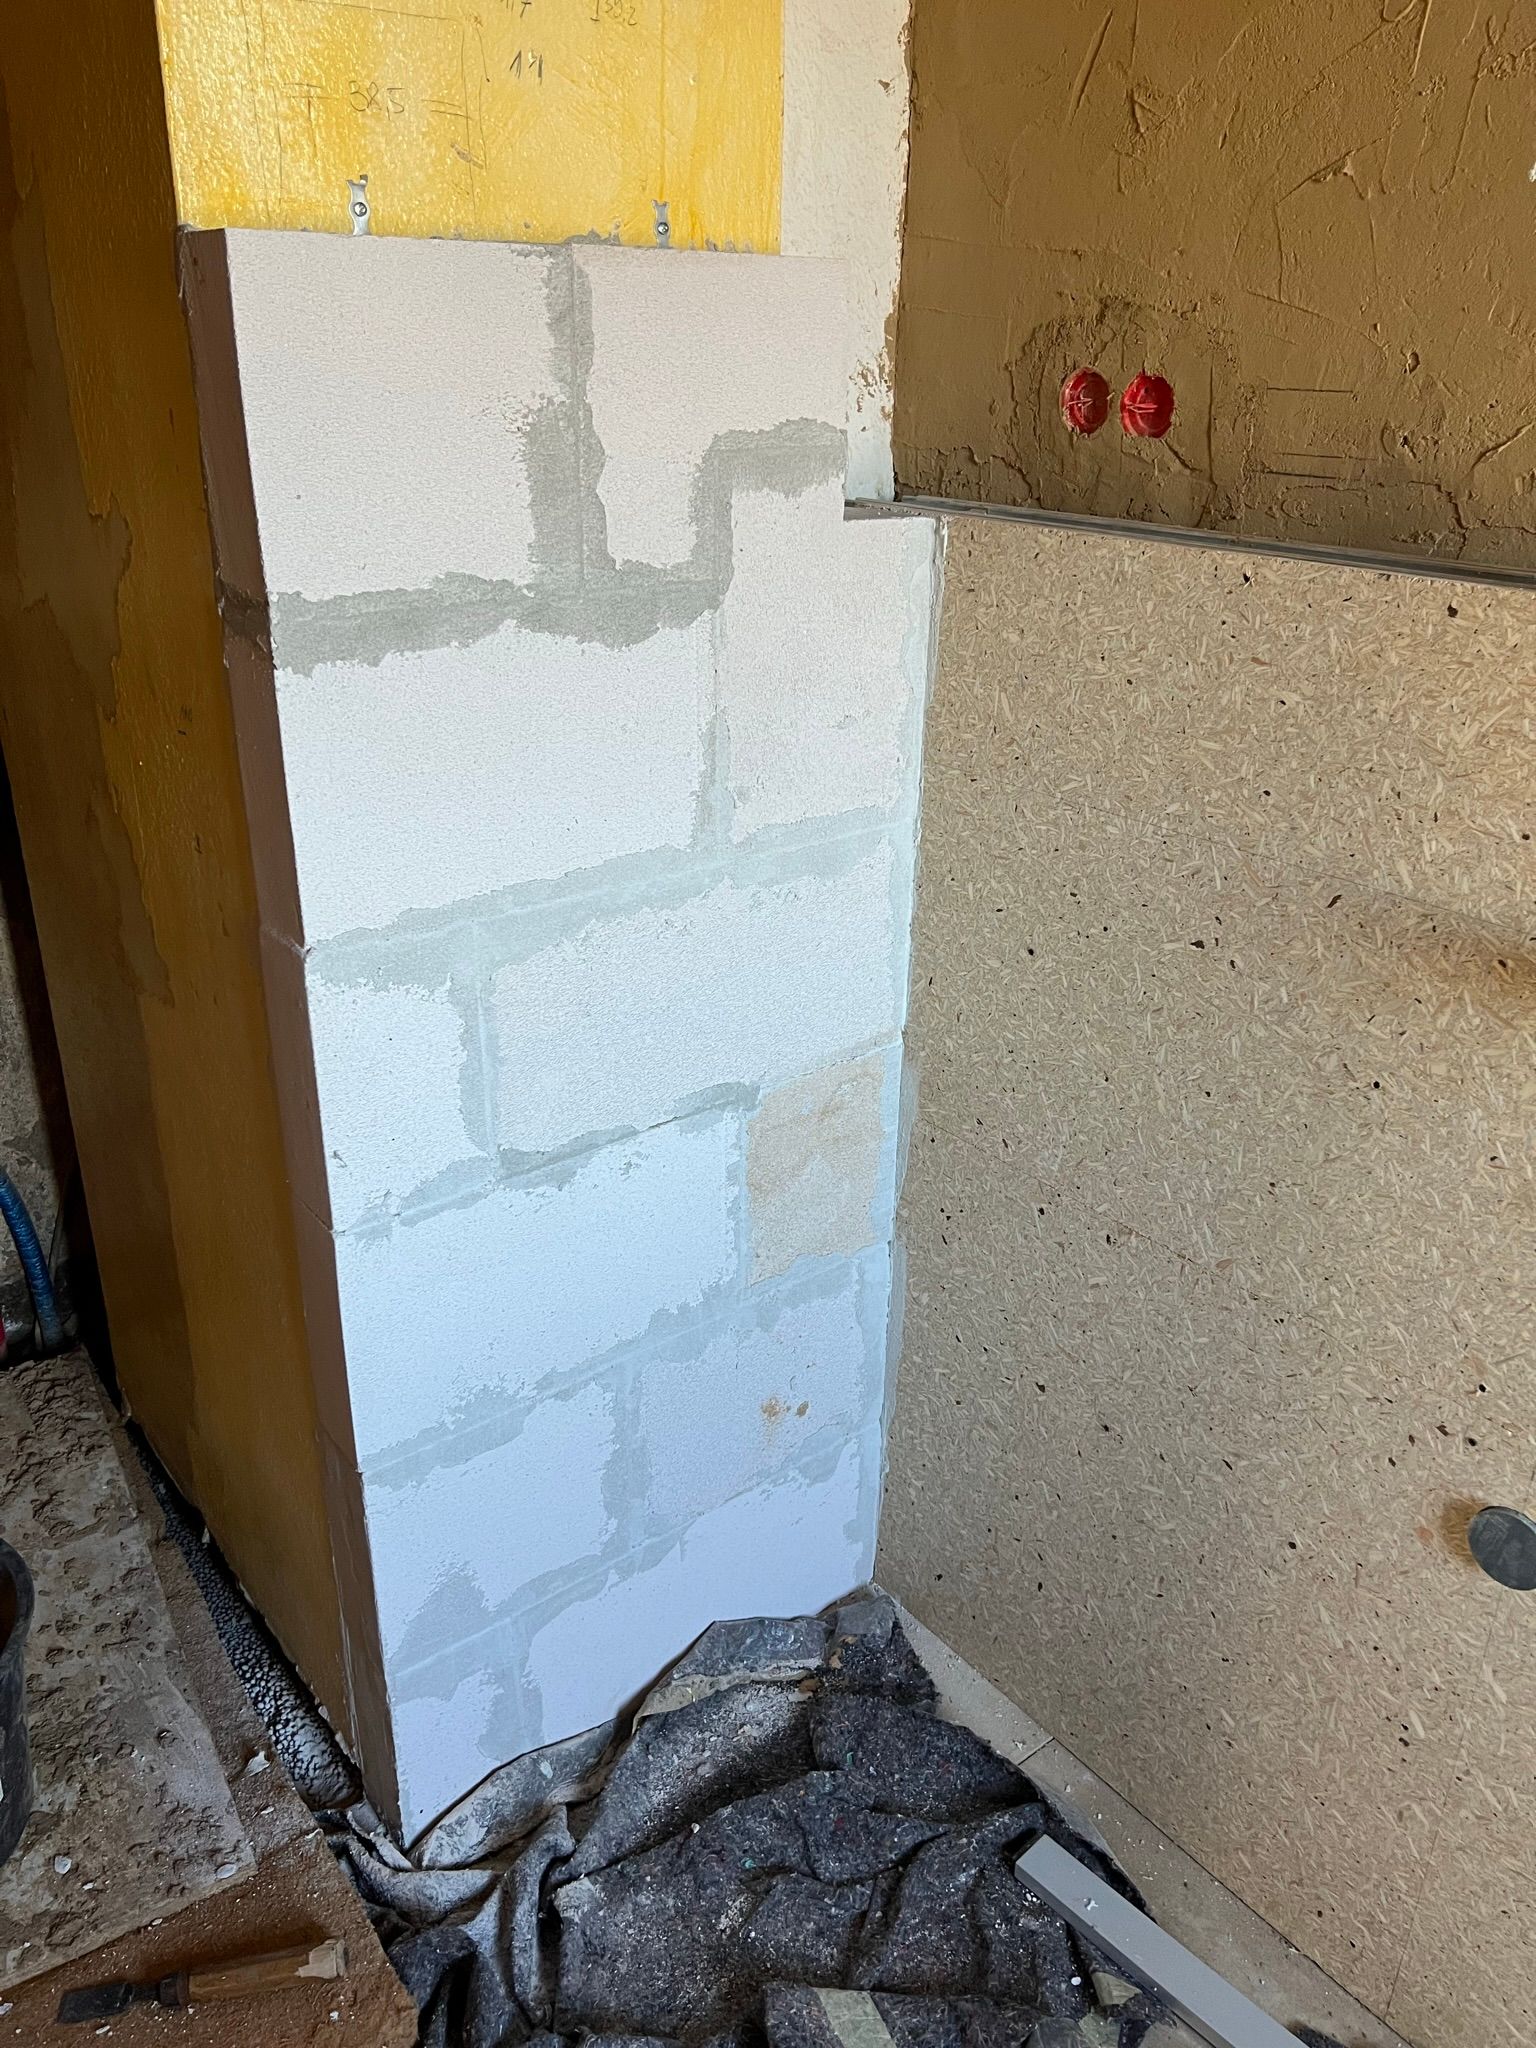
Building the wall to extend the chimney led to another compromise in terms of materials: cinder blocks. But as we only needed to add 10 centimeters we were okay with that and got to work. We’ve used a metal band to attach every other brick to the chimney to make the wall a bit more sturdy and closed the hole with a nice circular cutout.

Wood
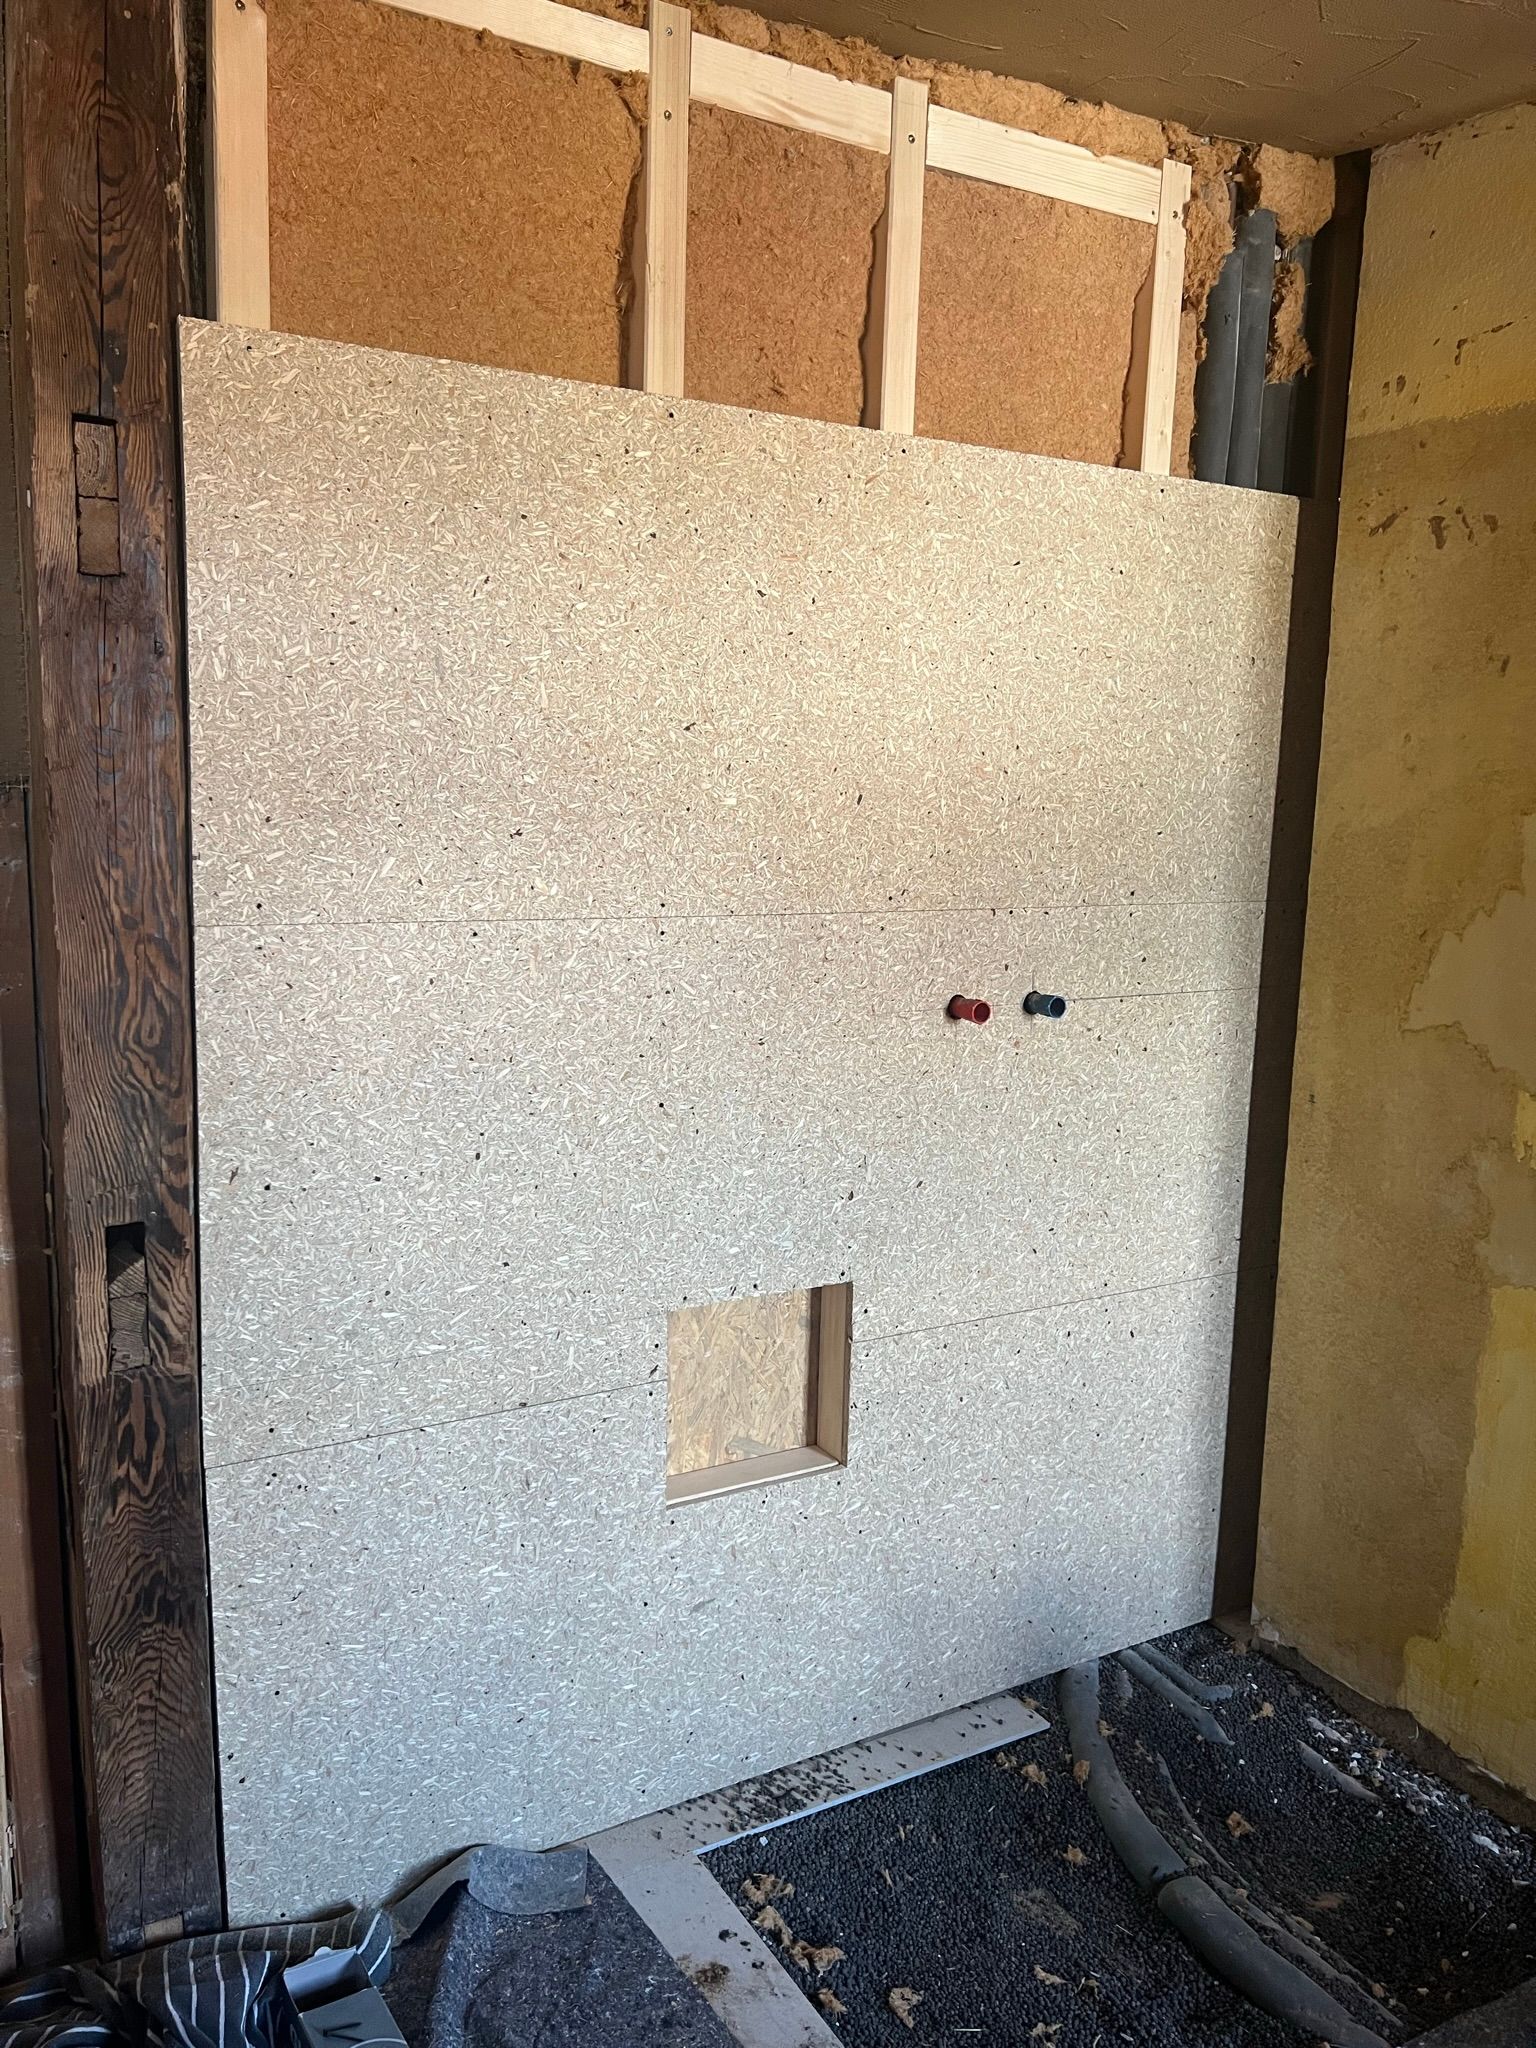
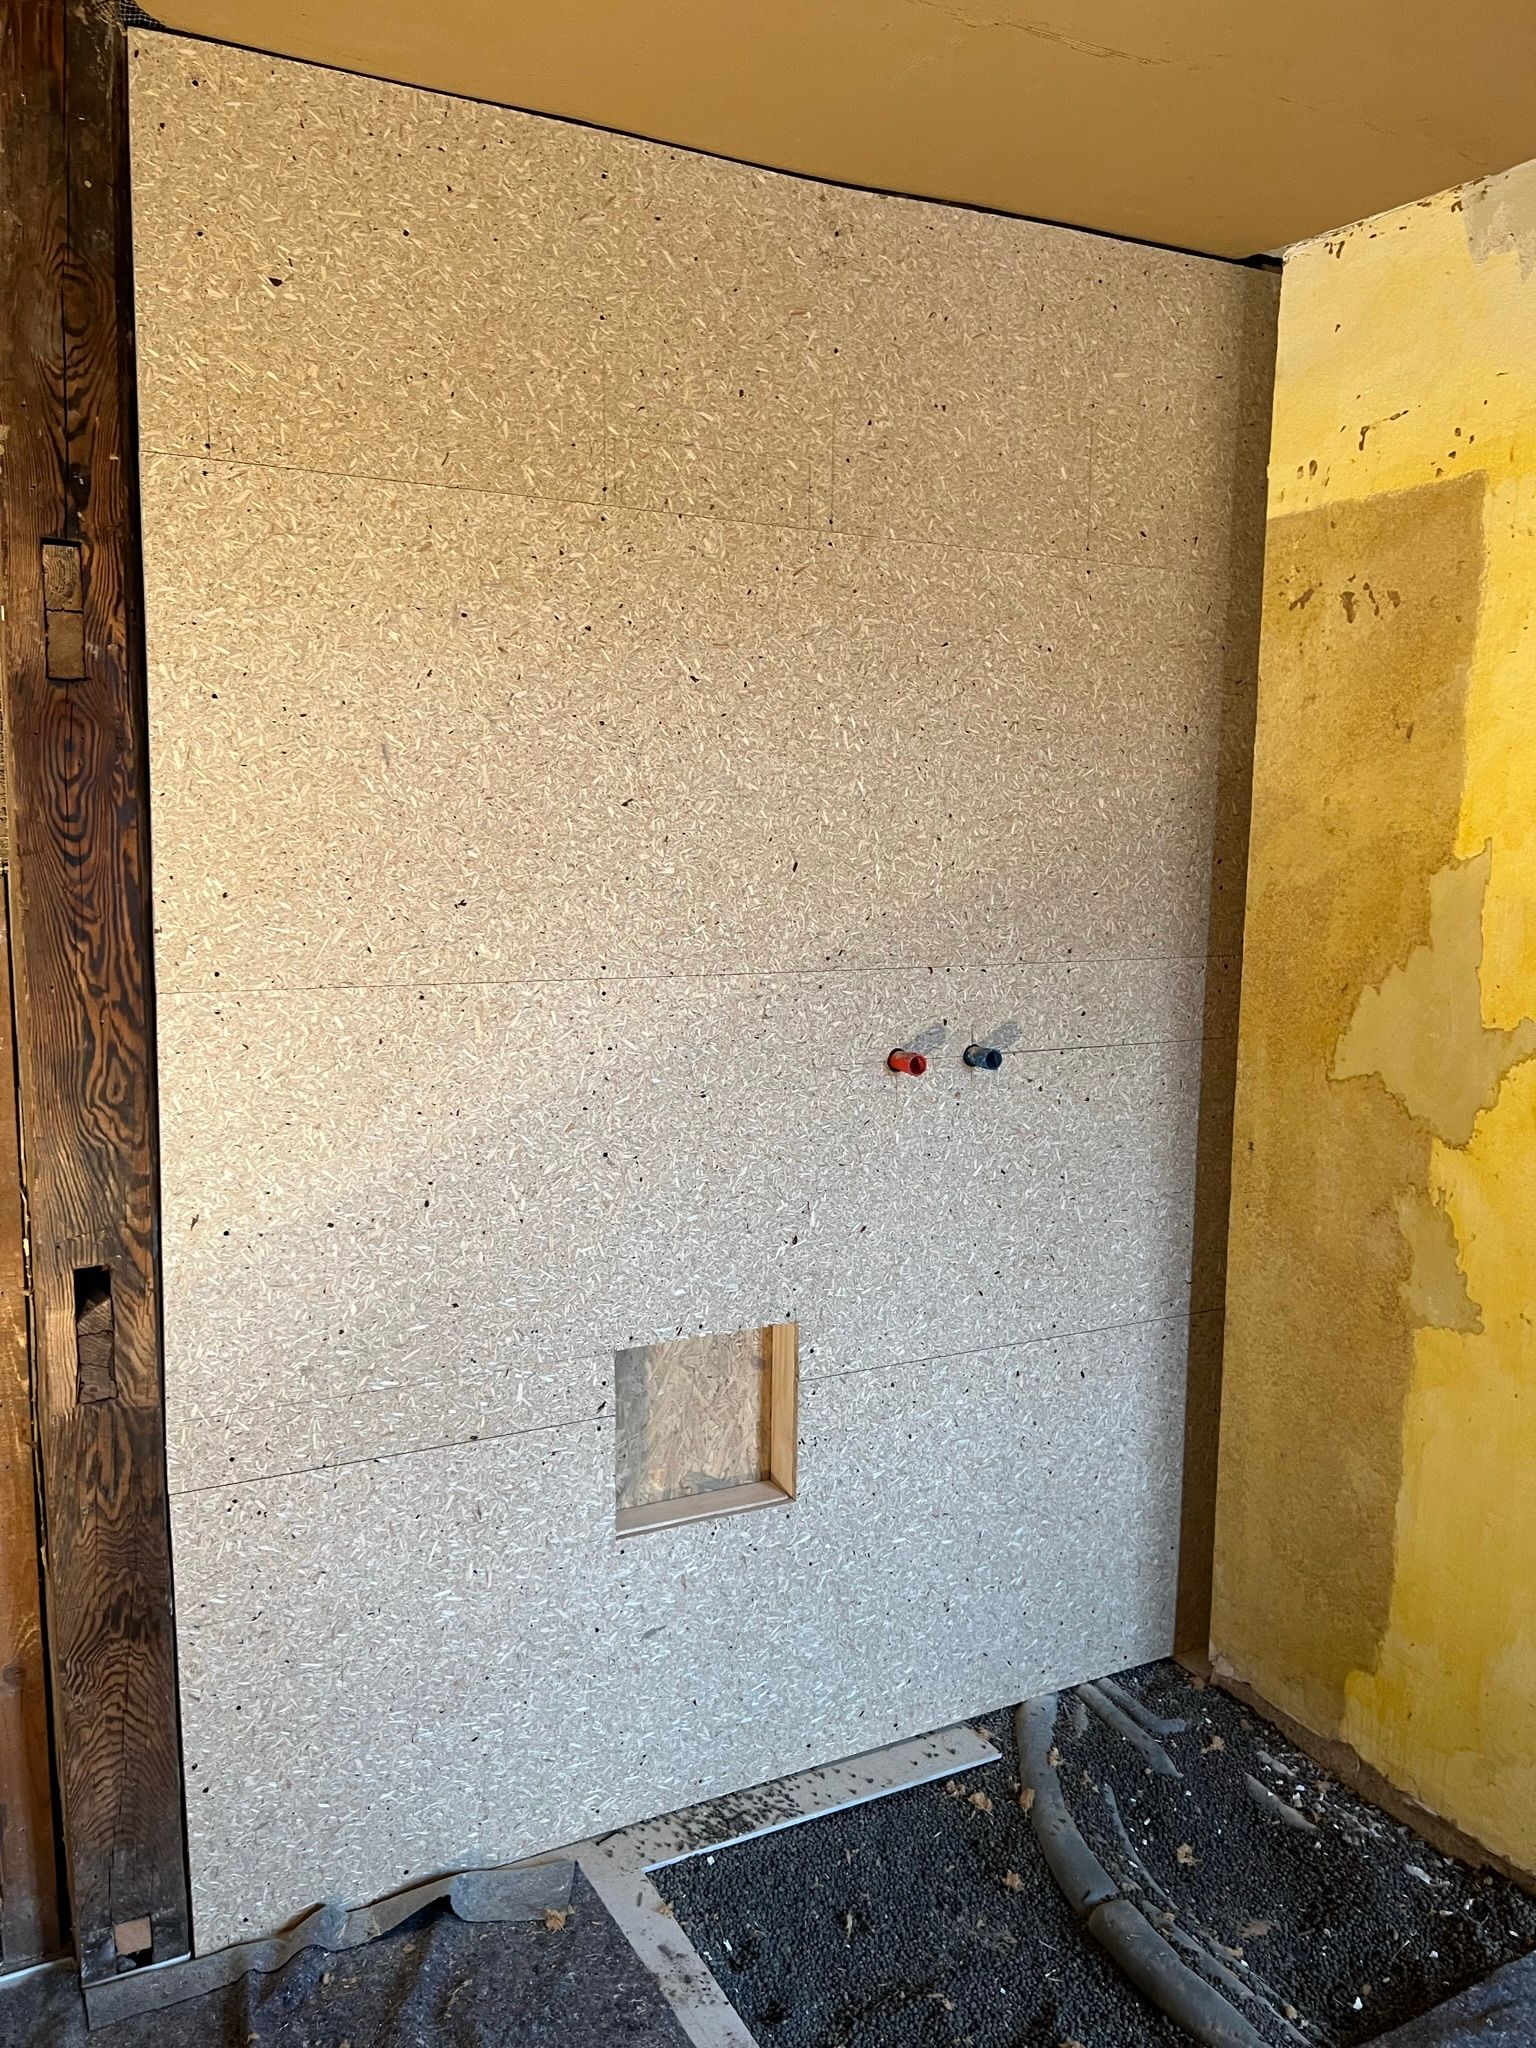
The timber framed wall included a (not ideally placed) small niche to put the shower gel and shampoo 🧴. We added wood fiber insulation between the beams and covered everything with wooden plates.
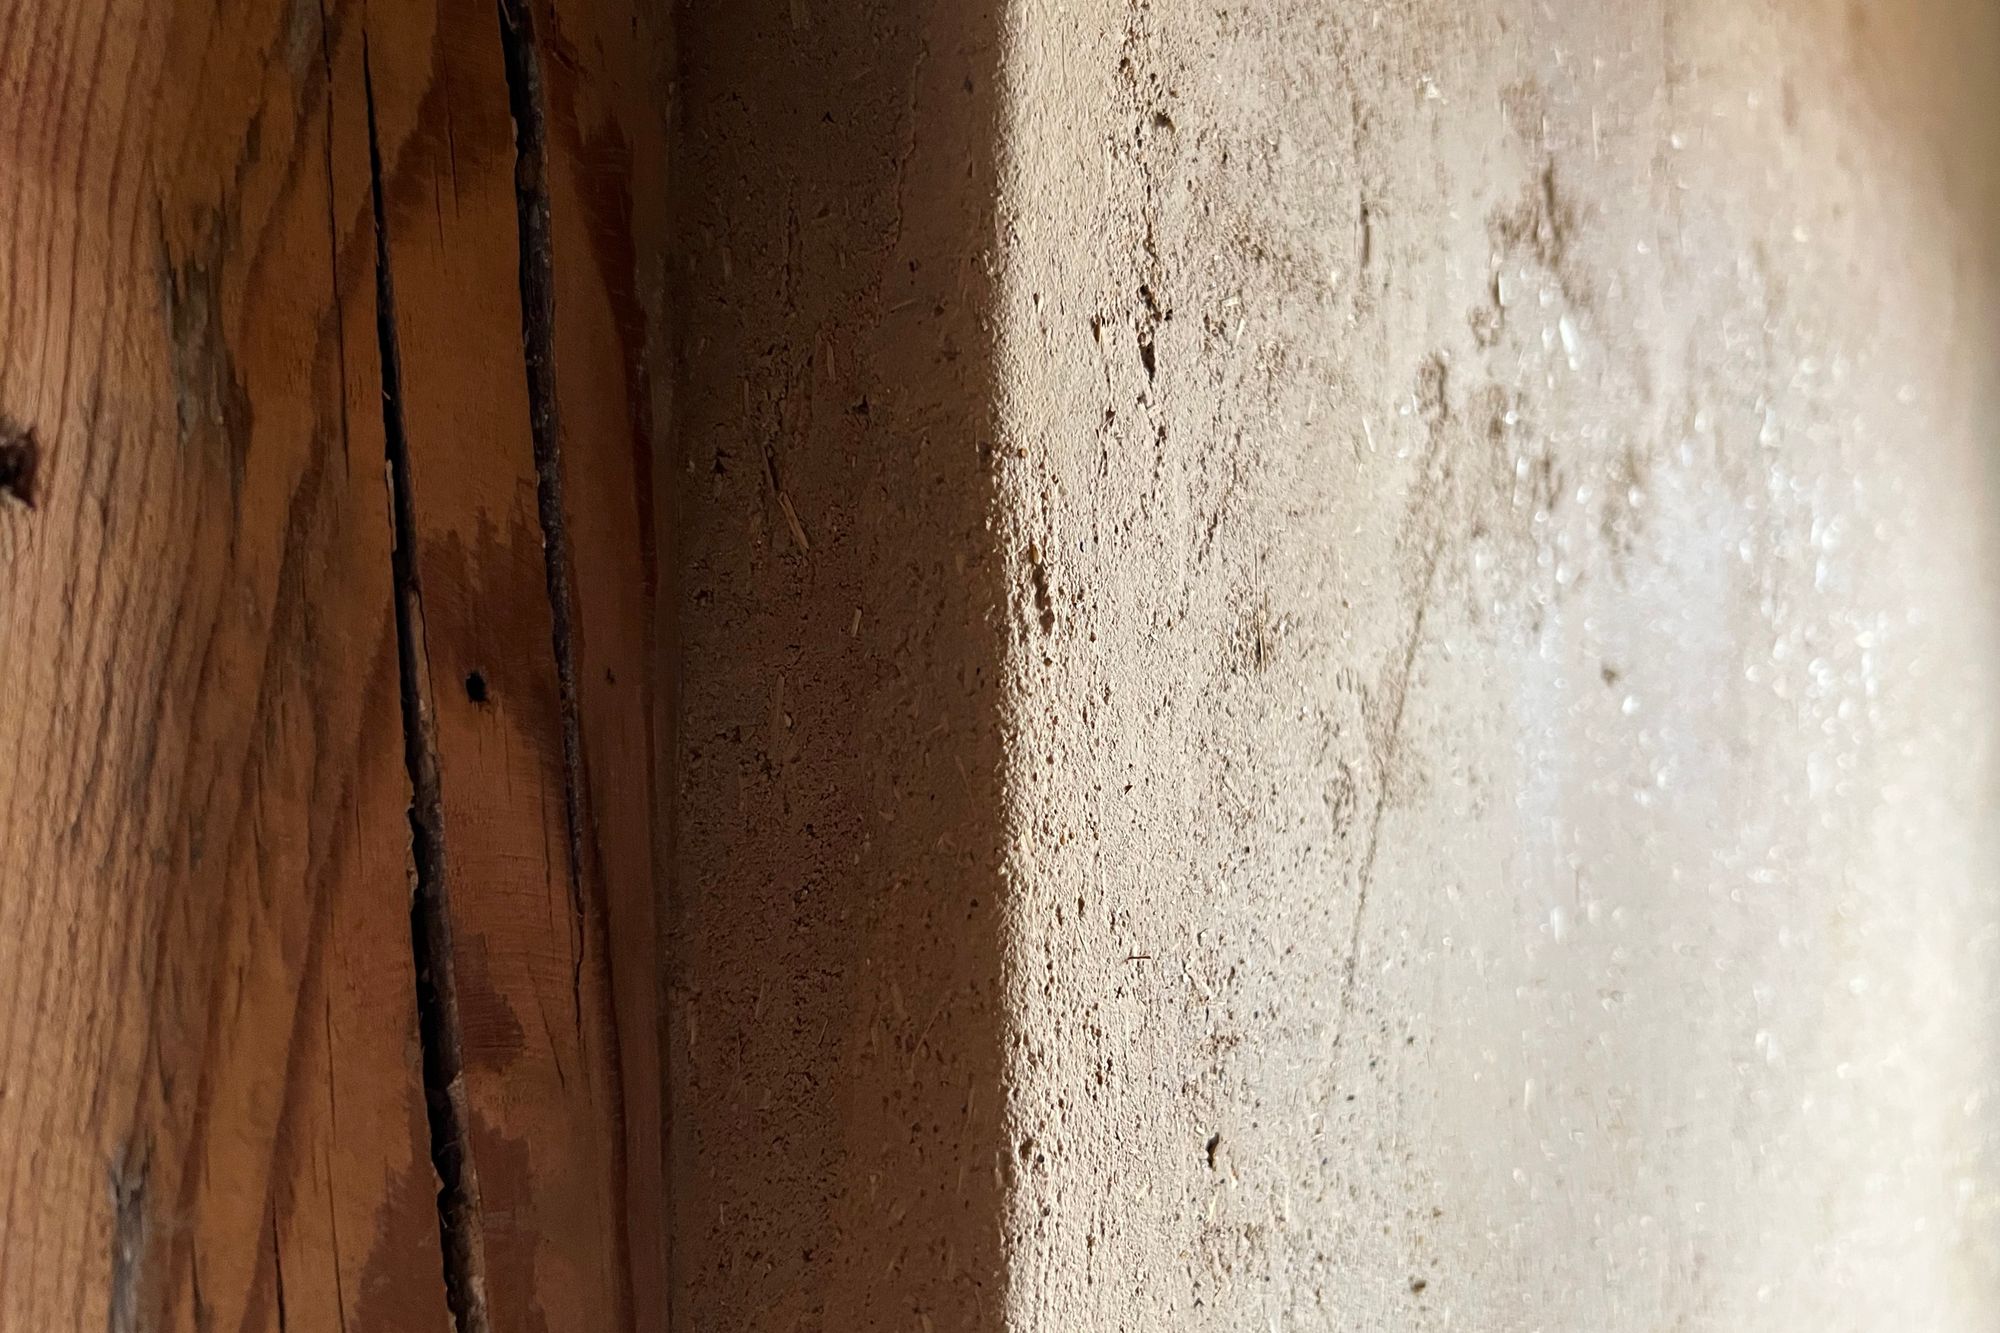
Surfaces
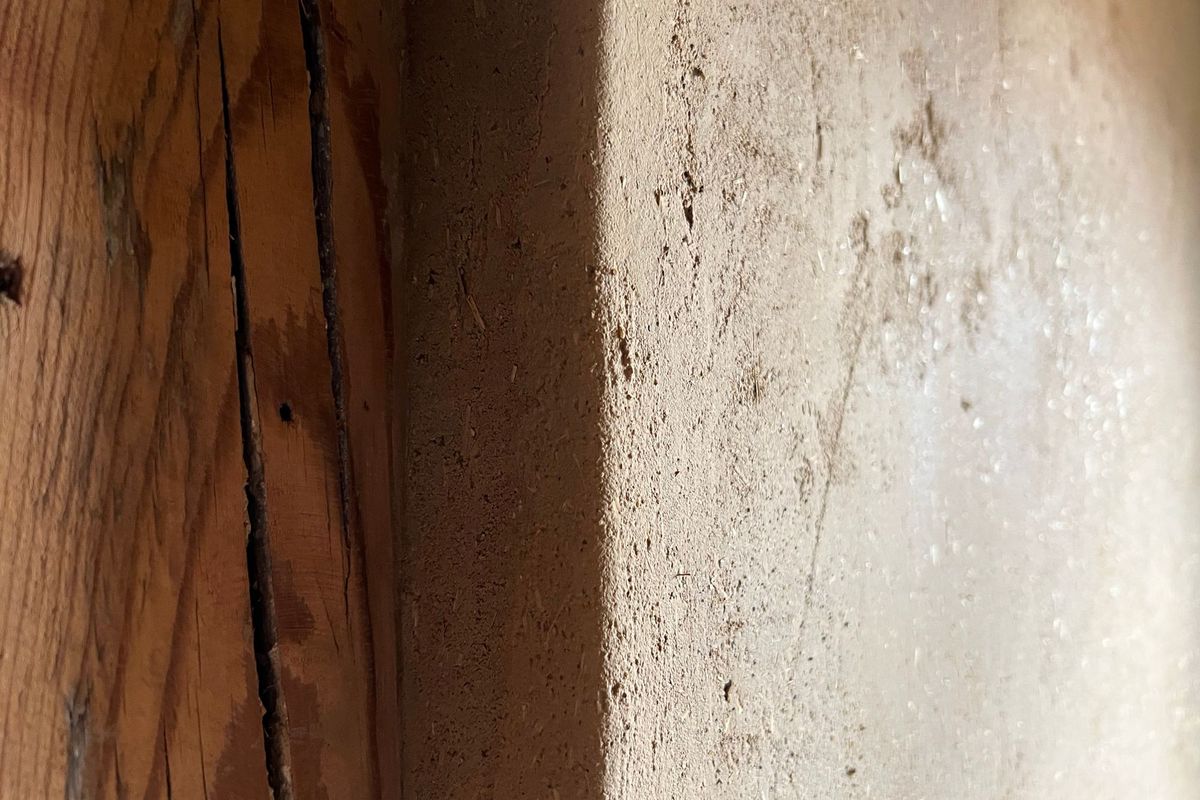
Now we were ready to work on the finishing coat layer of clay plaster. For the ceiling and most of the walls we’ve used a fine grain size that did not include any straw – that we planned to paint white. But we decided to set accents on some of the surfaces by using clay mixed with straw that we wanted to keep as is. 🌾
We paid quite a bit of attention to give everything an organic look – mostly by shaping rounded edges and going with the flow of the shape of the wooden beams and crooked ceilings 😅 Luckily for me my wife took the challenge to do all the work on the ceilings – which is super hard on the neck and arms.
Our little clay cave was ready for the final layer: the white clay paint. 🎨