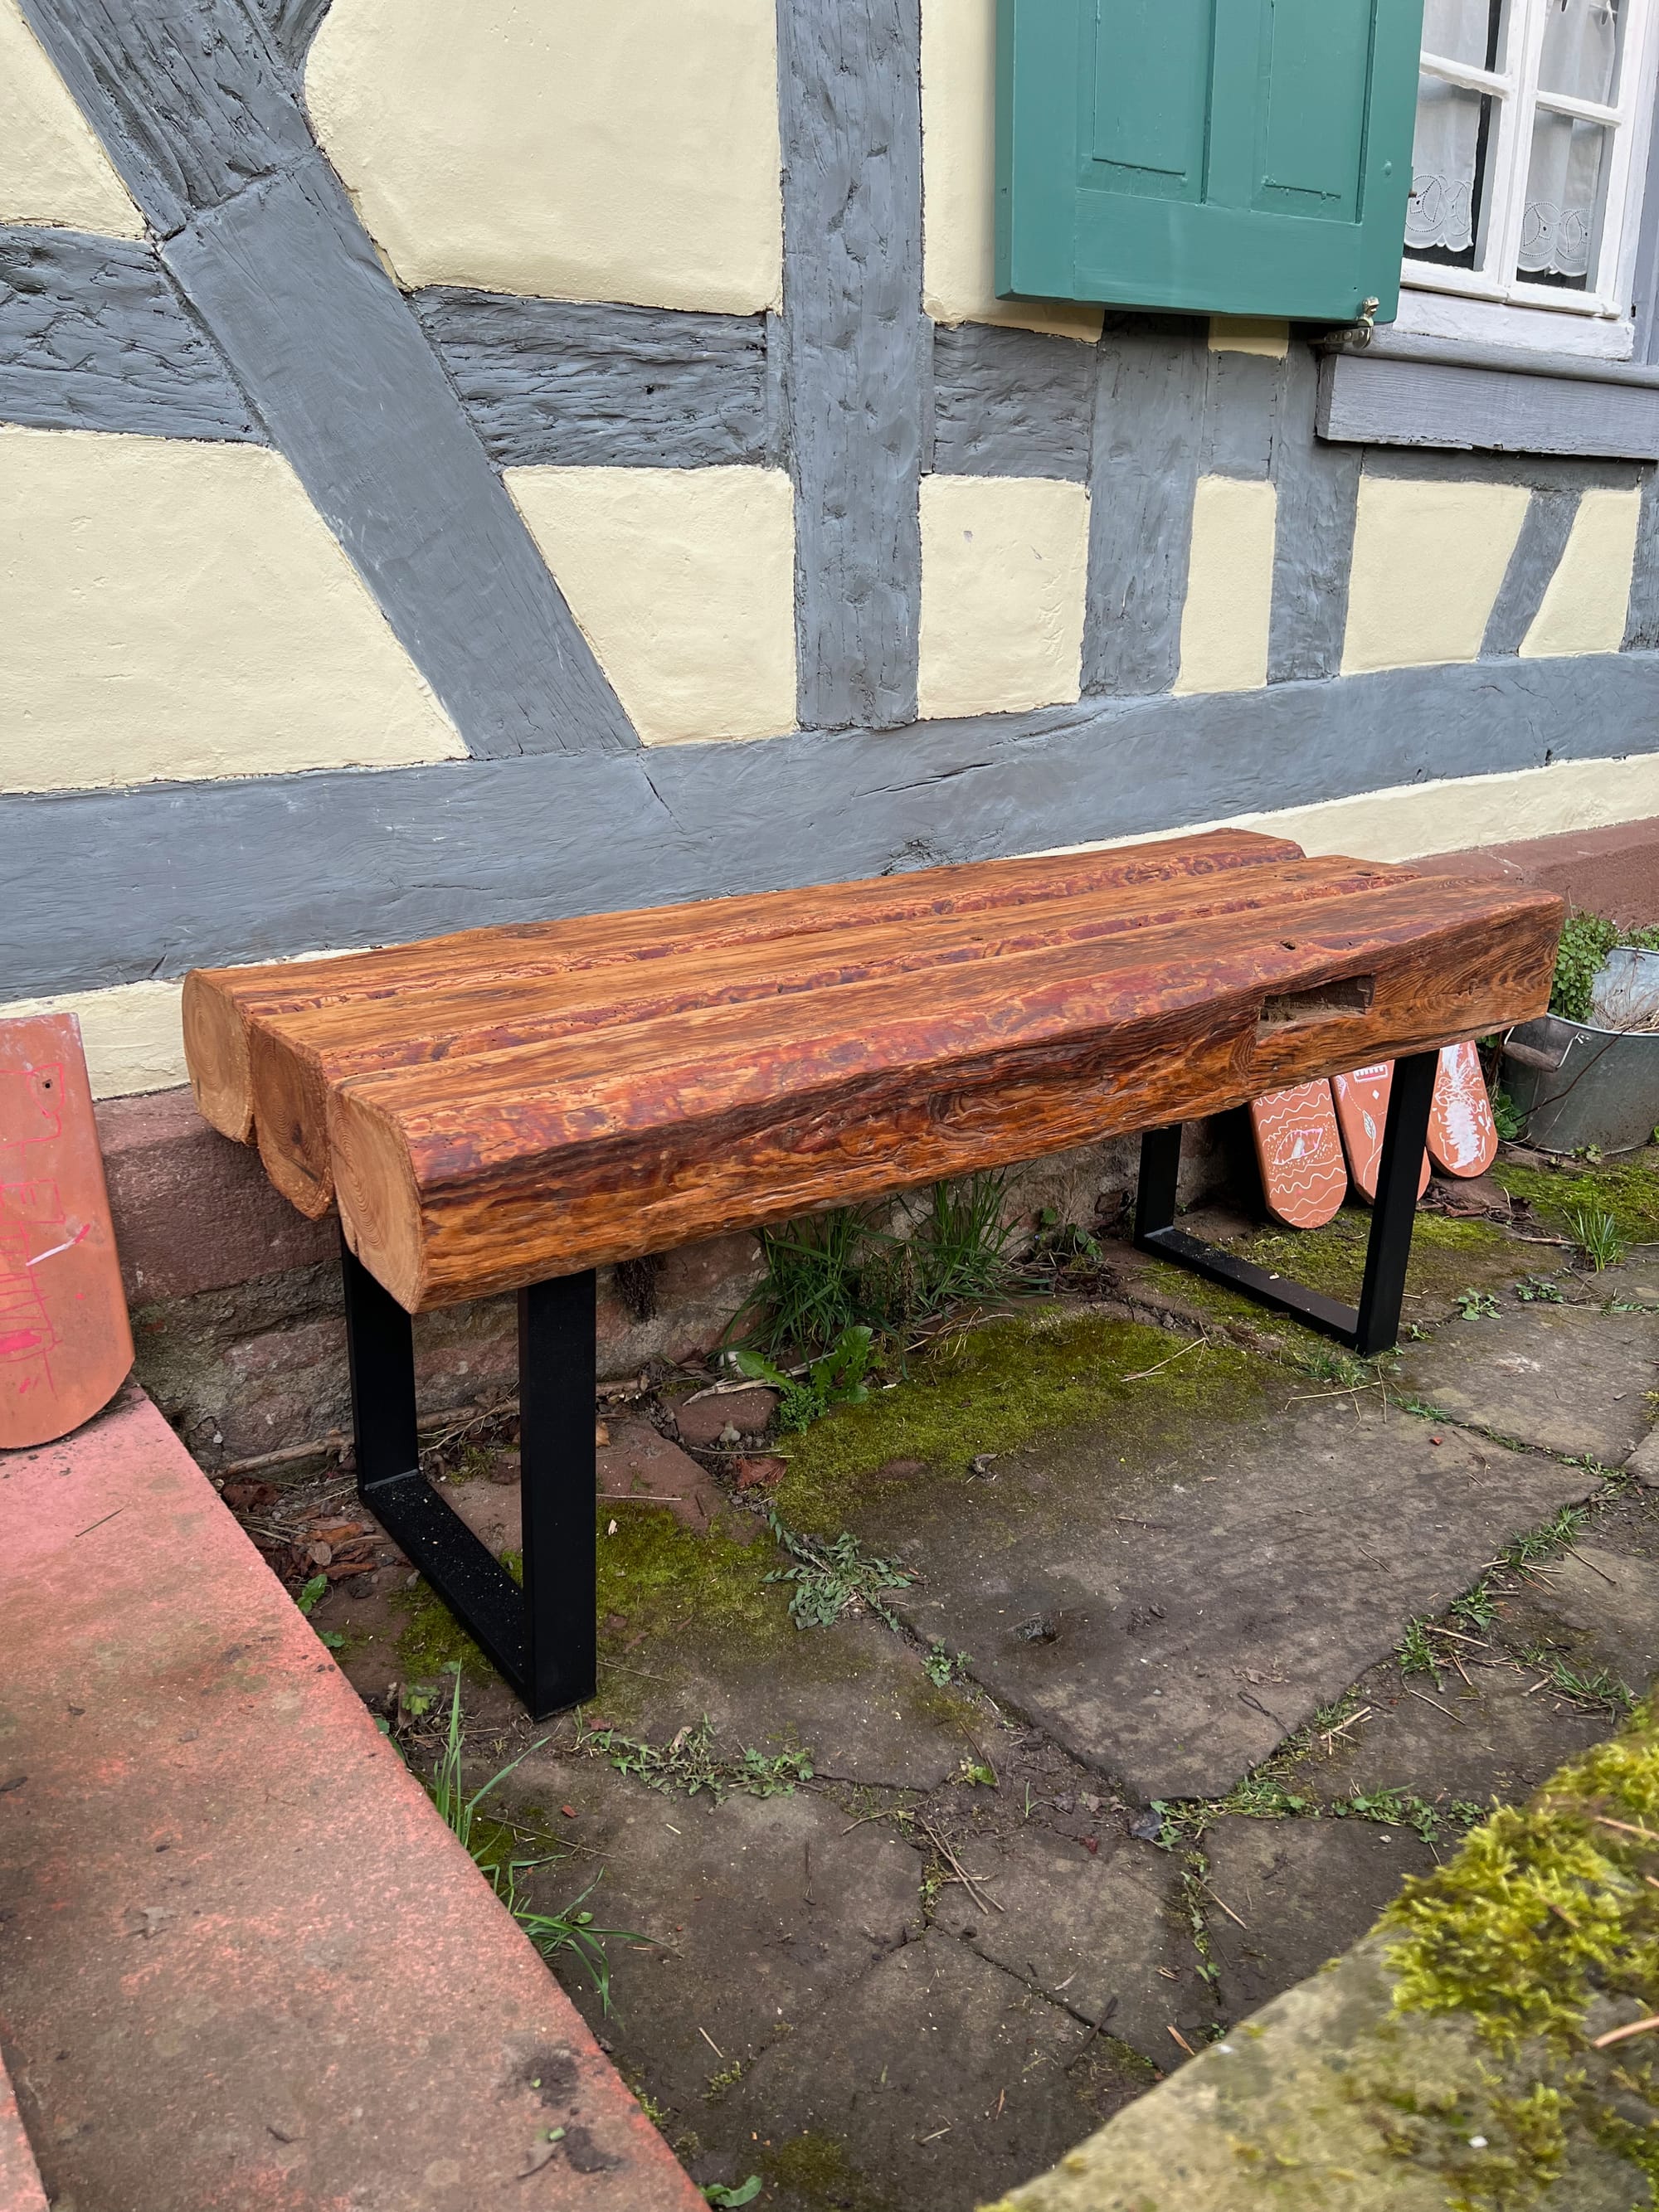
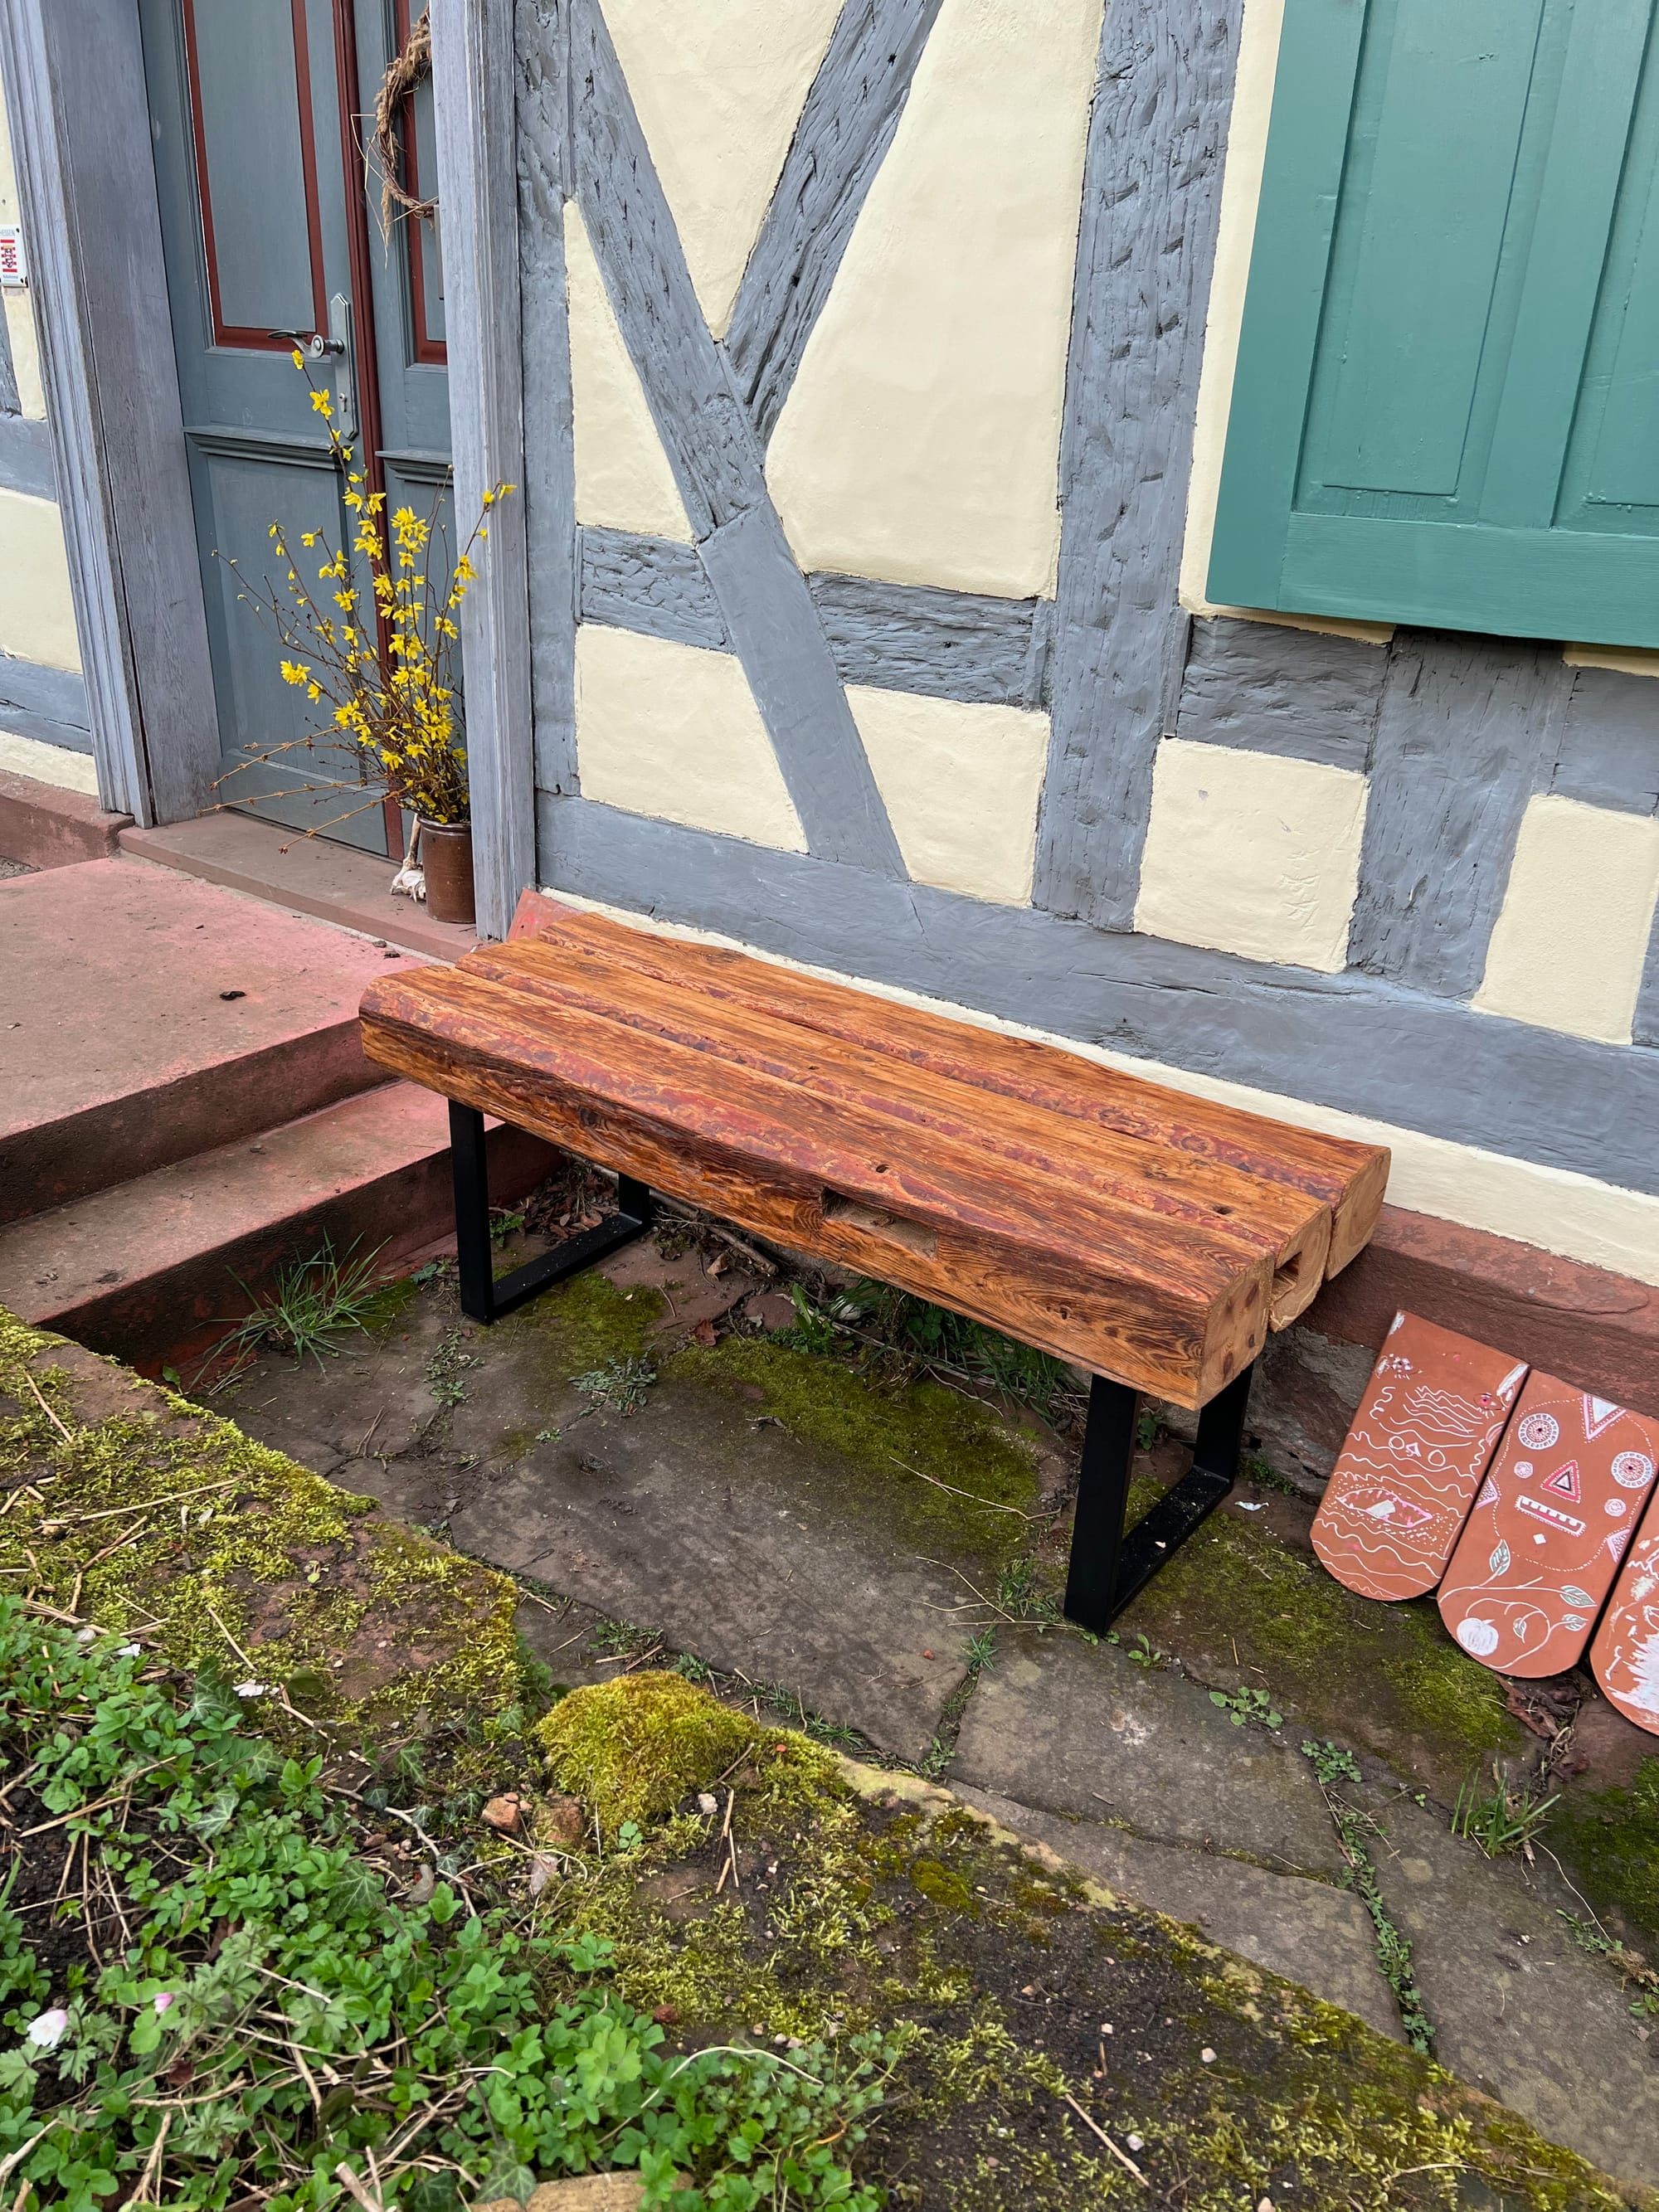
Garden Bench from Recycled Wood
Building a garden bench using recycled wood
Idea
Now that spring is coming back it’s finally time again to enjoy sitting in the sun and drinking coffee. We have a good spot right next to the entry of our house that is perfect for that. The only thing that is missing – a nice bench to sit on. Fortunately there was this nice 4,5m long wooden beam lying around in our shed – so I decided to use it to build exactly that.
Preparing the beams
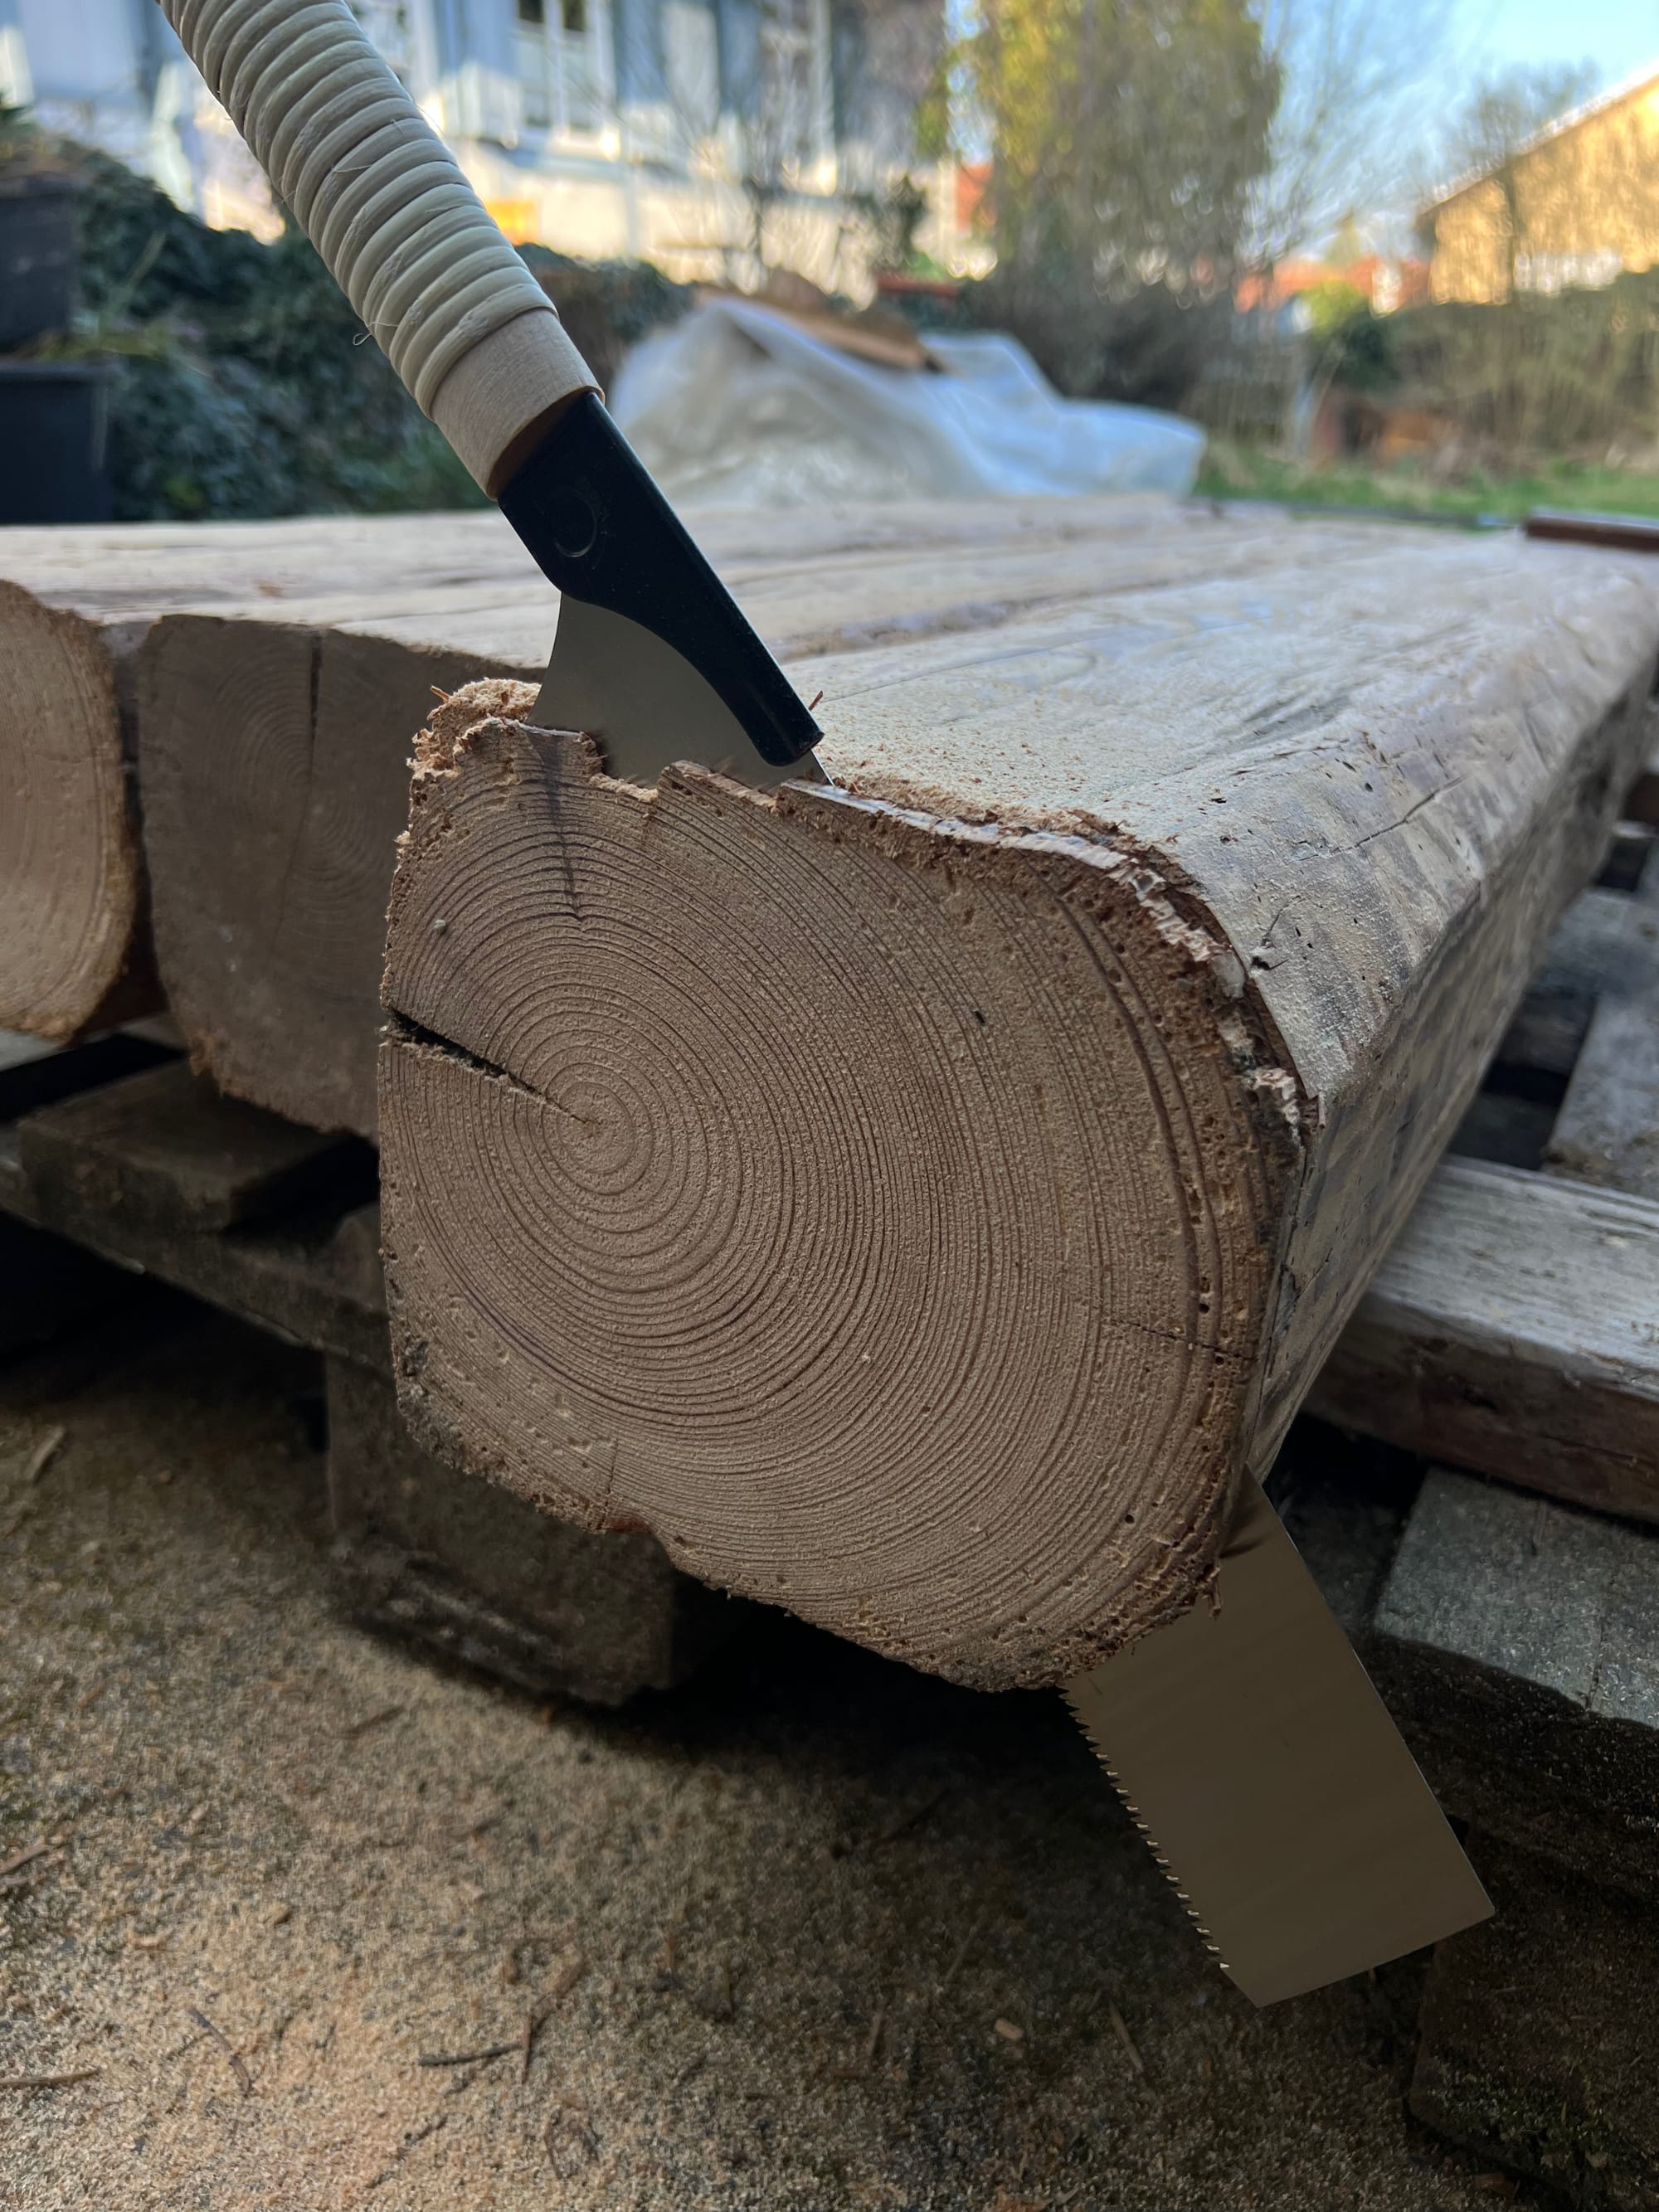
The first thing I did was to cut it into 3 pieces using the Japanese saw. Then I started to put some work into the surface of the beams. The quality of the wood (pine) wasn’t great, but definitely sufficient for the purpose I had in mind. I’ve used the angle grinder to remove the worst dirt and the chisel to get rid of larger patches that were affected by woodworms.
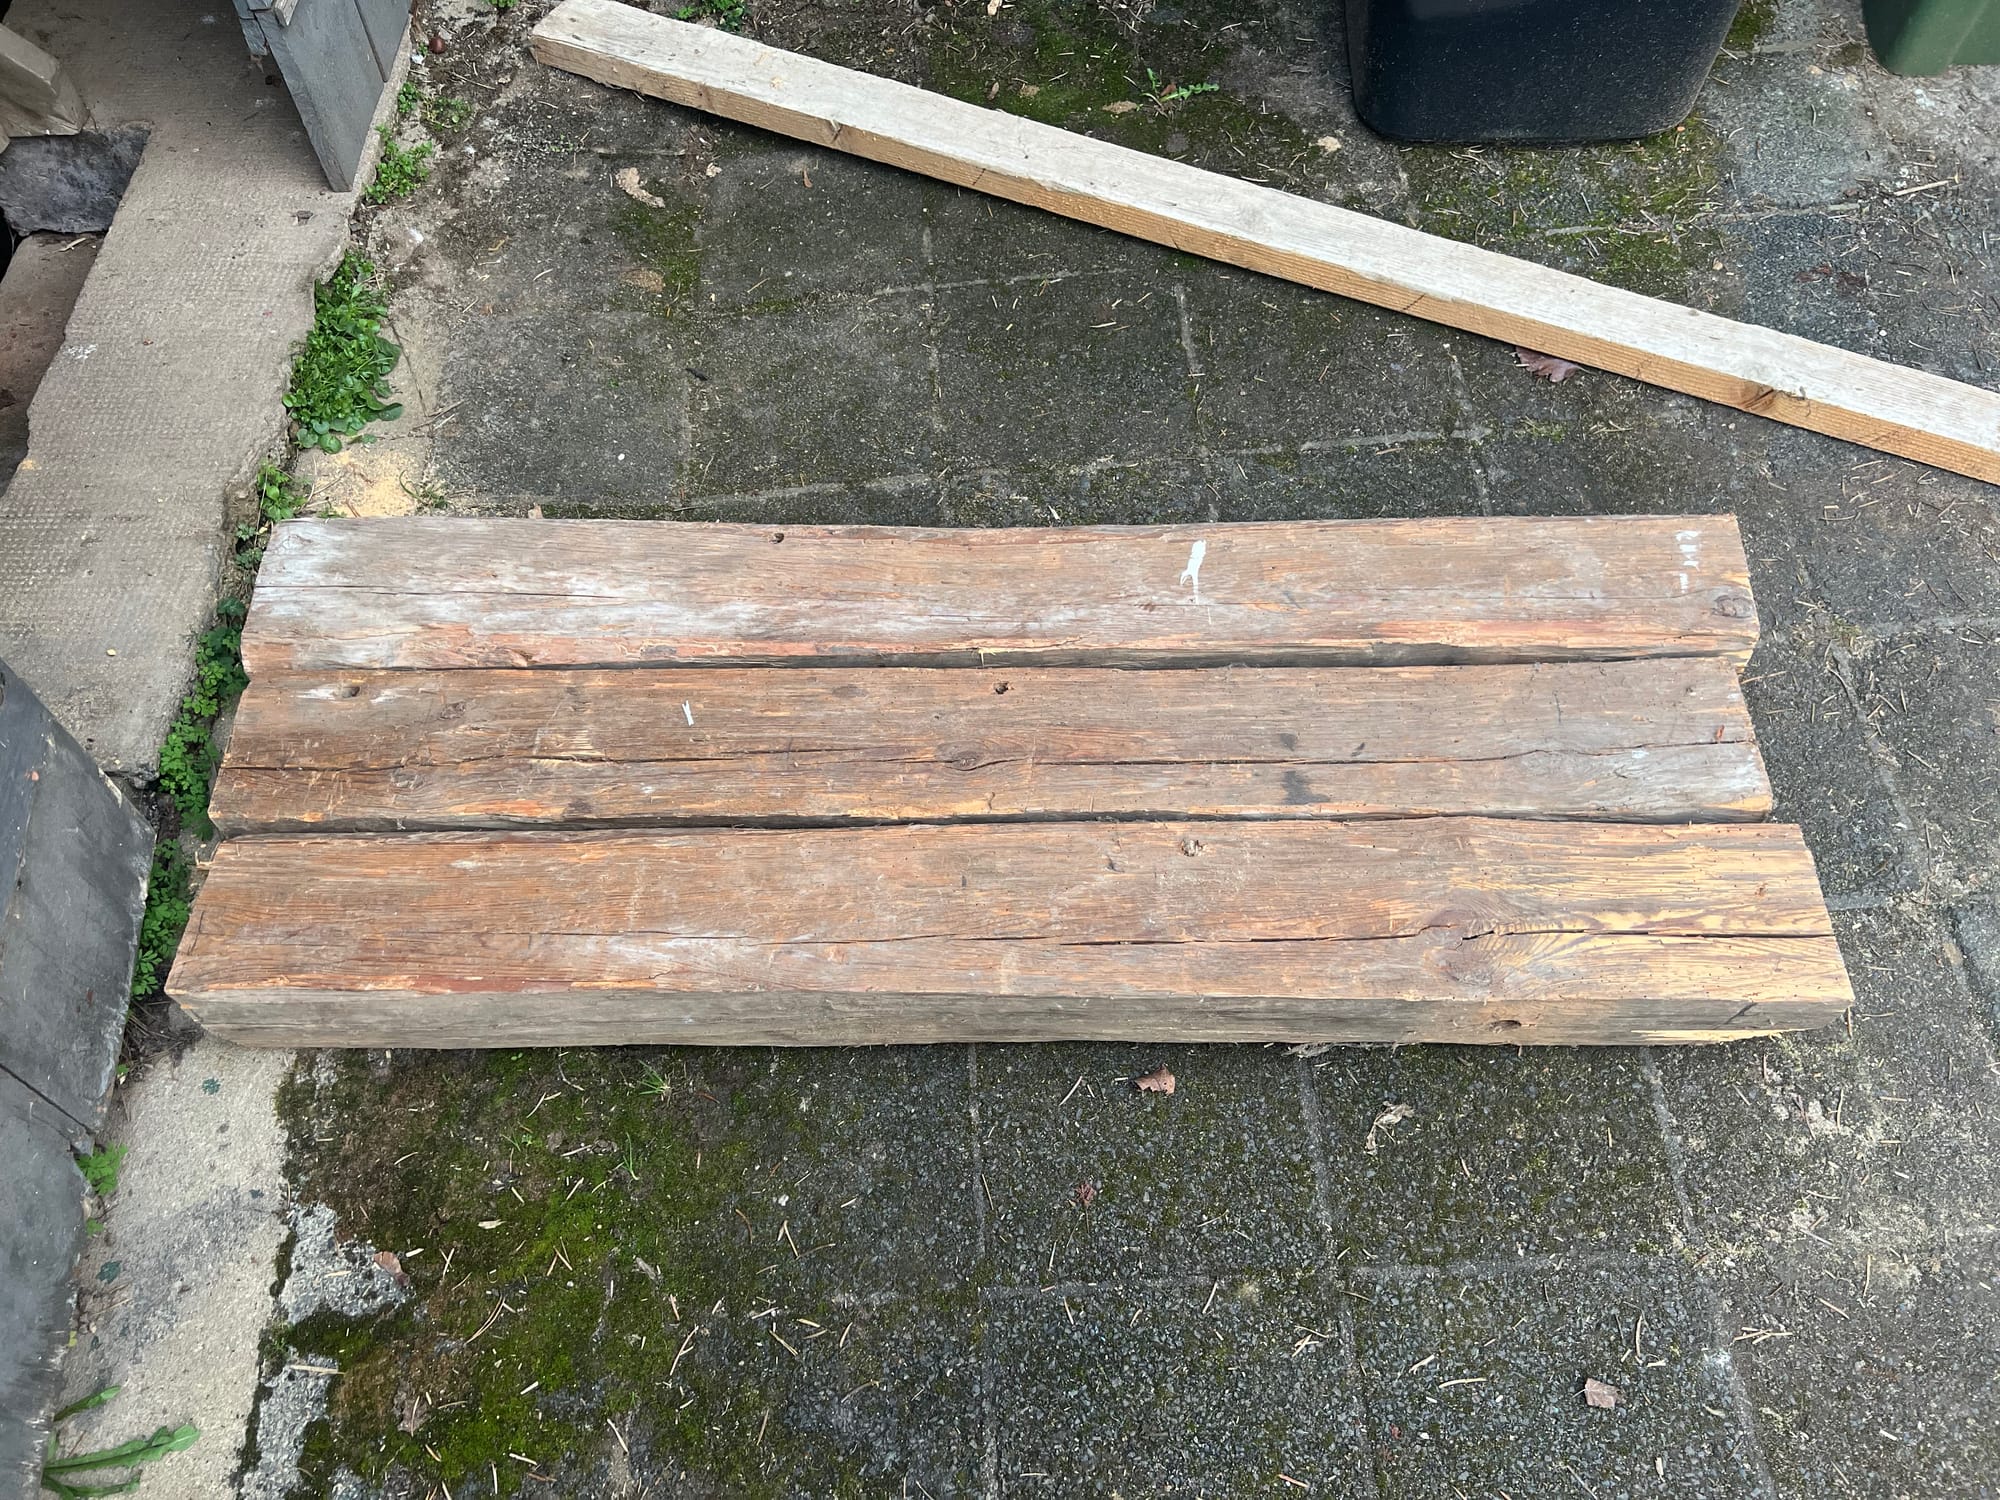
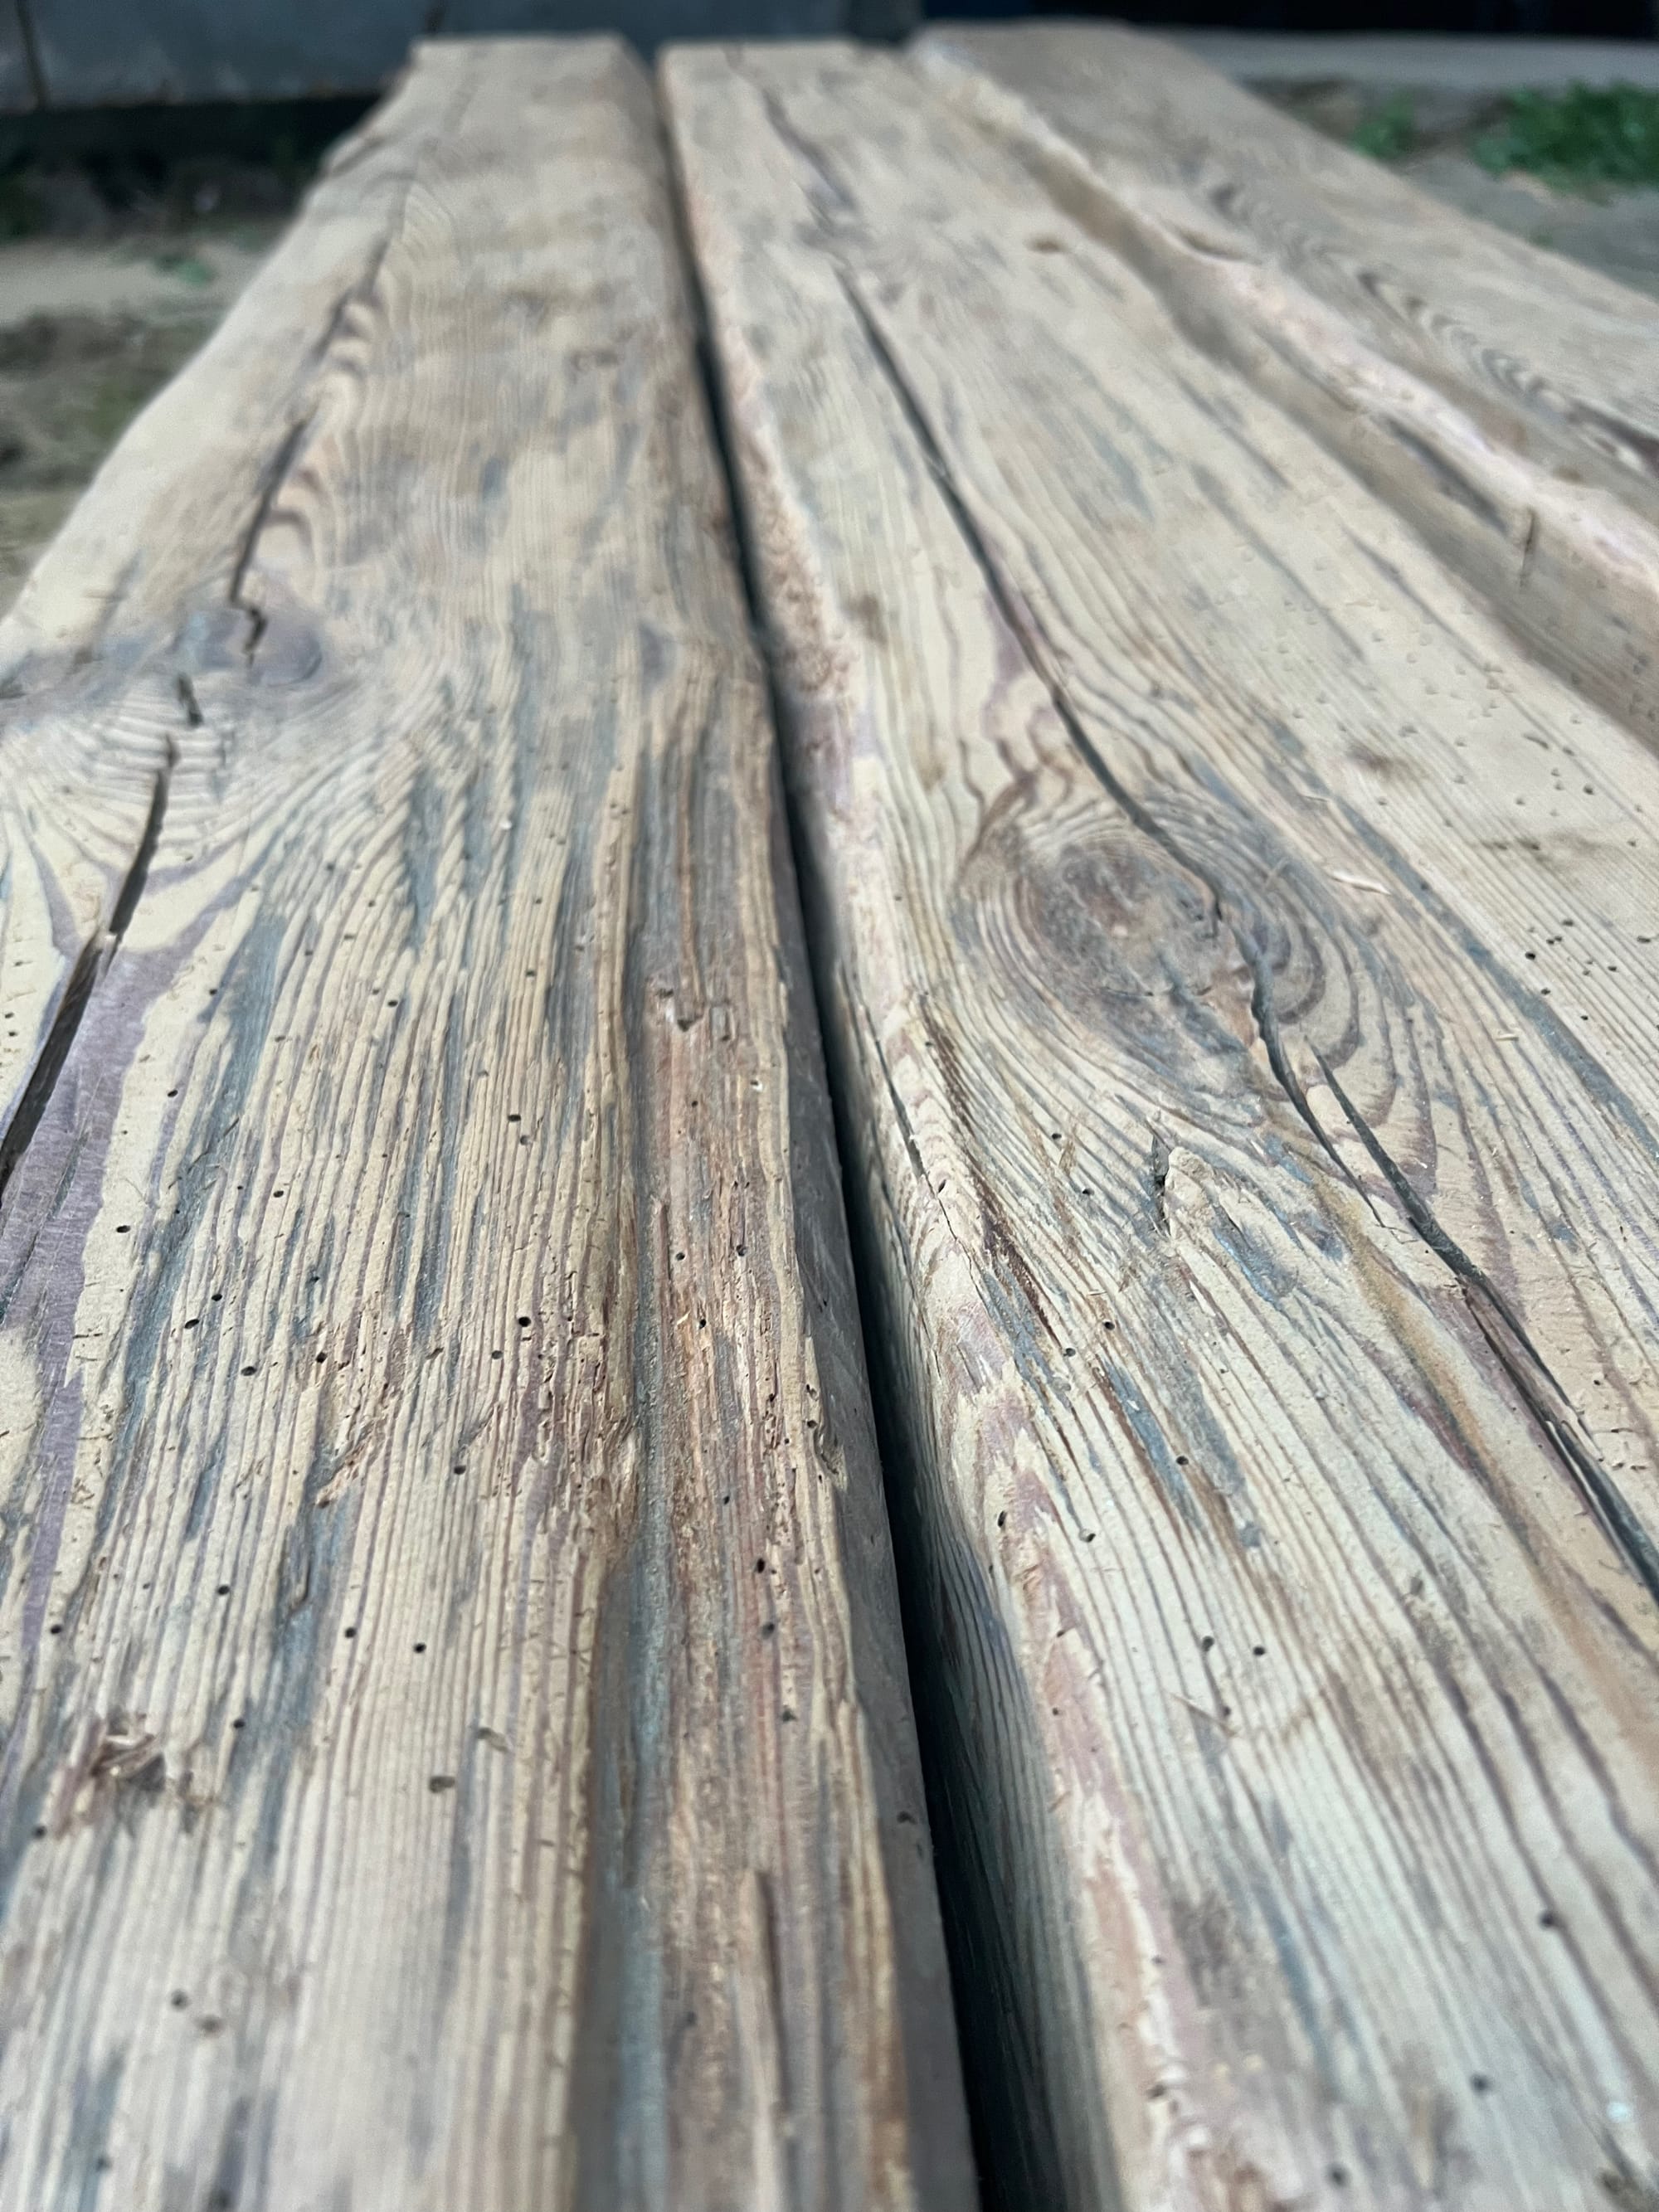
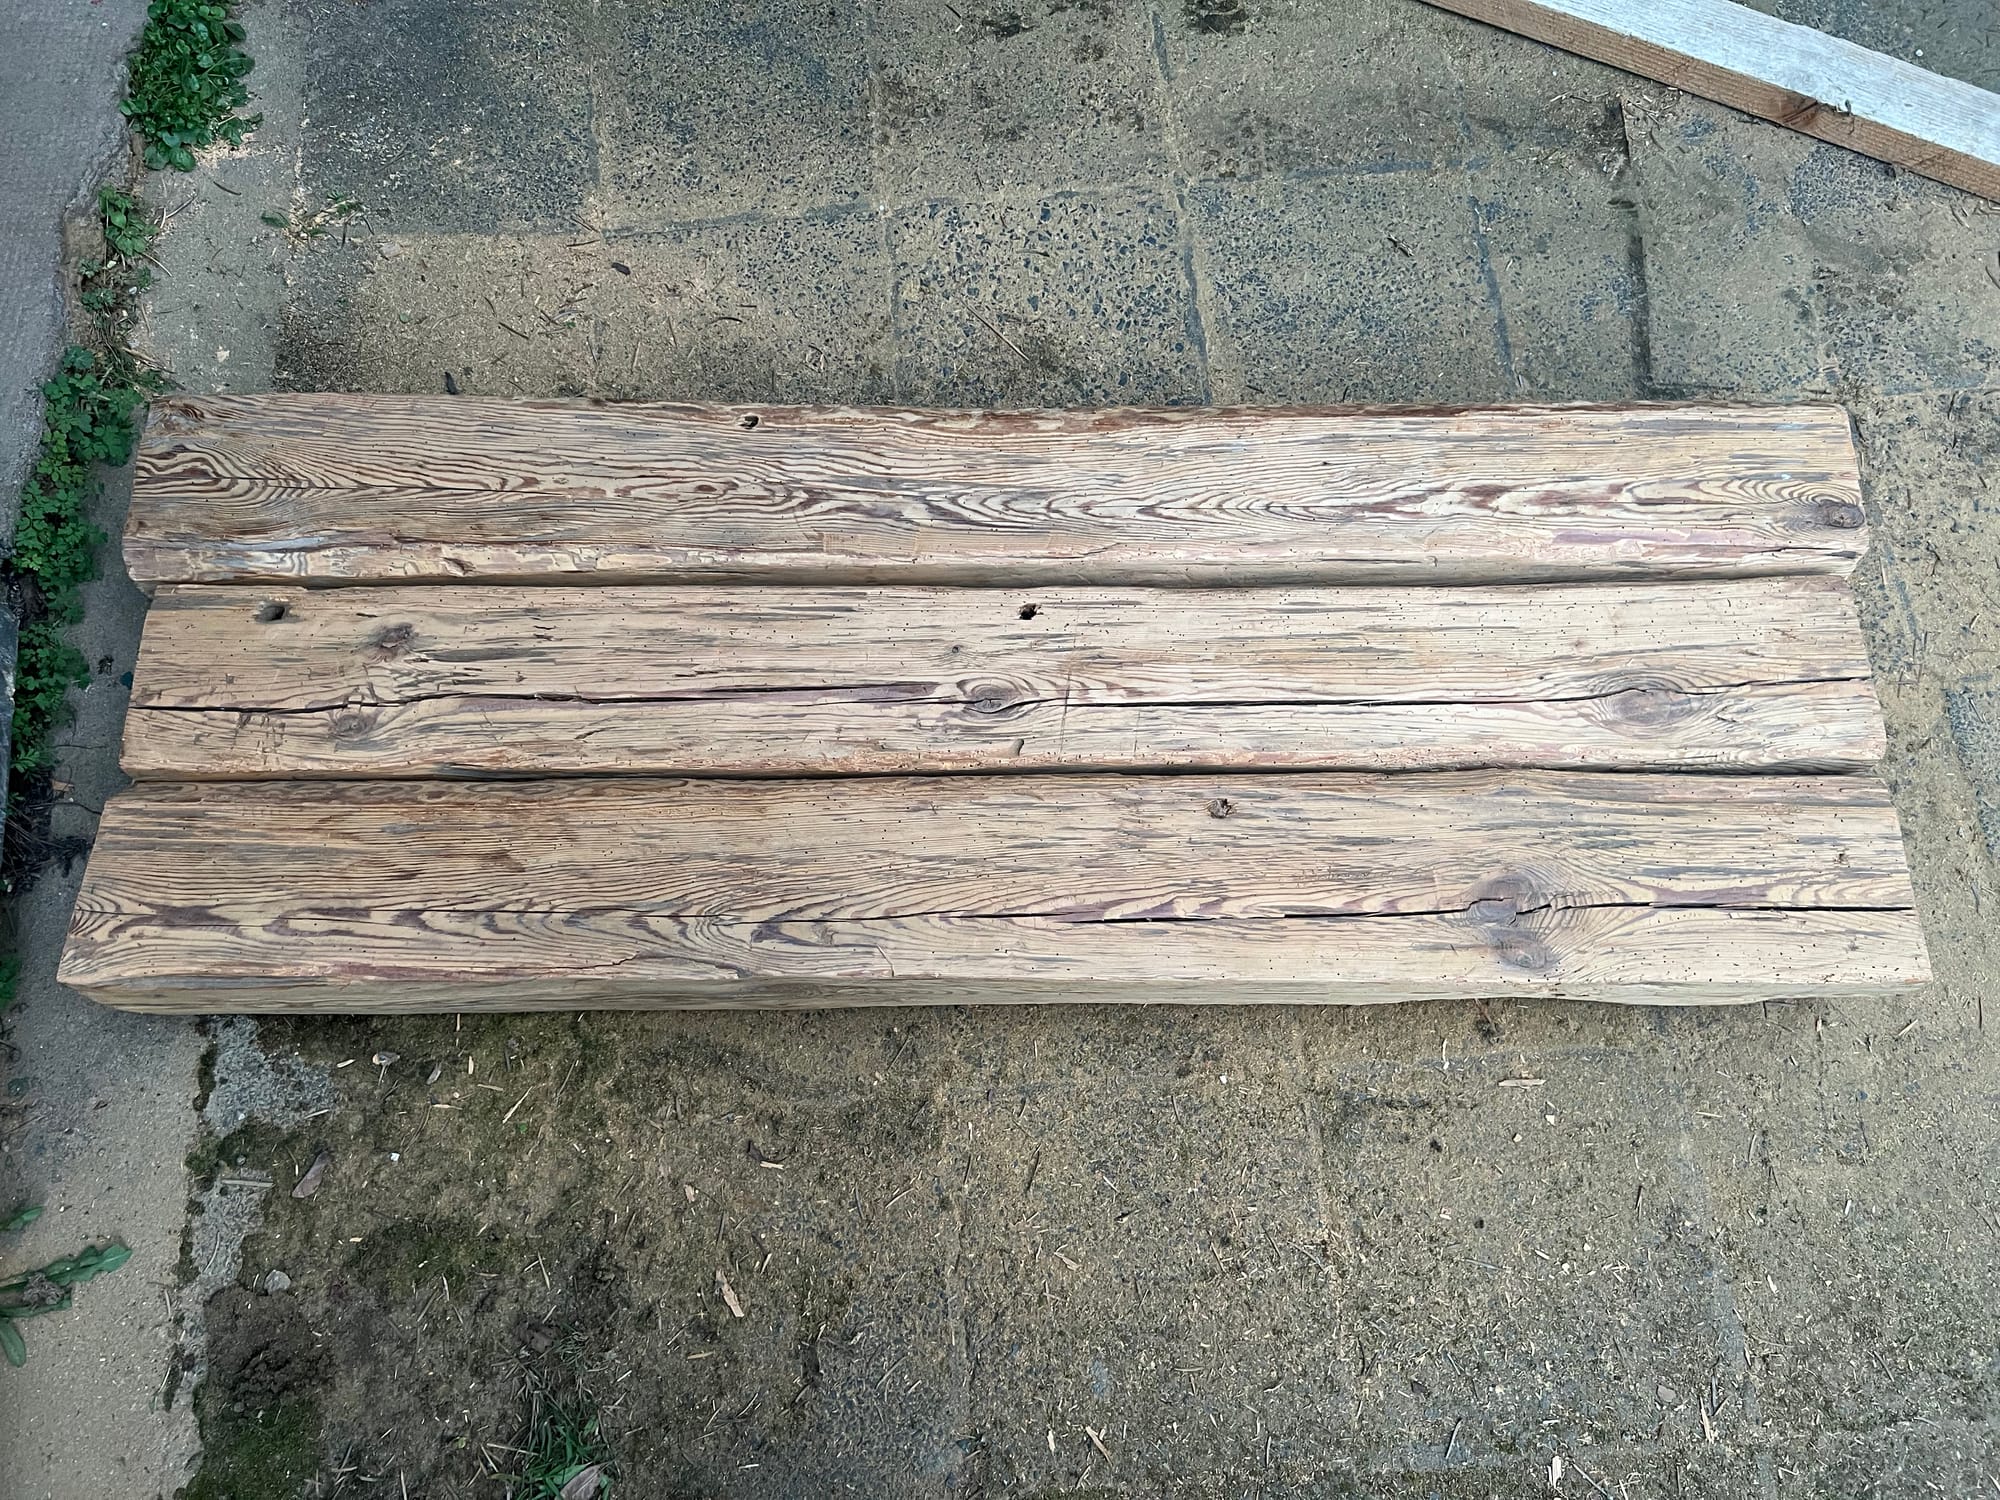
Then I switched to the rotary sander (40 grit → 120 grit) and did the last bit of sanding (240 grit) by hand. In the next step I applied two layers of linseed oil to protect the wood a bit and bring out more of the texture.
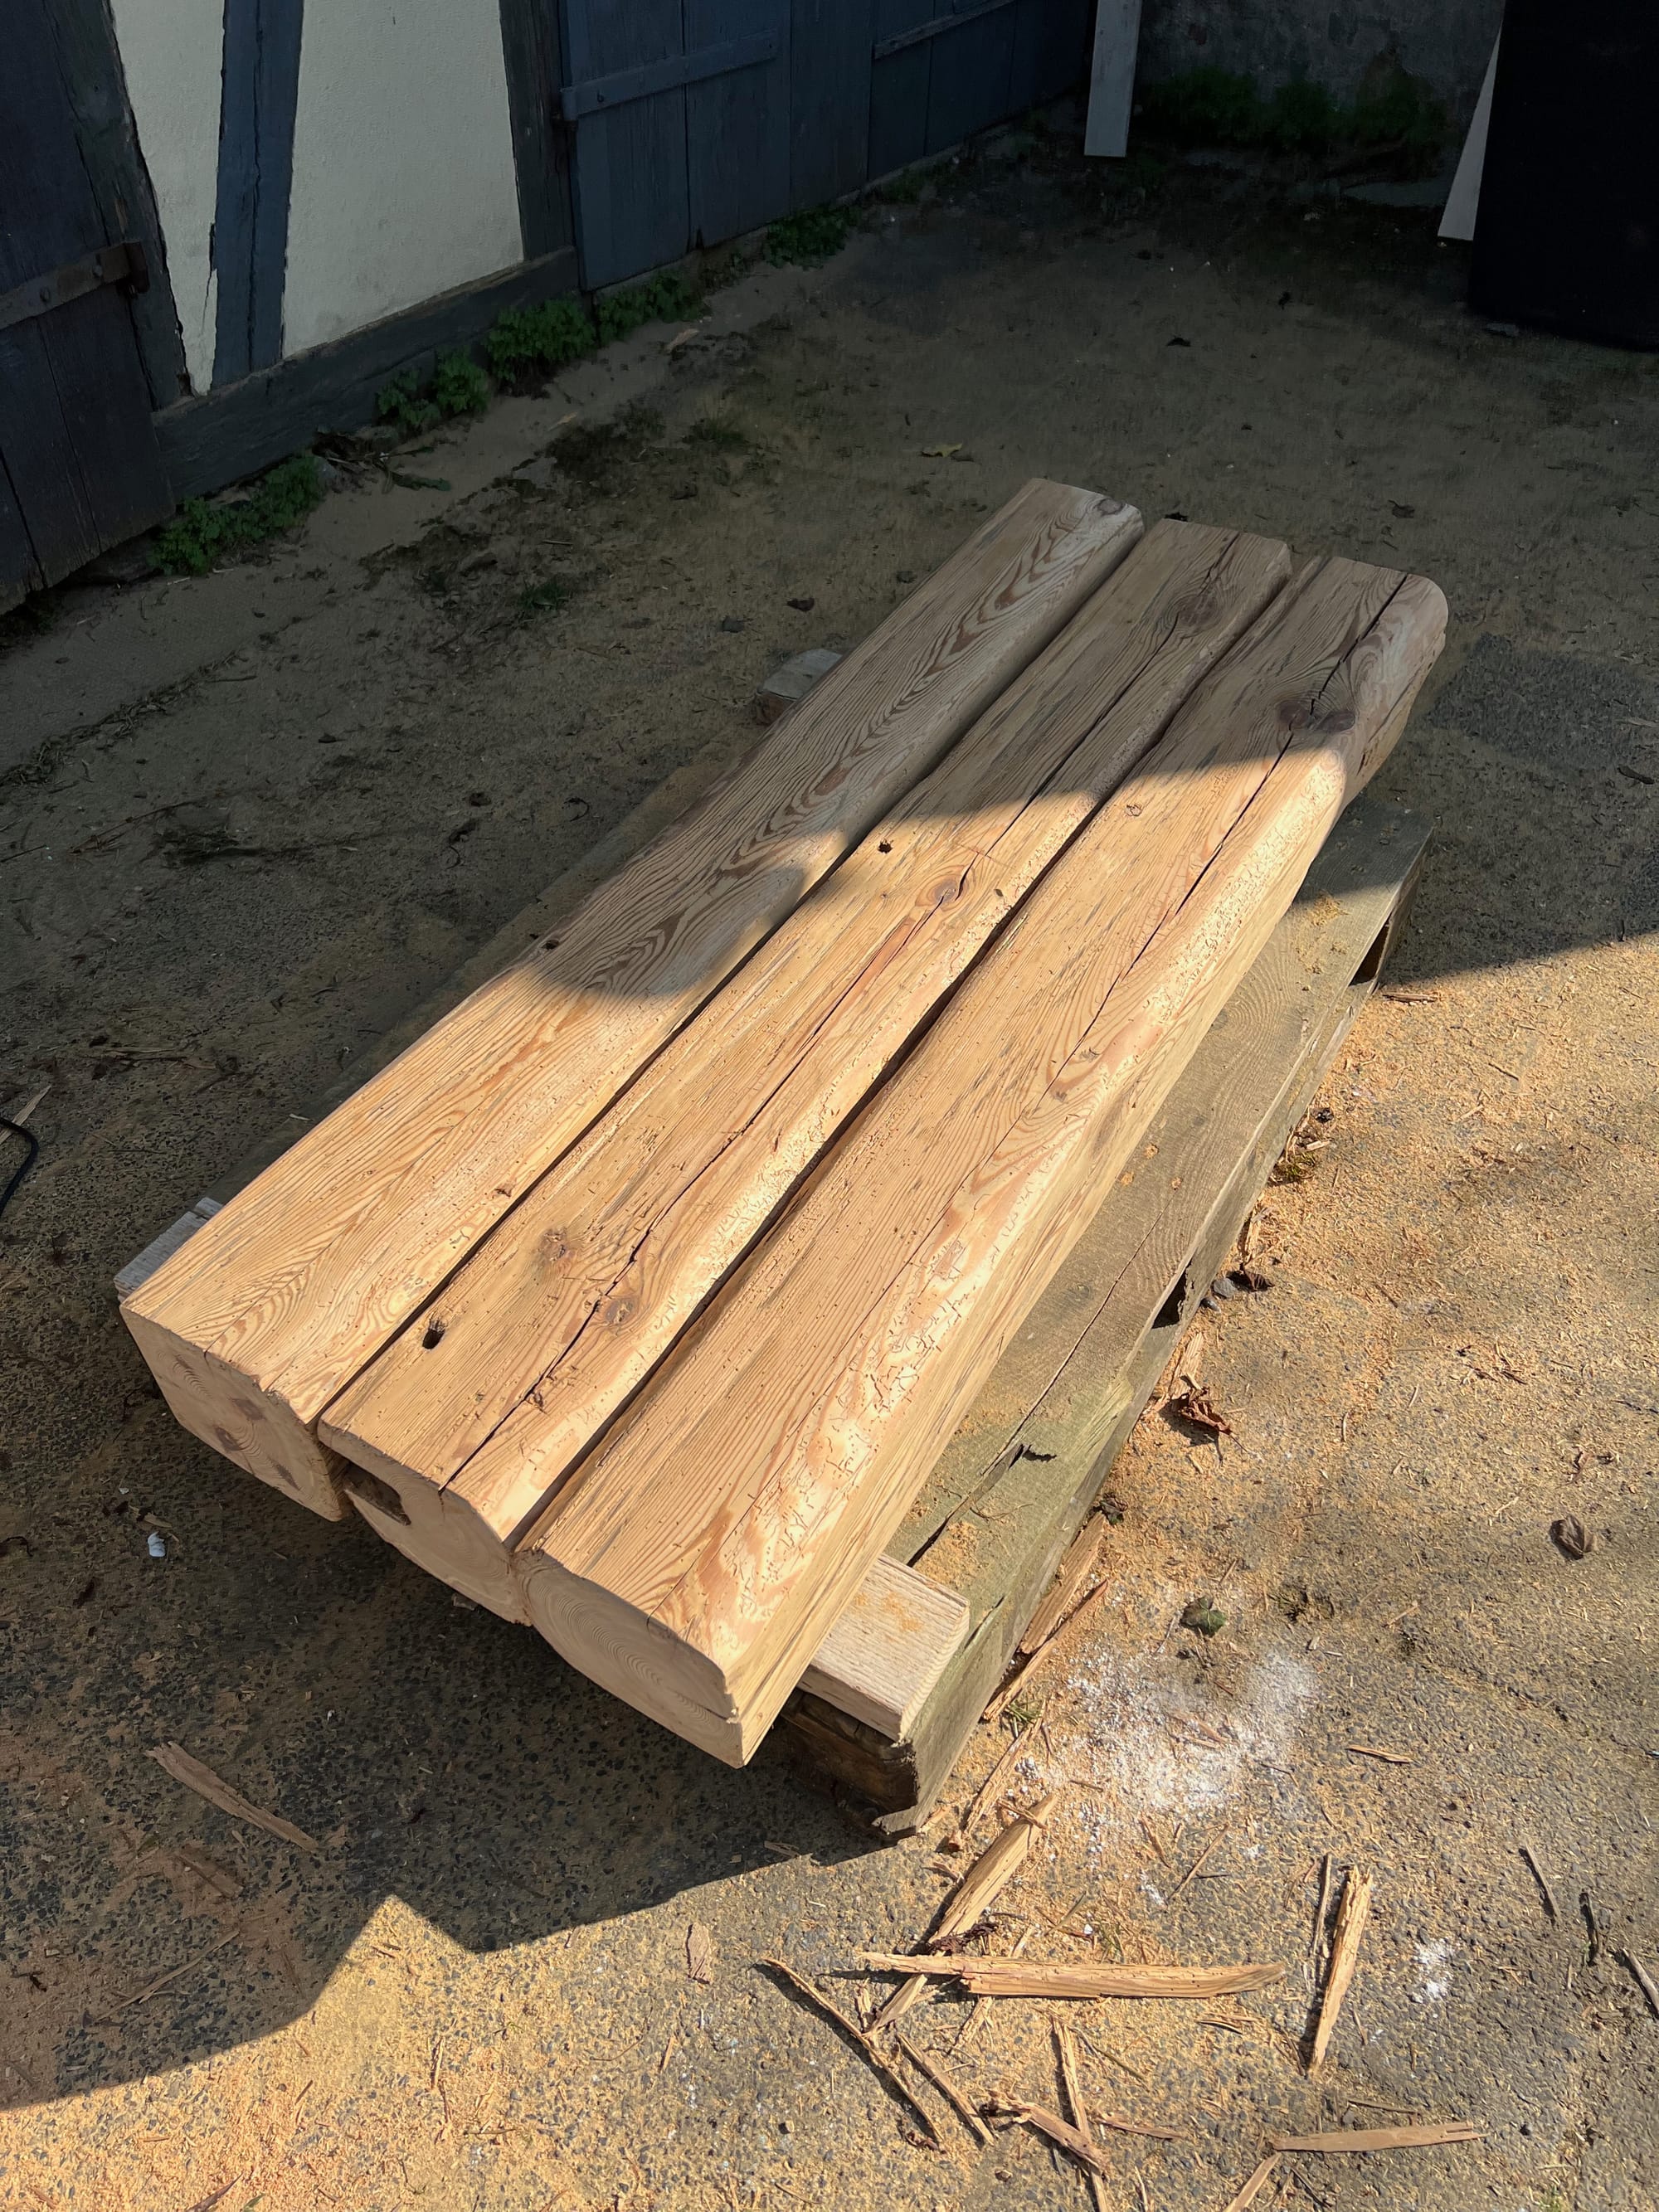
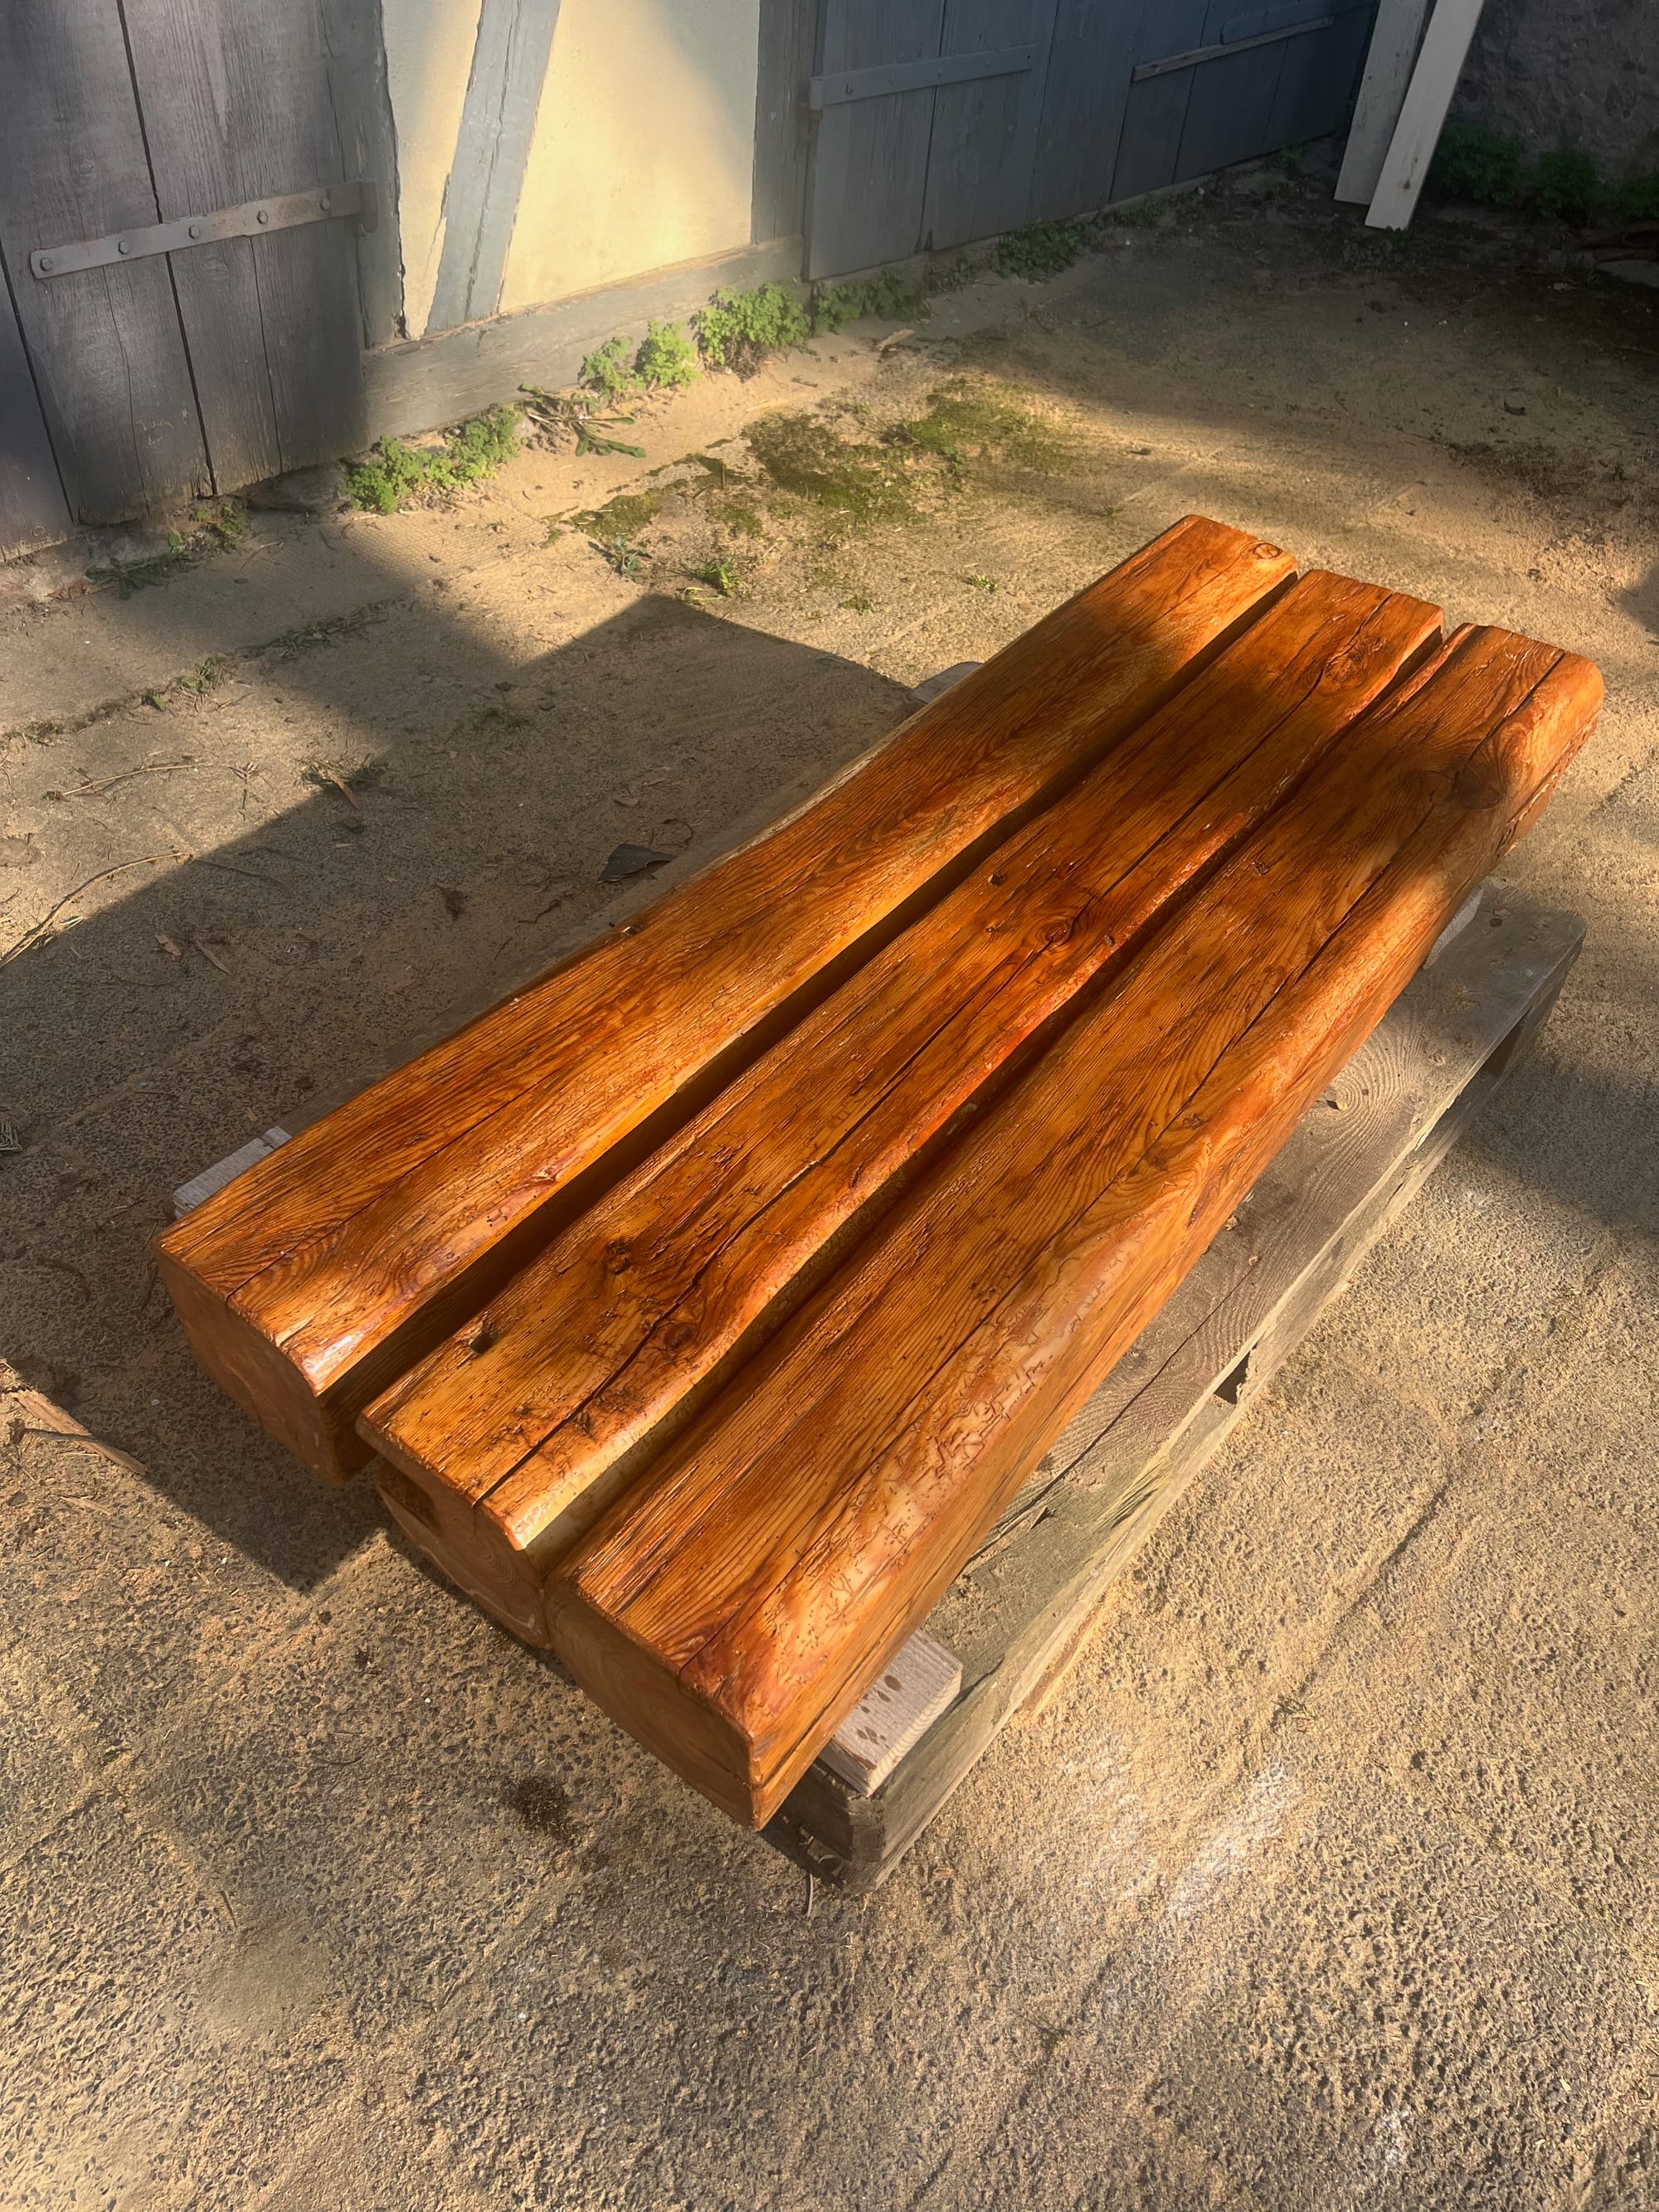
Connecting the beams
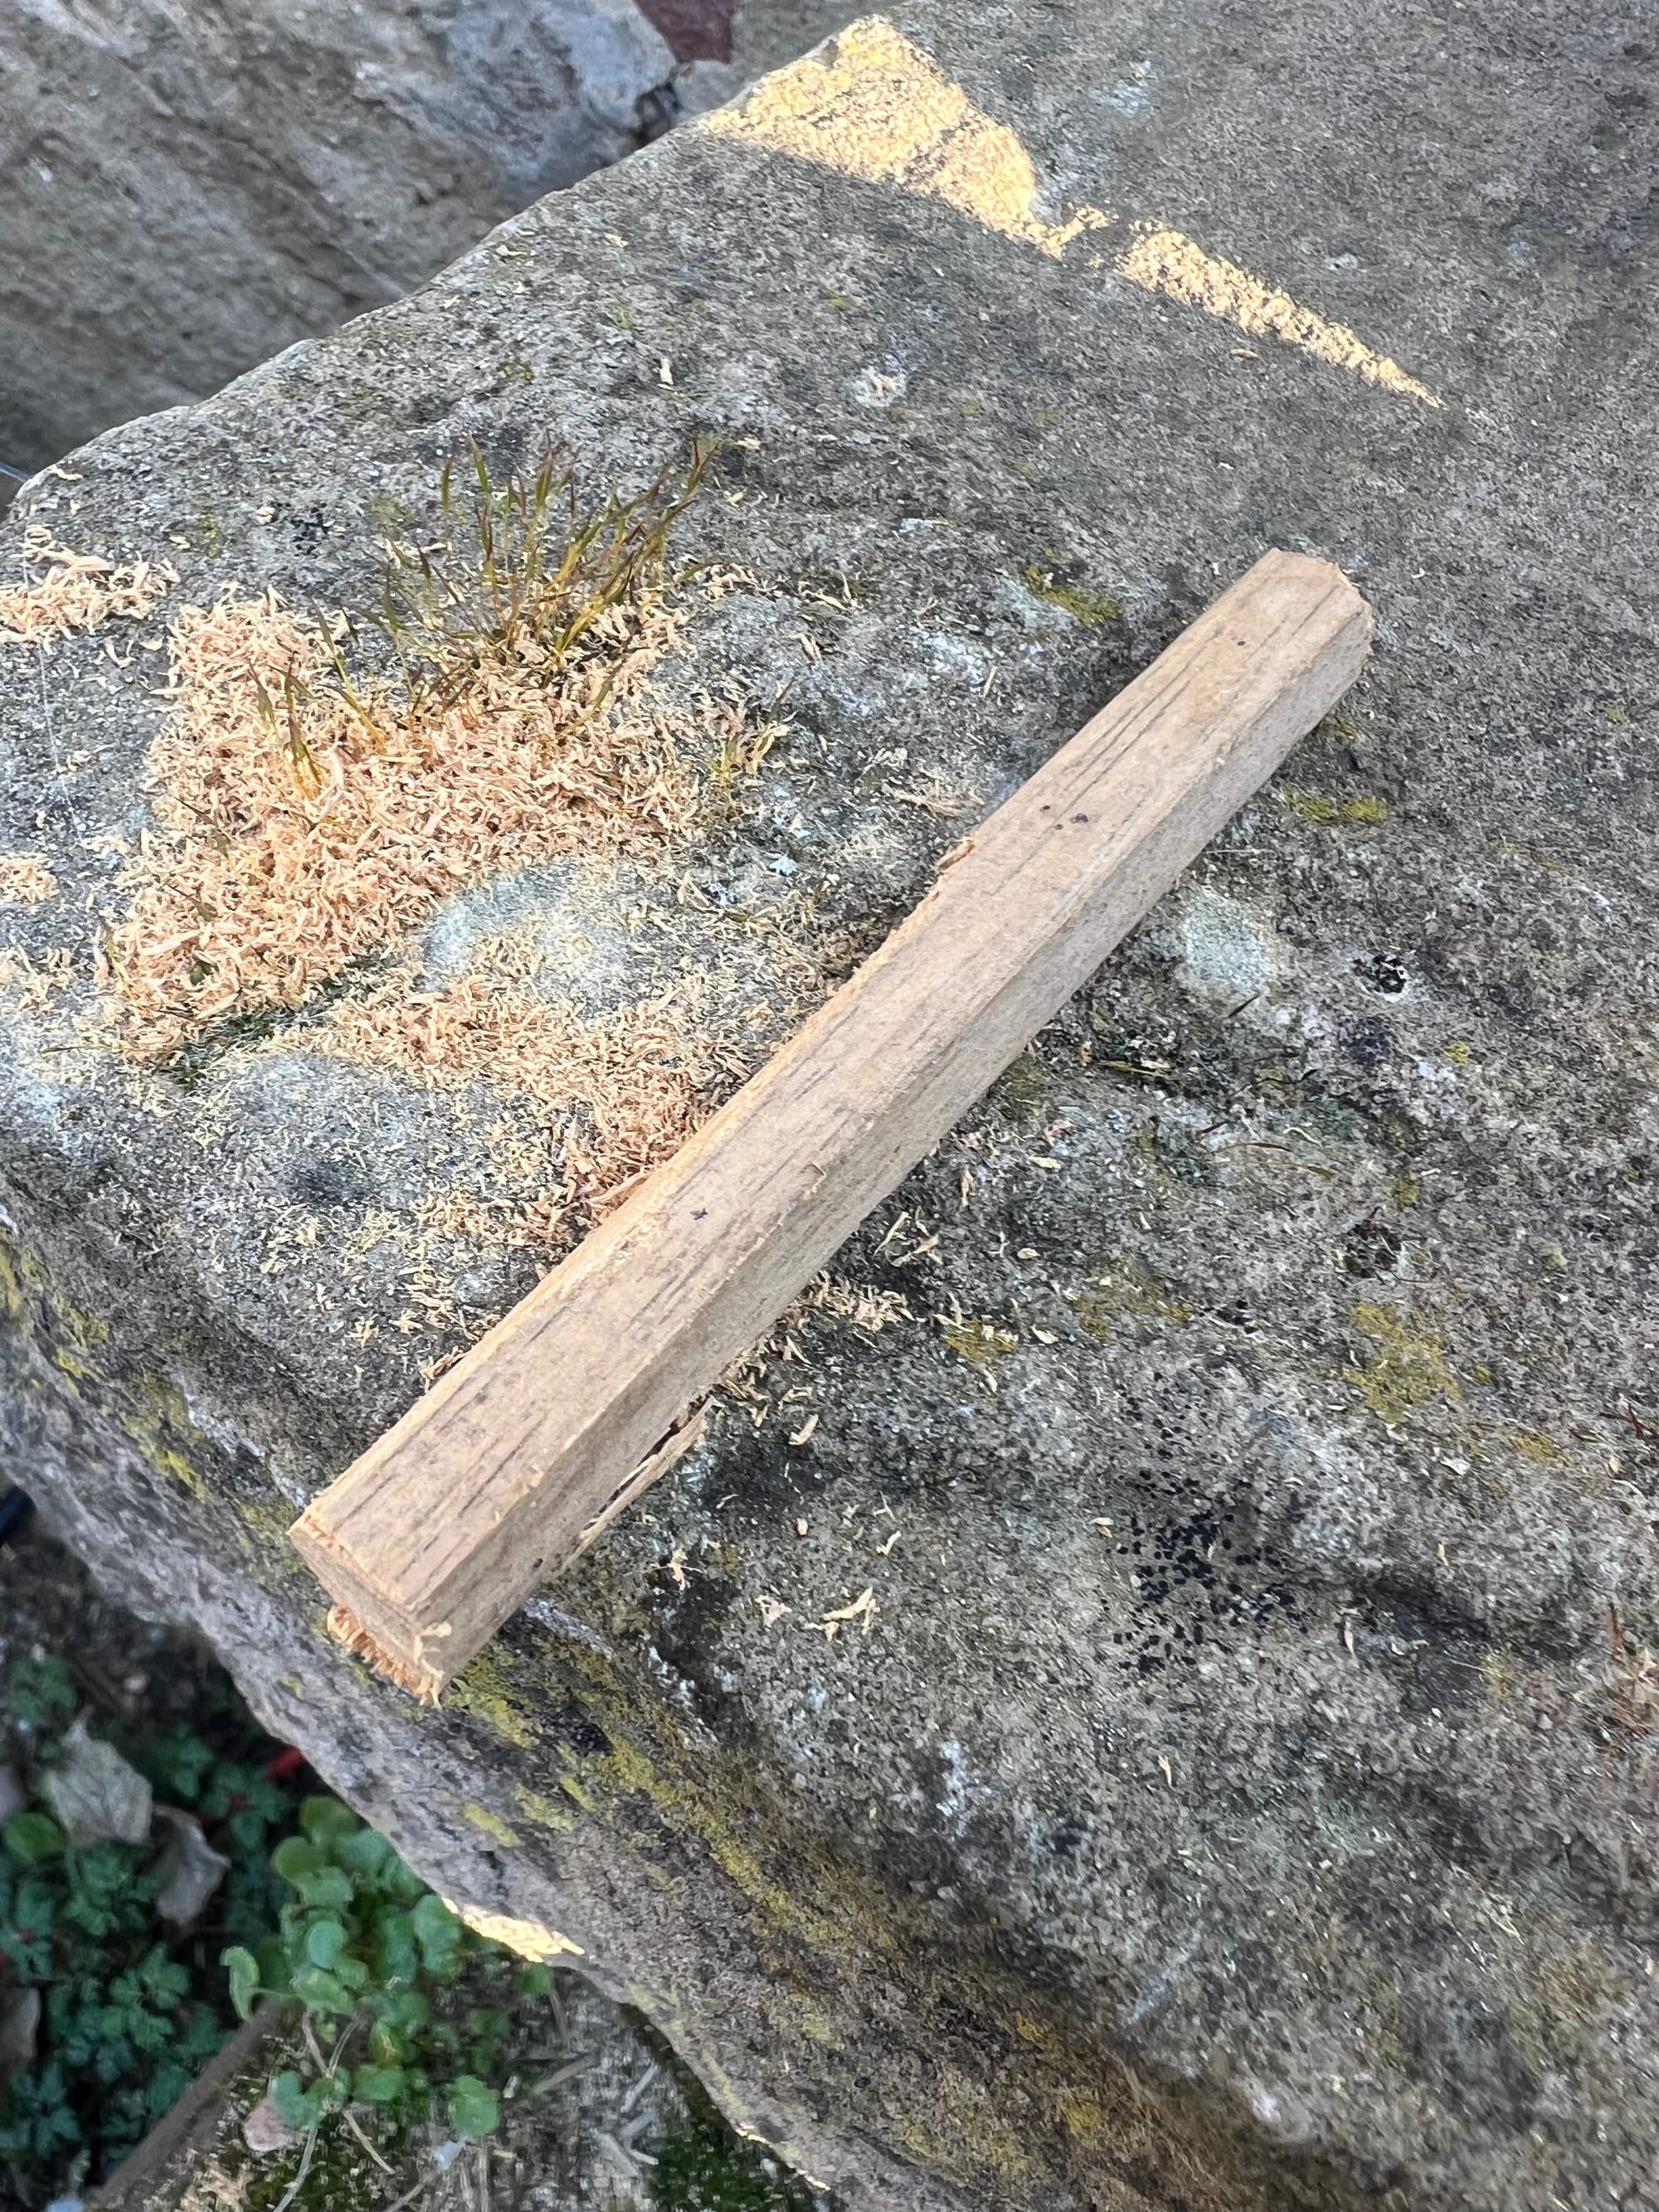
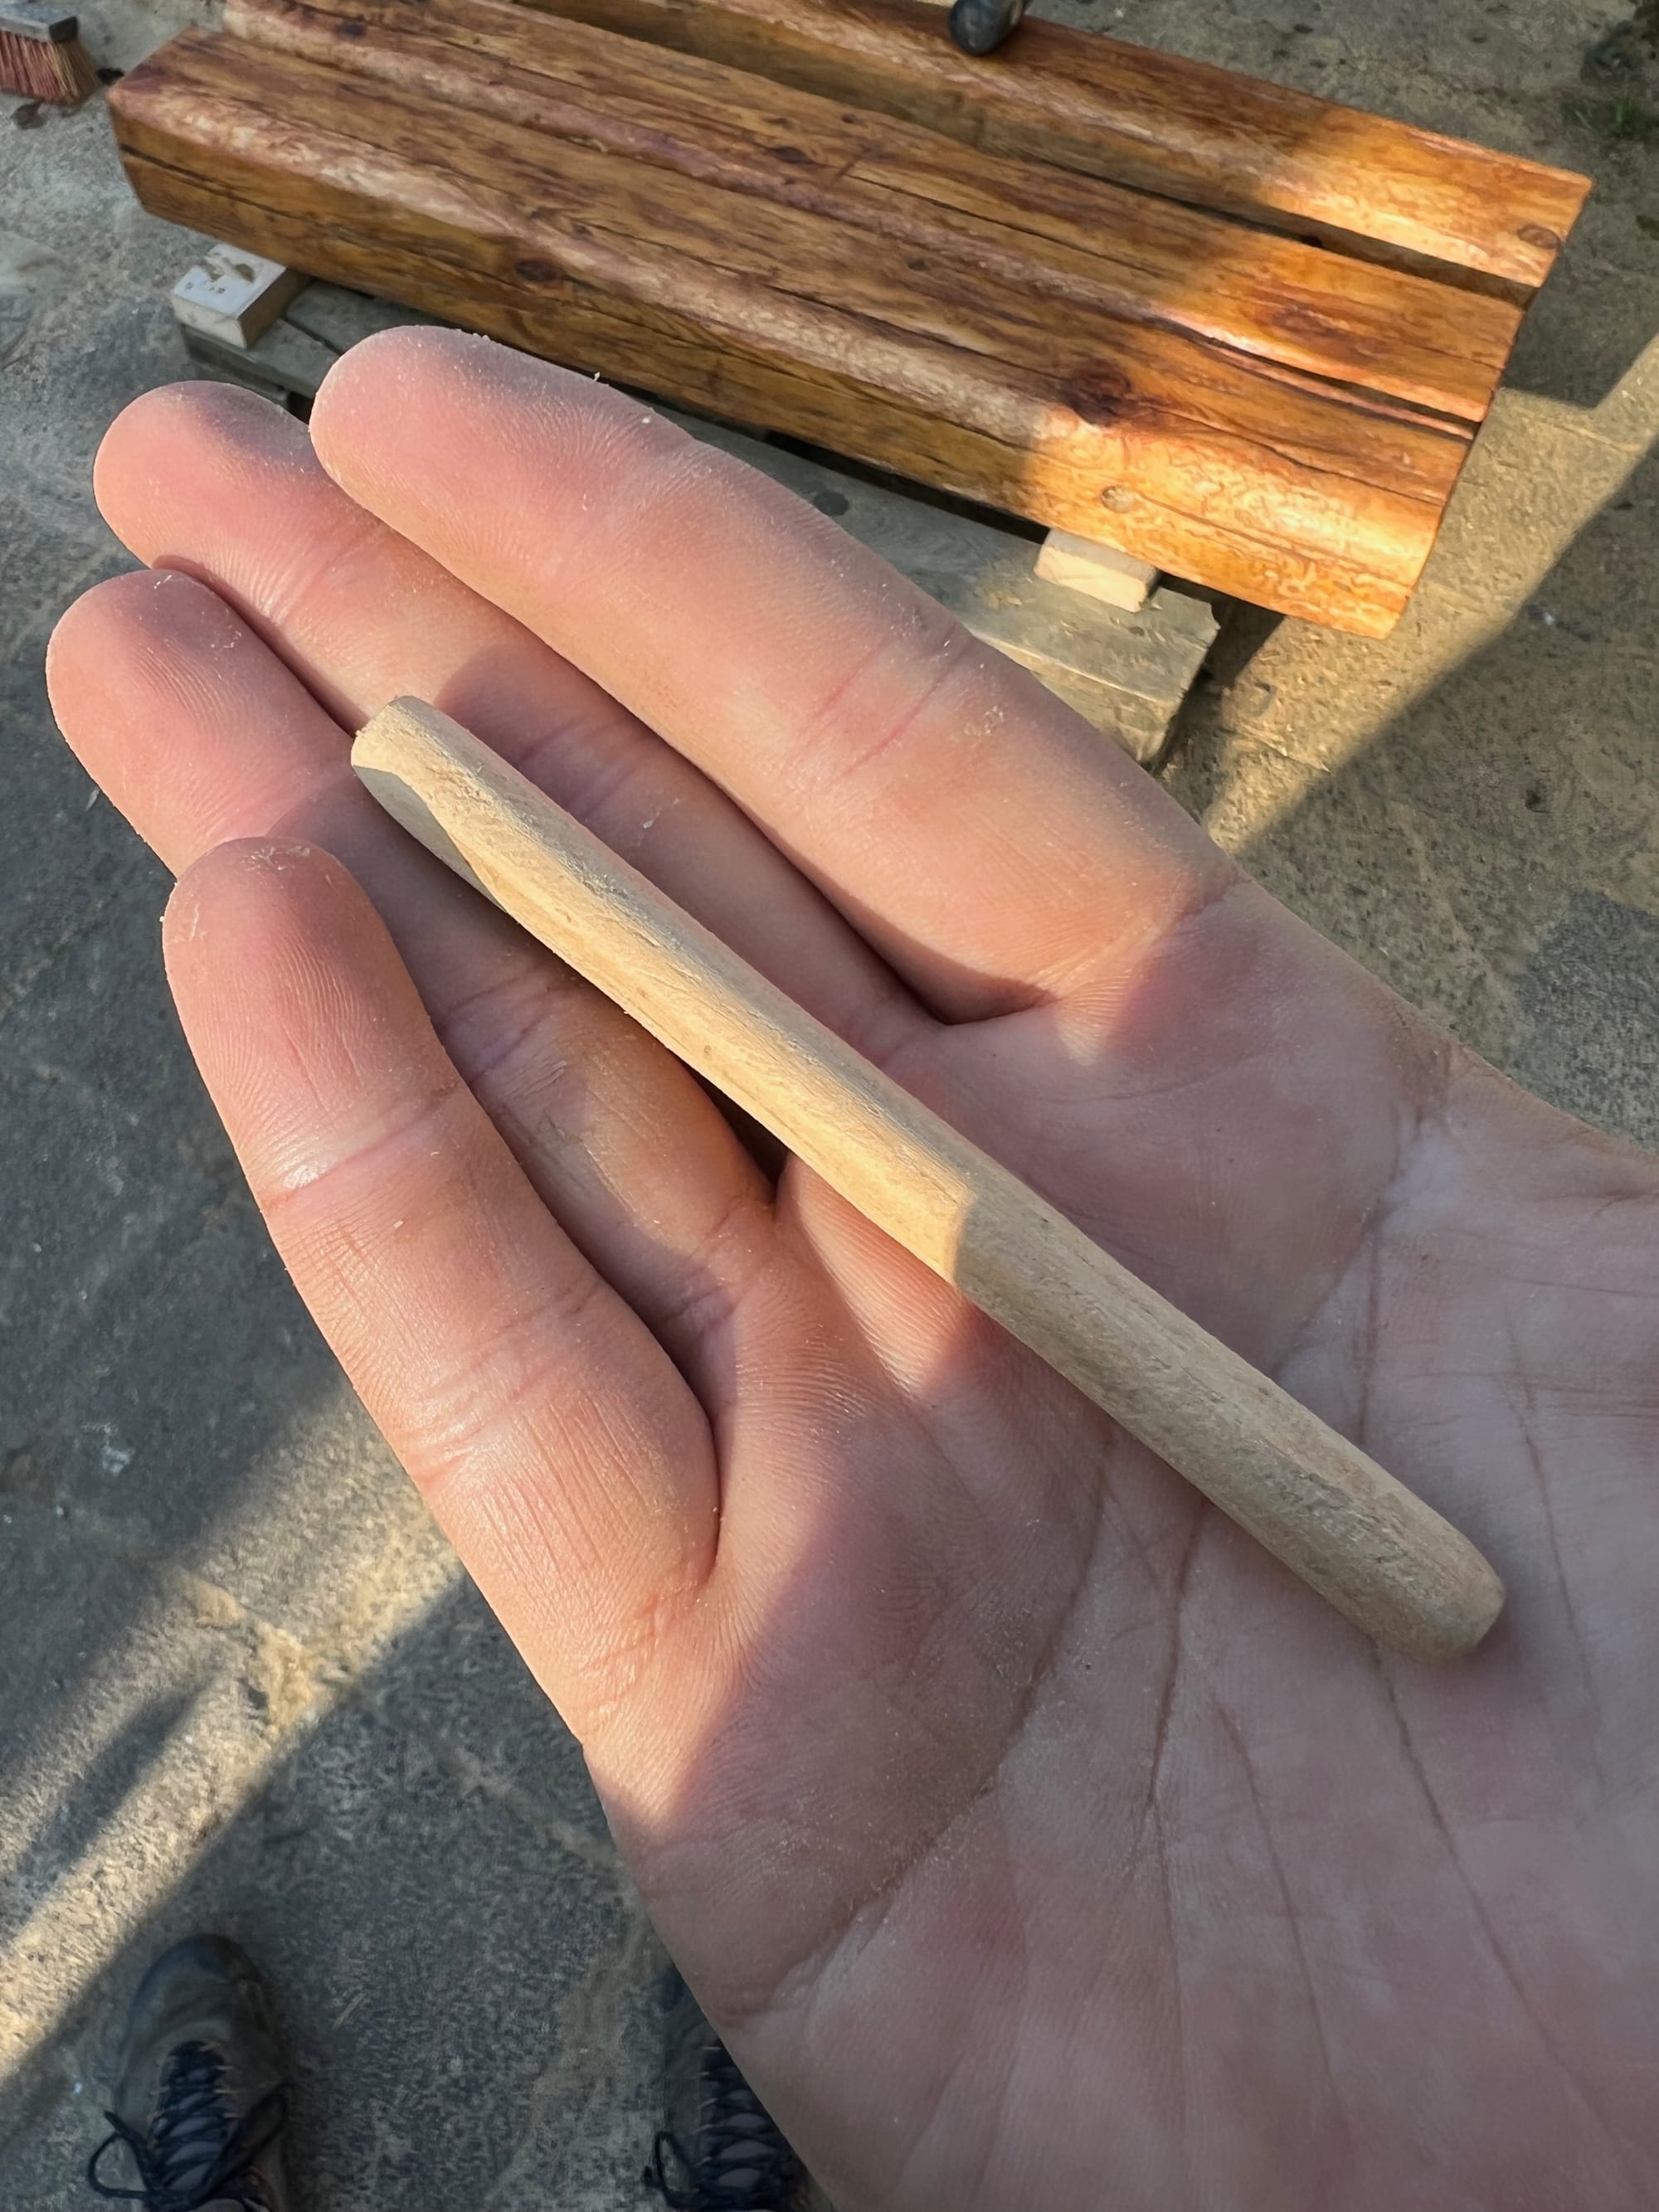
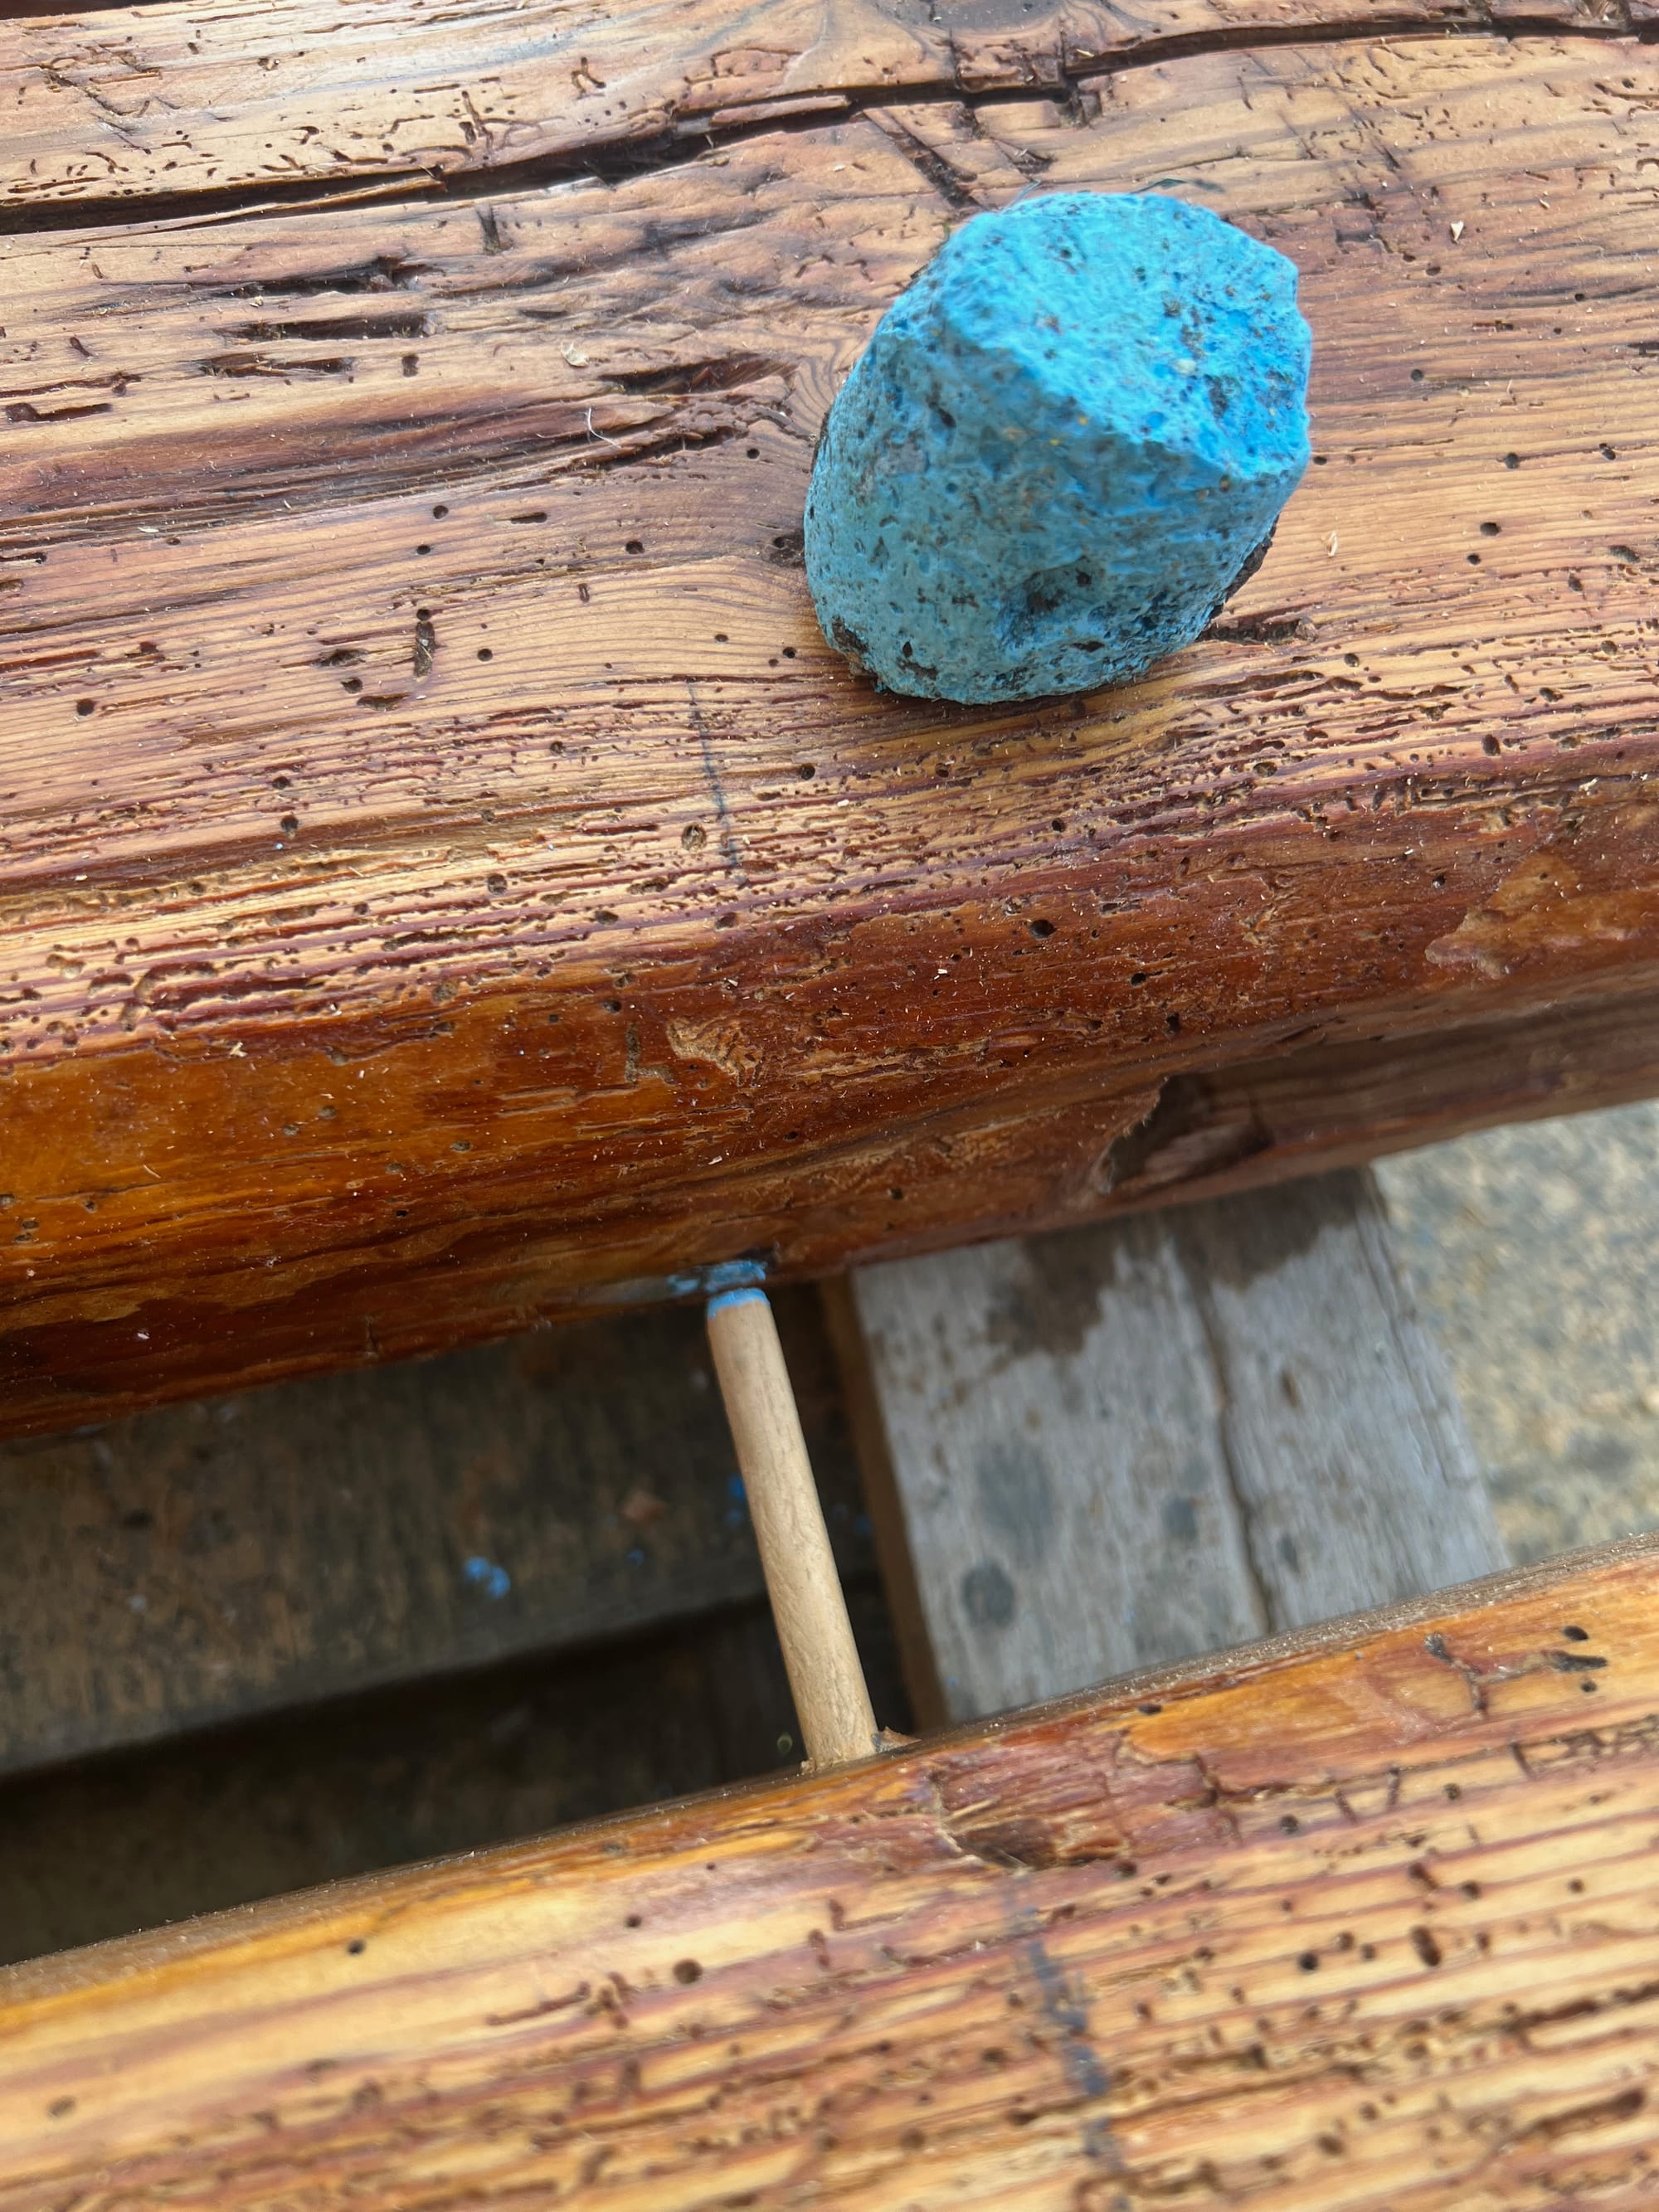
To be able to mount legs below the beams I needed to find a way of connecting them. Inspired by the traditional way of connecting those beams in half-timbered houses (like ours) I decided to use treenails for that. As this was material I had laying around in the shed I used 1x1cm squared timber and filed it round. I drilled holes into the first beam, inserted the treenails, put chalk on the tips and used it to mark the position of the holes on the adjacent beam. I’ve used clamps to push the treenails into the holes.
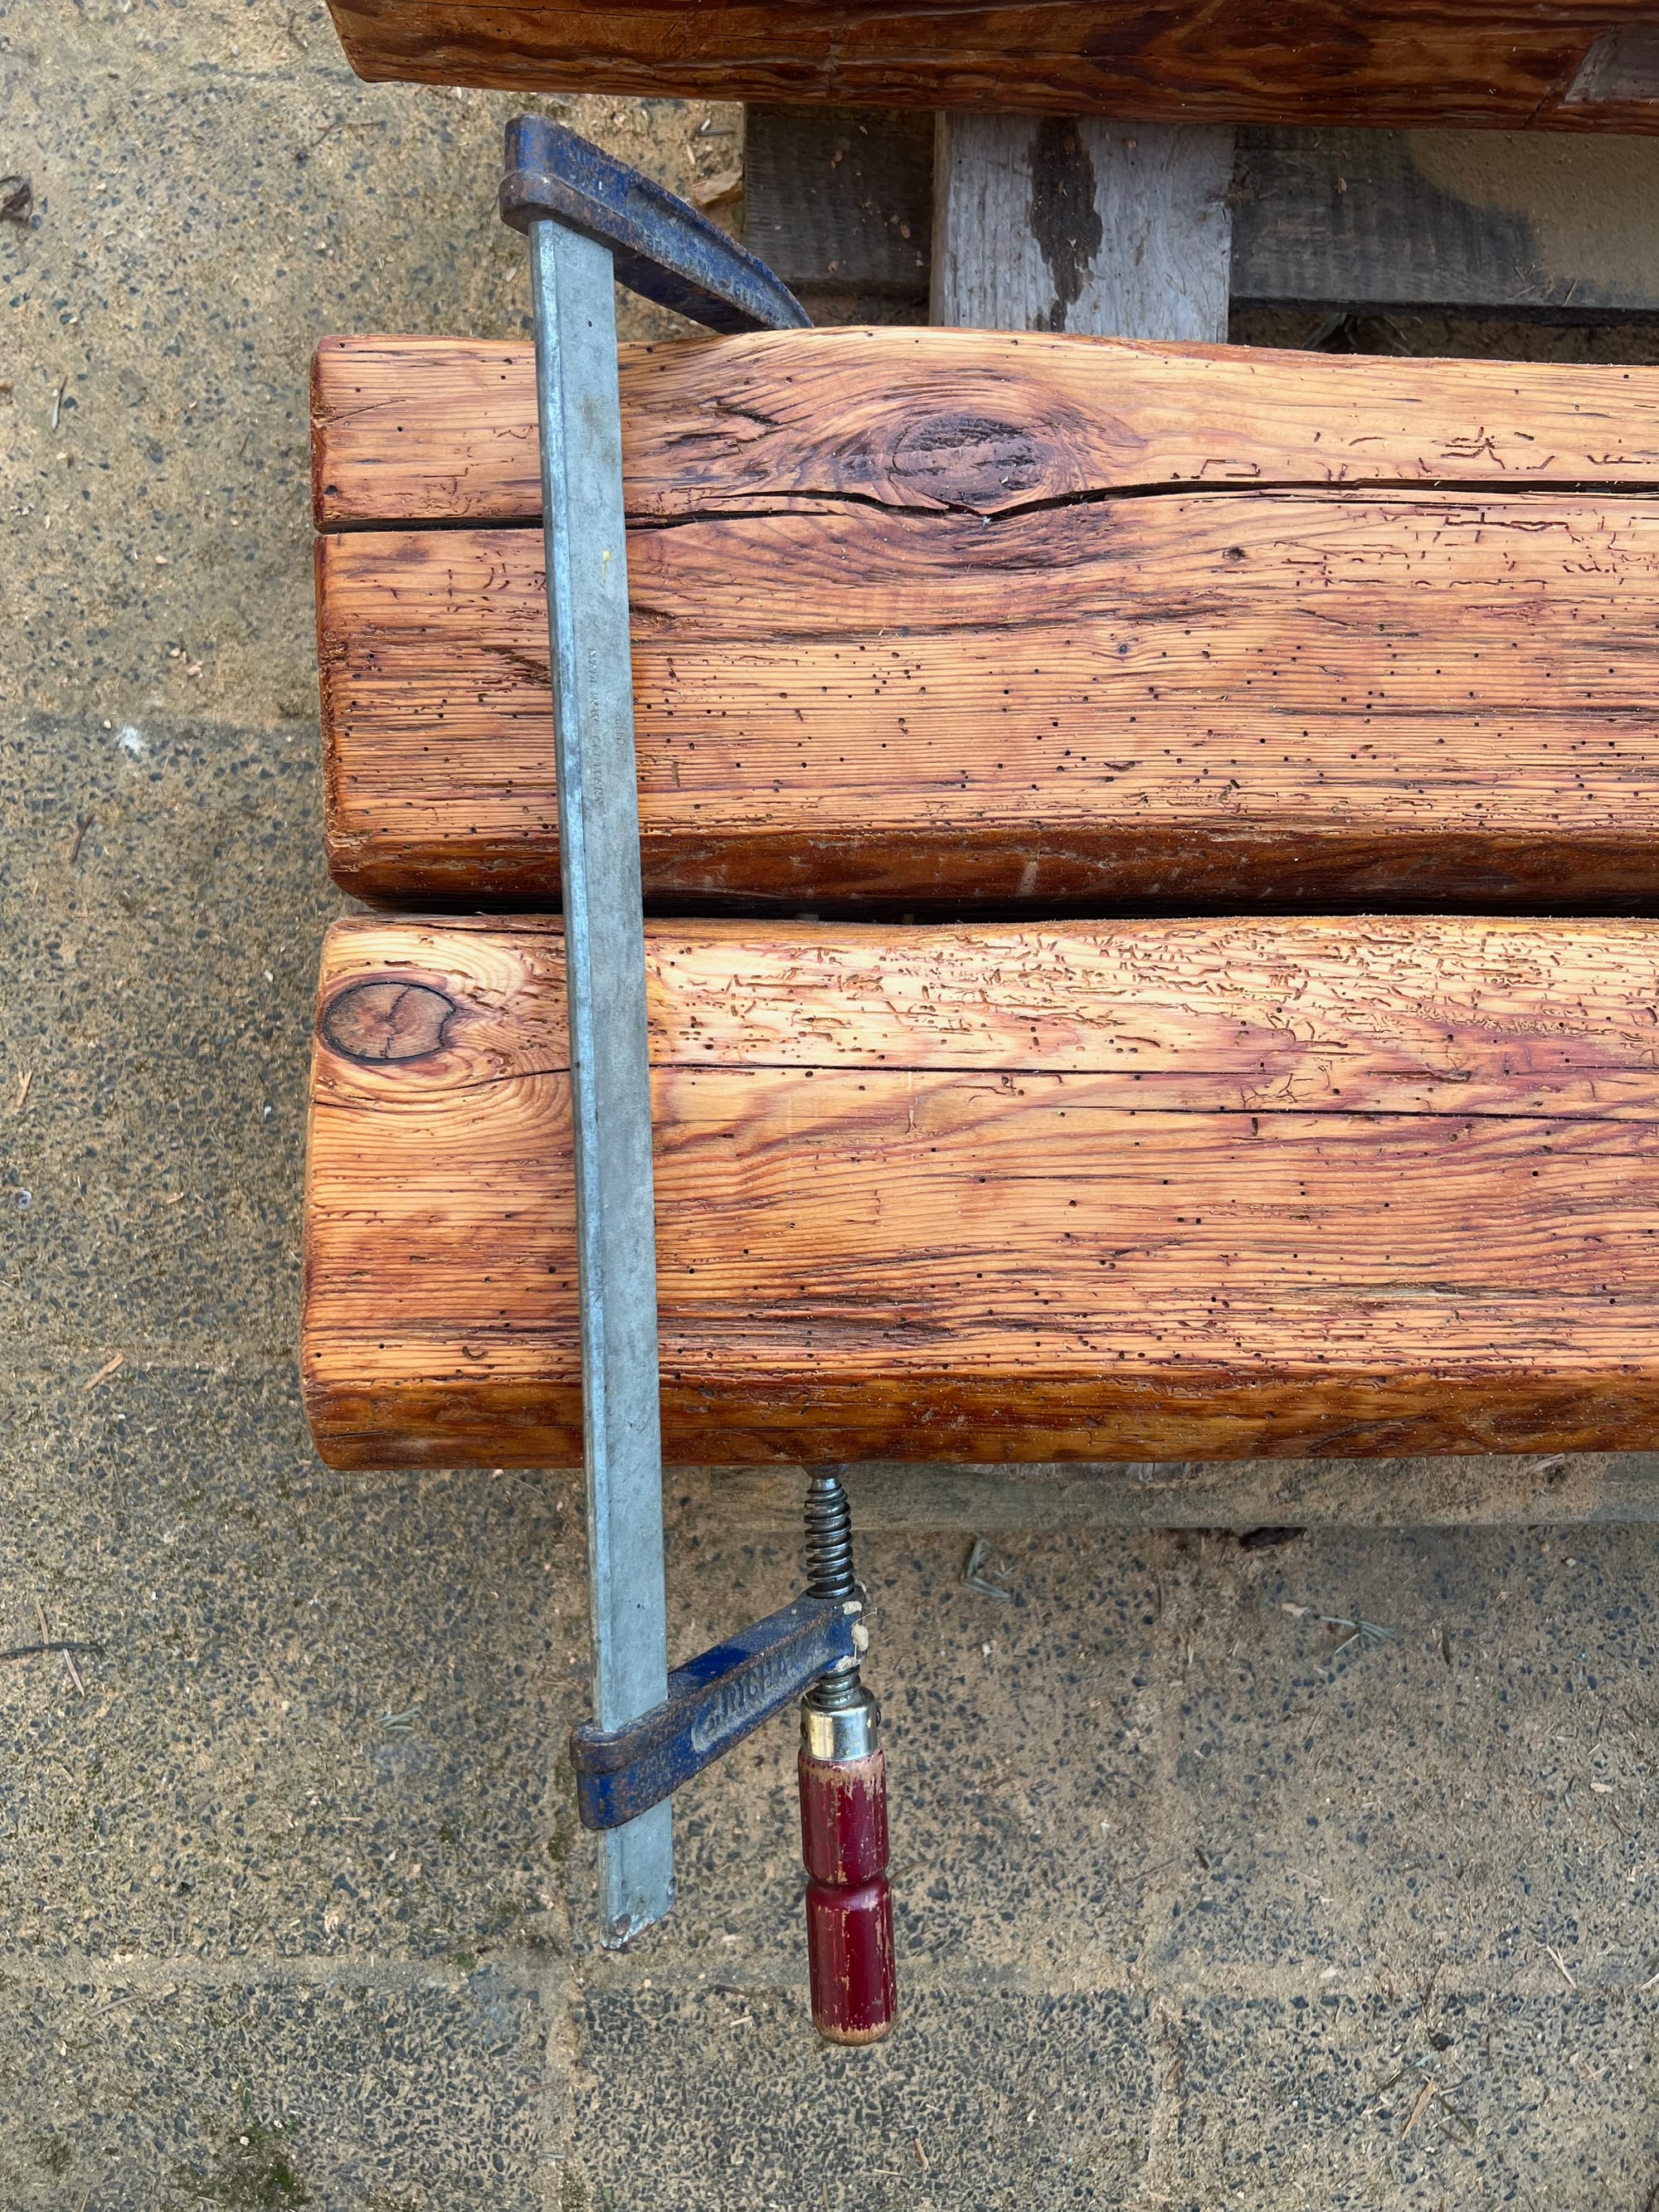
The Legs
As I wanted to achieve a simple look I decided to use legs build from square steel profiles. Although it would have been a nice challenge to build them myself I opted to buy a set (70€).
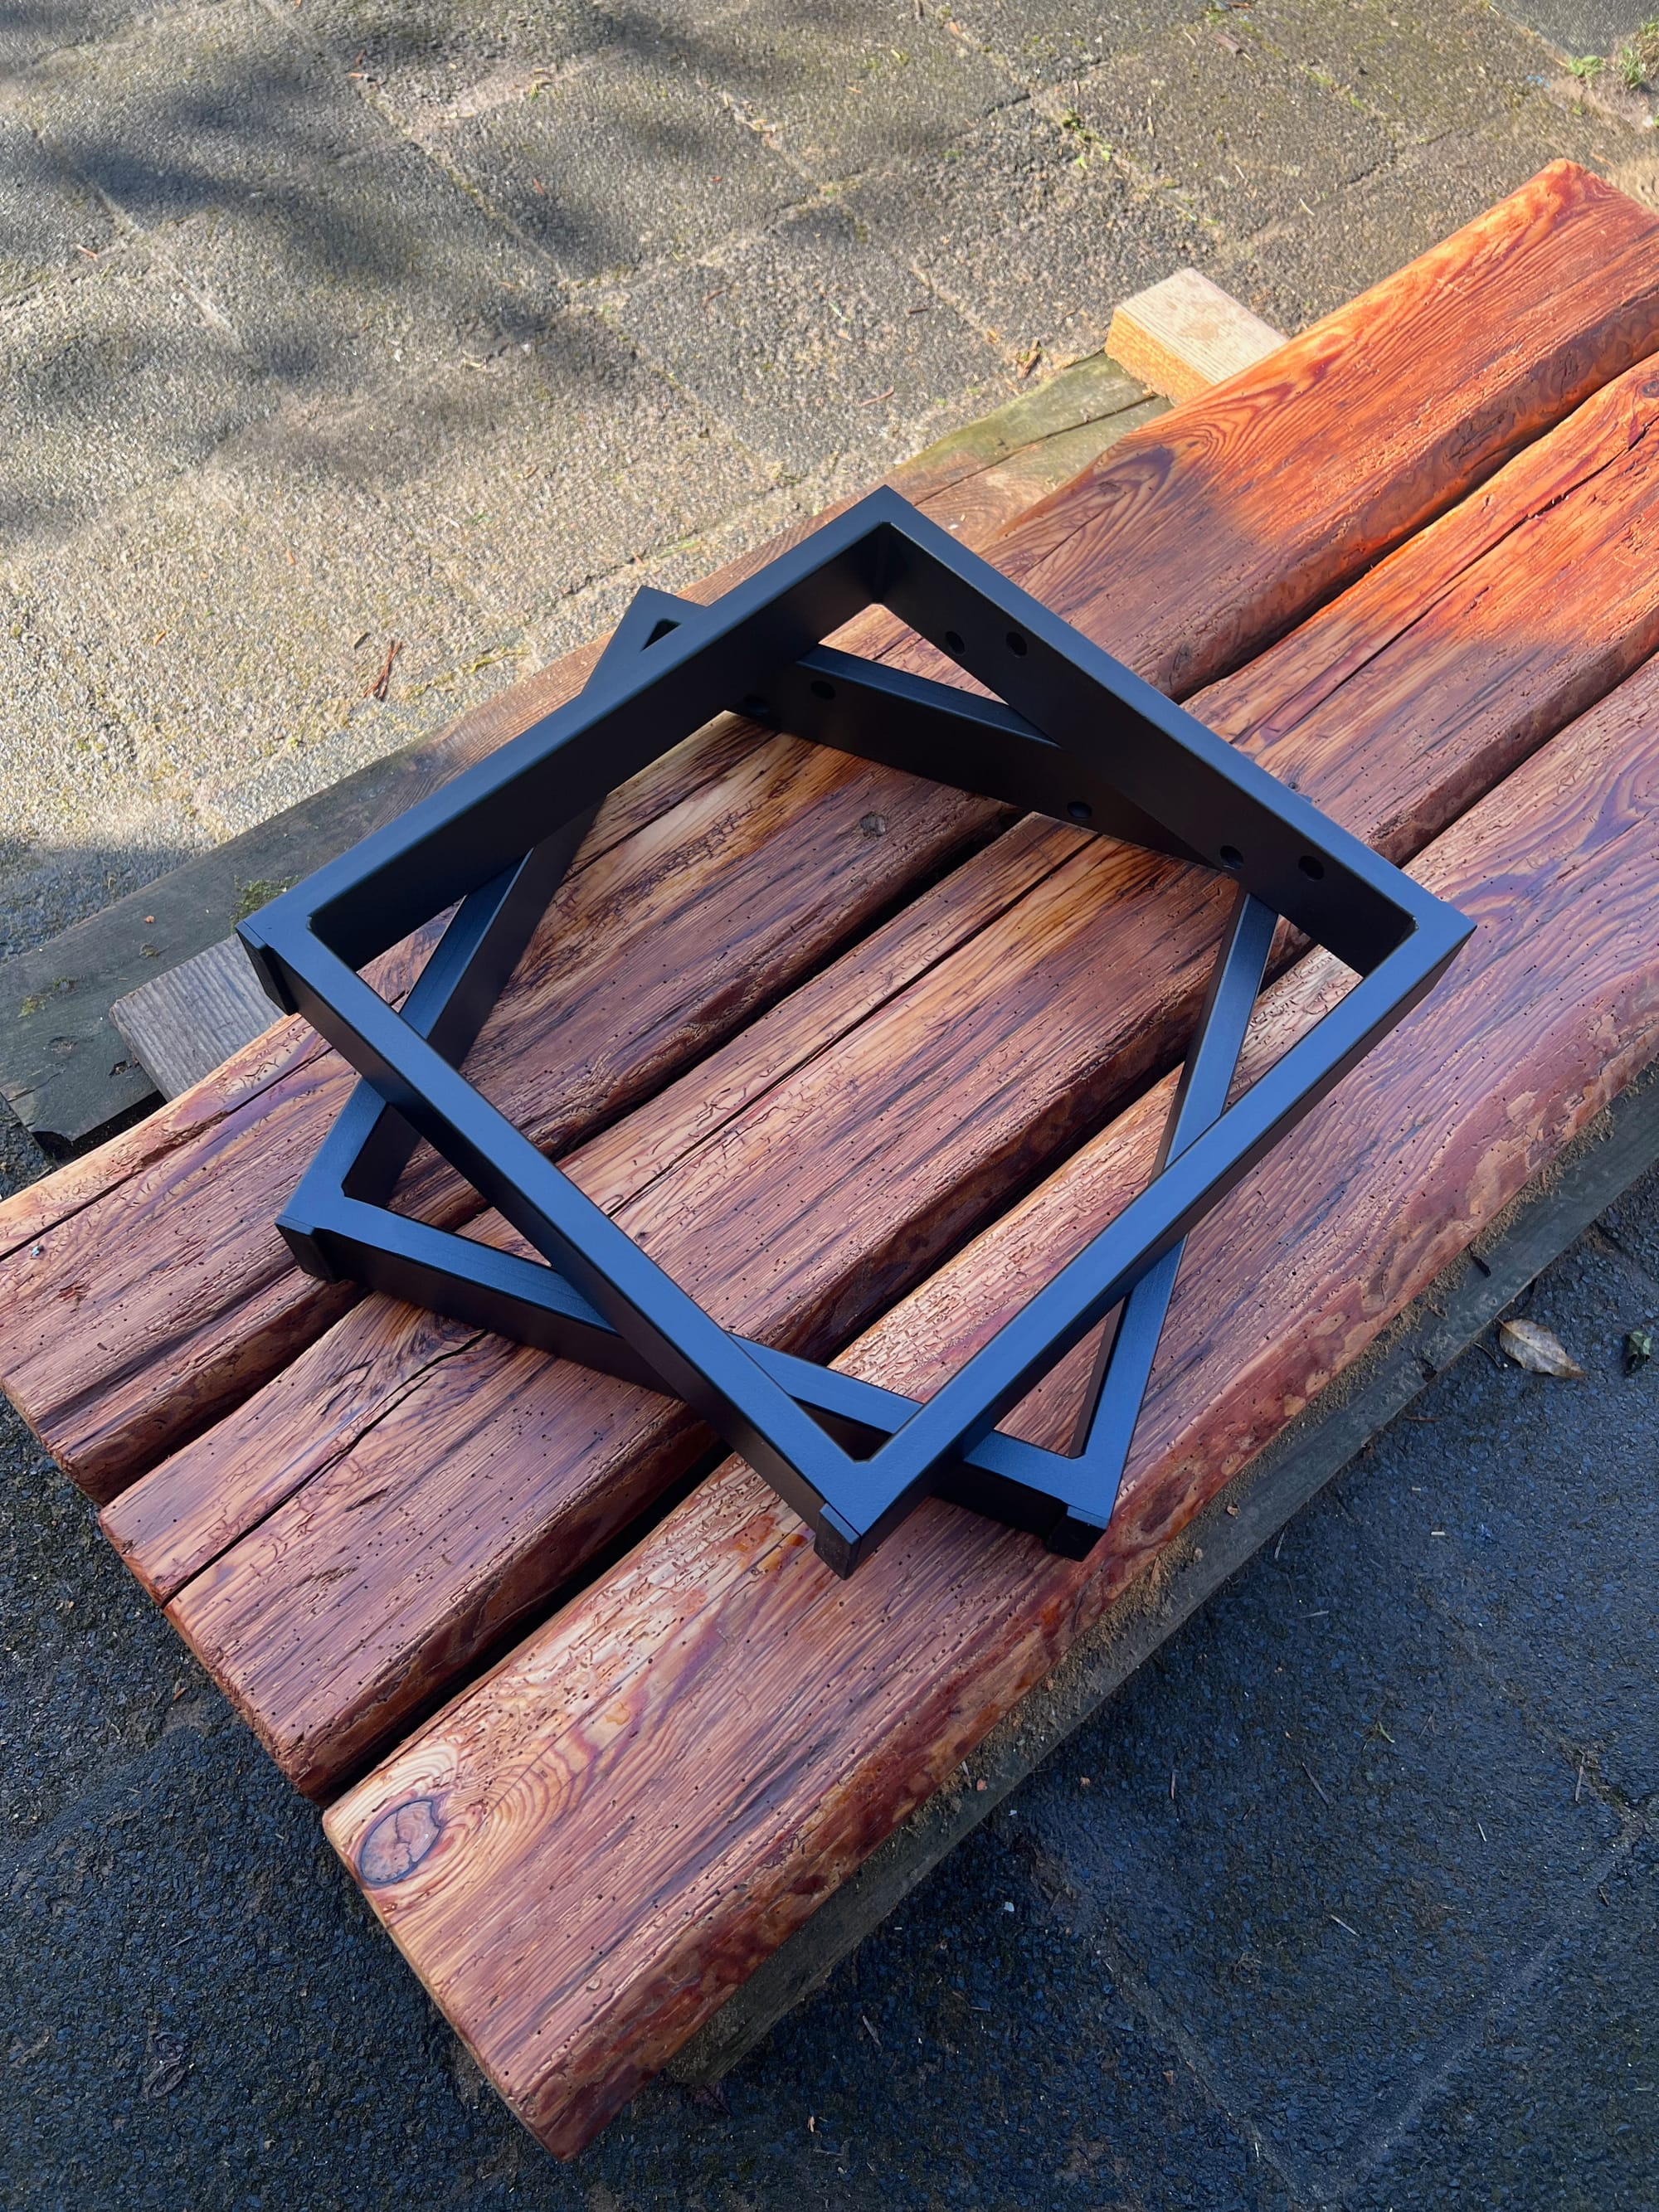
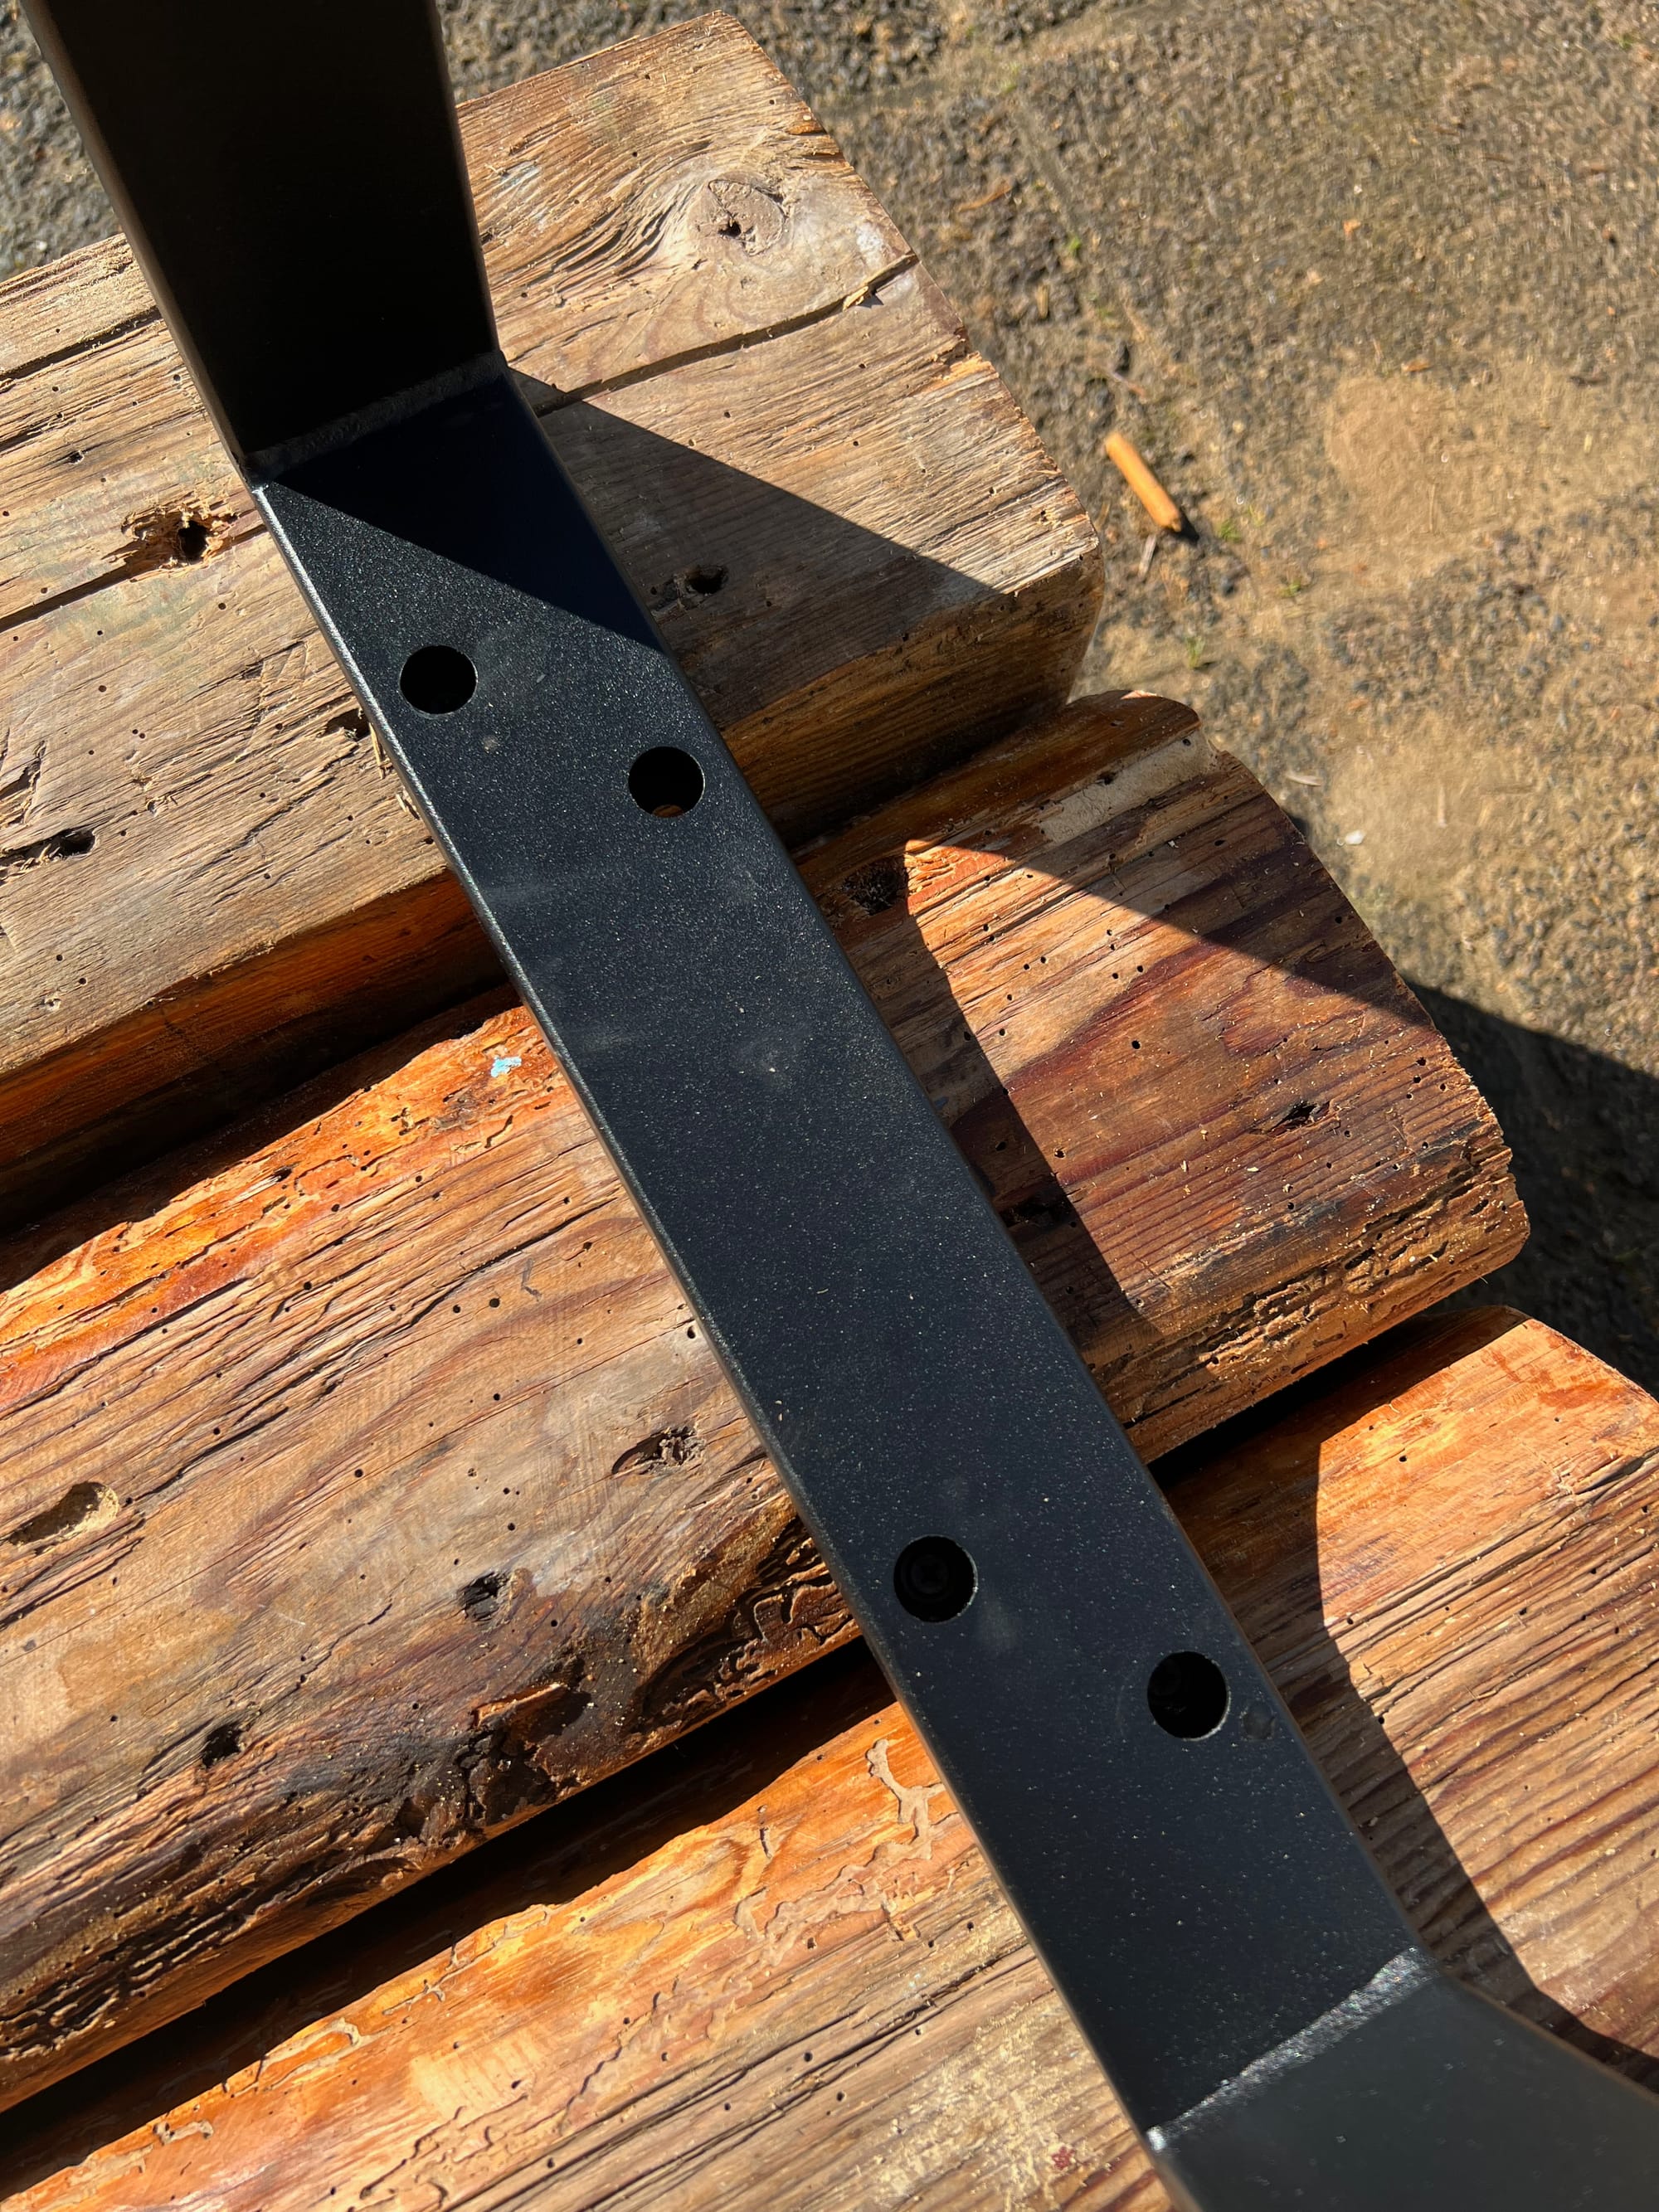
Seemingly it would have been a bit too easy to just screw the legs on – unfortunately the drill holes did not have a great position to attach them to the beams. In addition to that it also turned out that the treenails were a bit too flimsy to properly connect the beams.
Therefore I decided to use my beloved router to cut a slot into the beams, put an oak board into that slot and mount the legs onto the board.
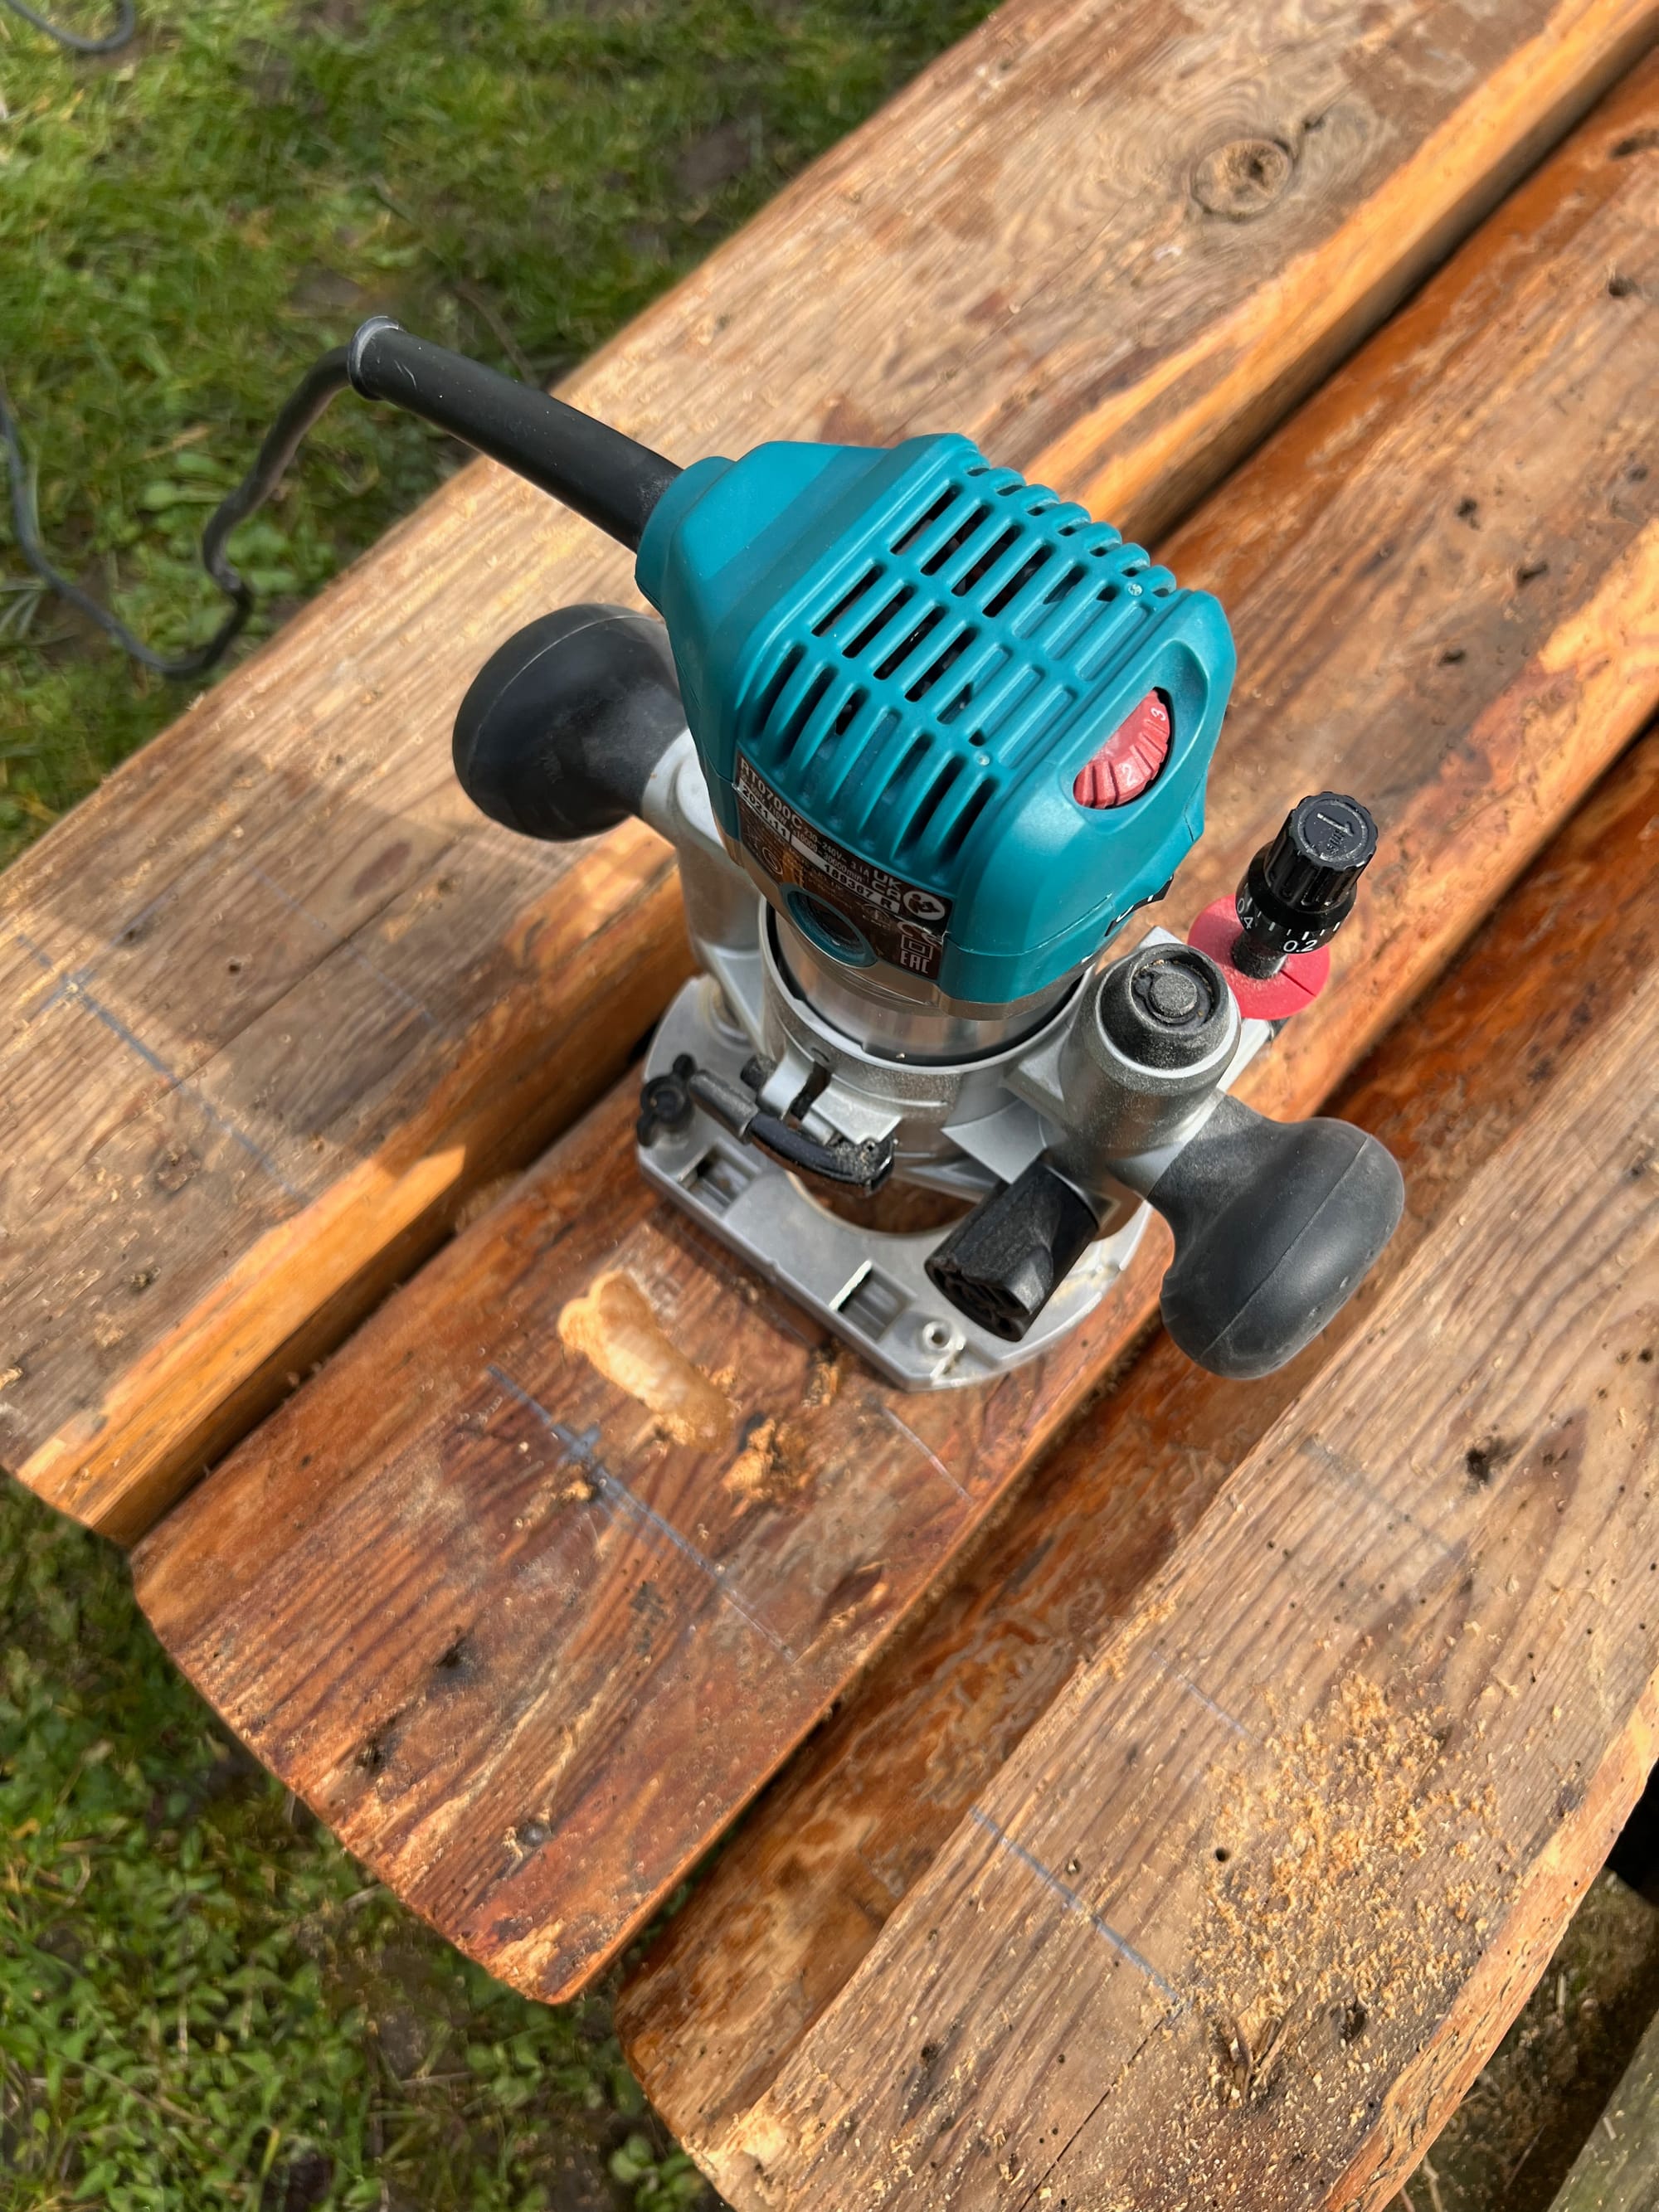
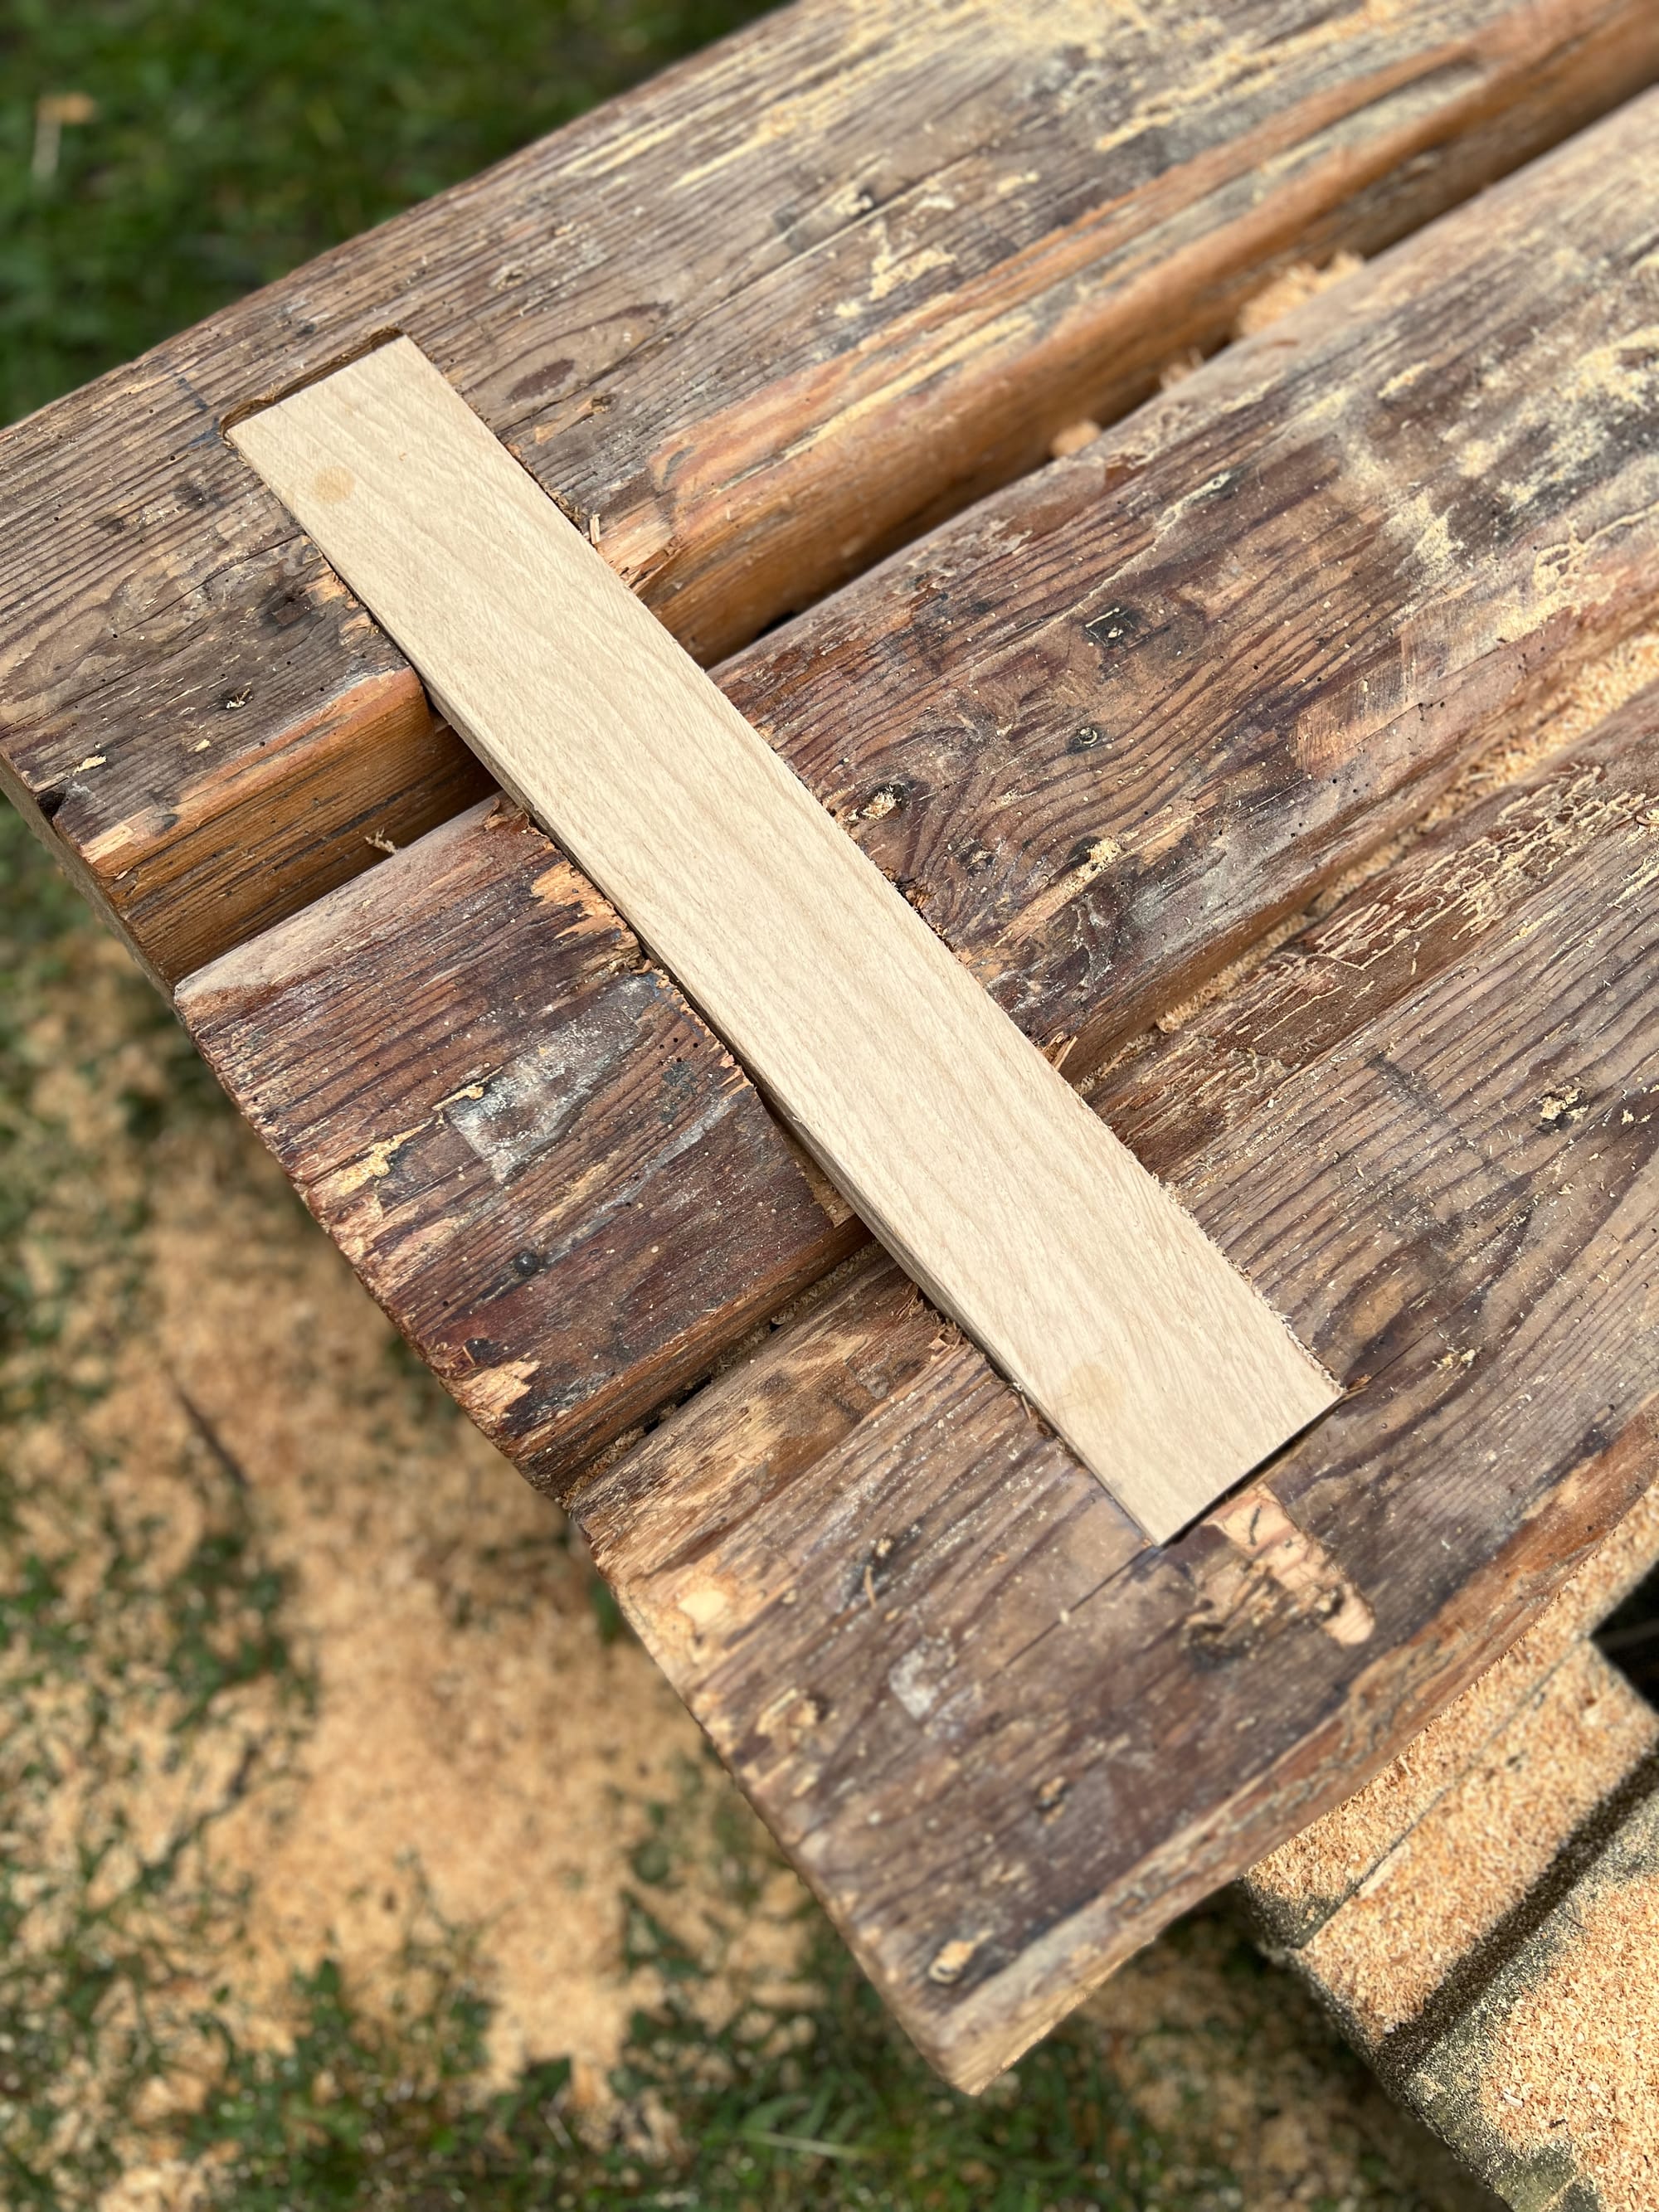
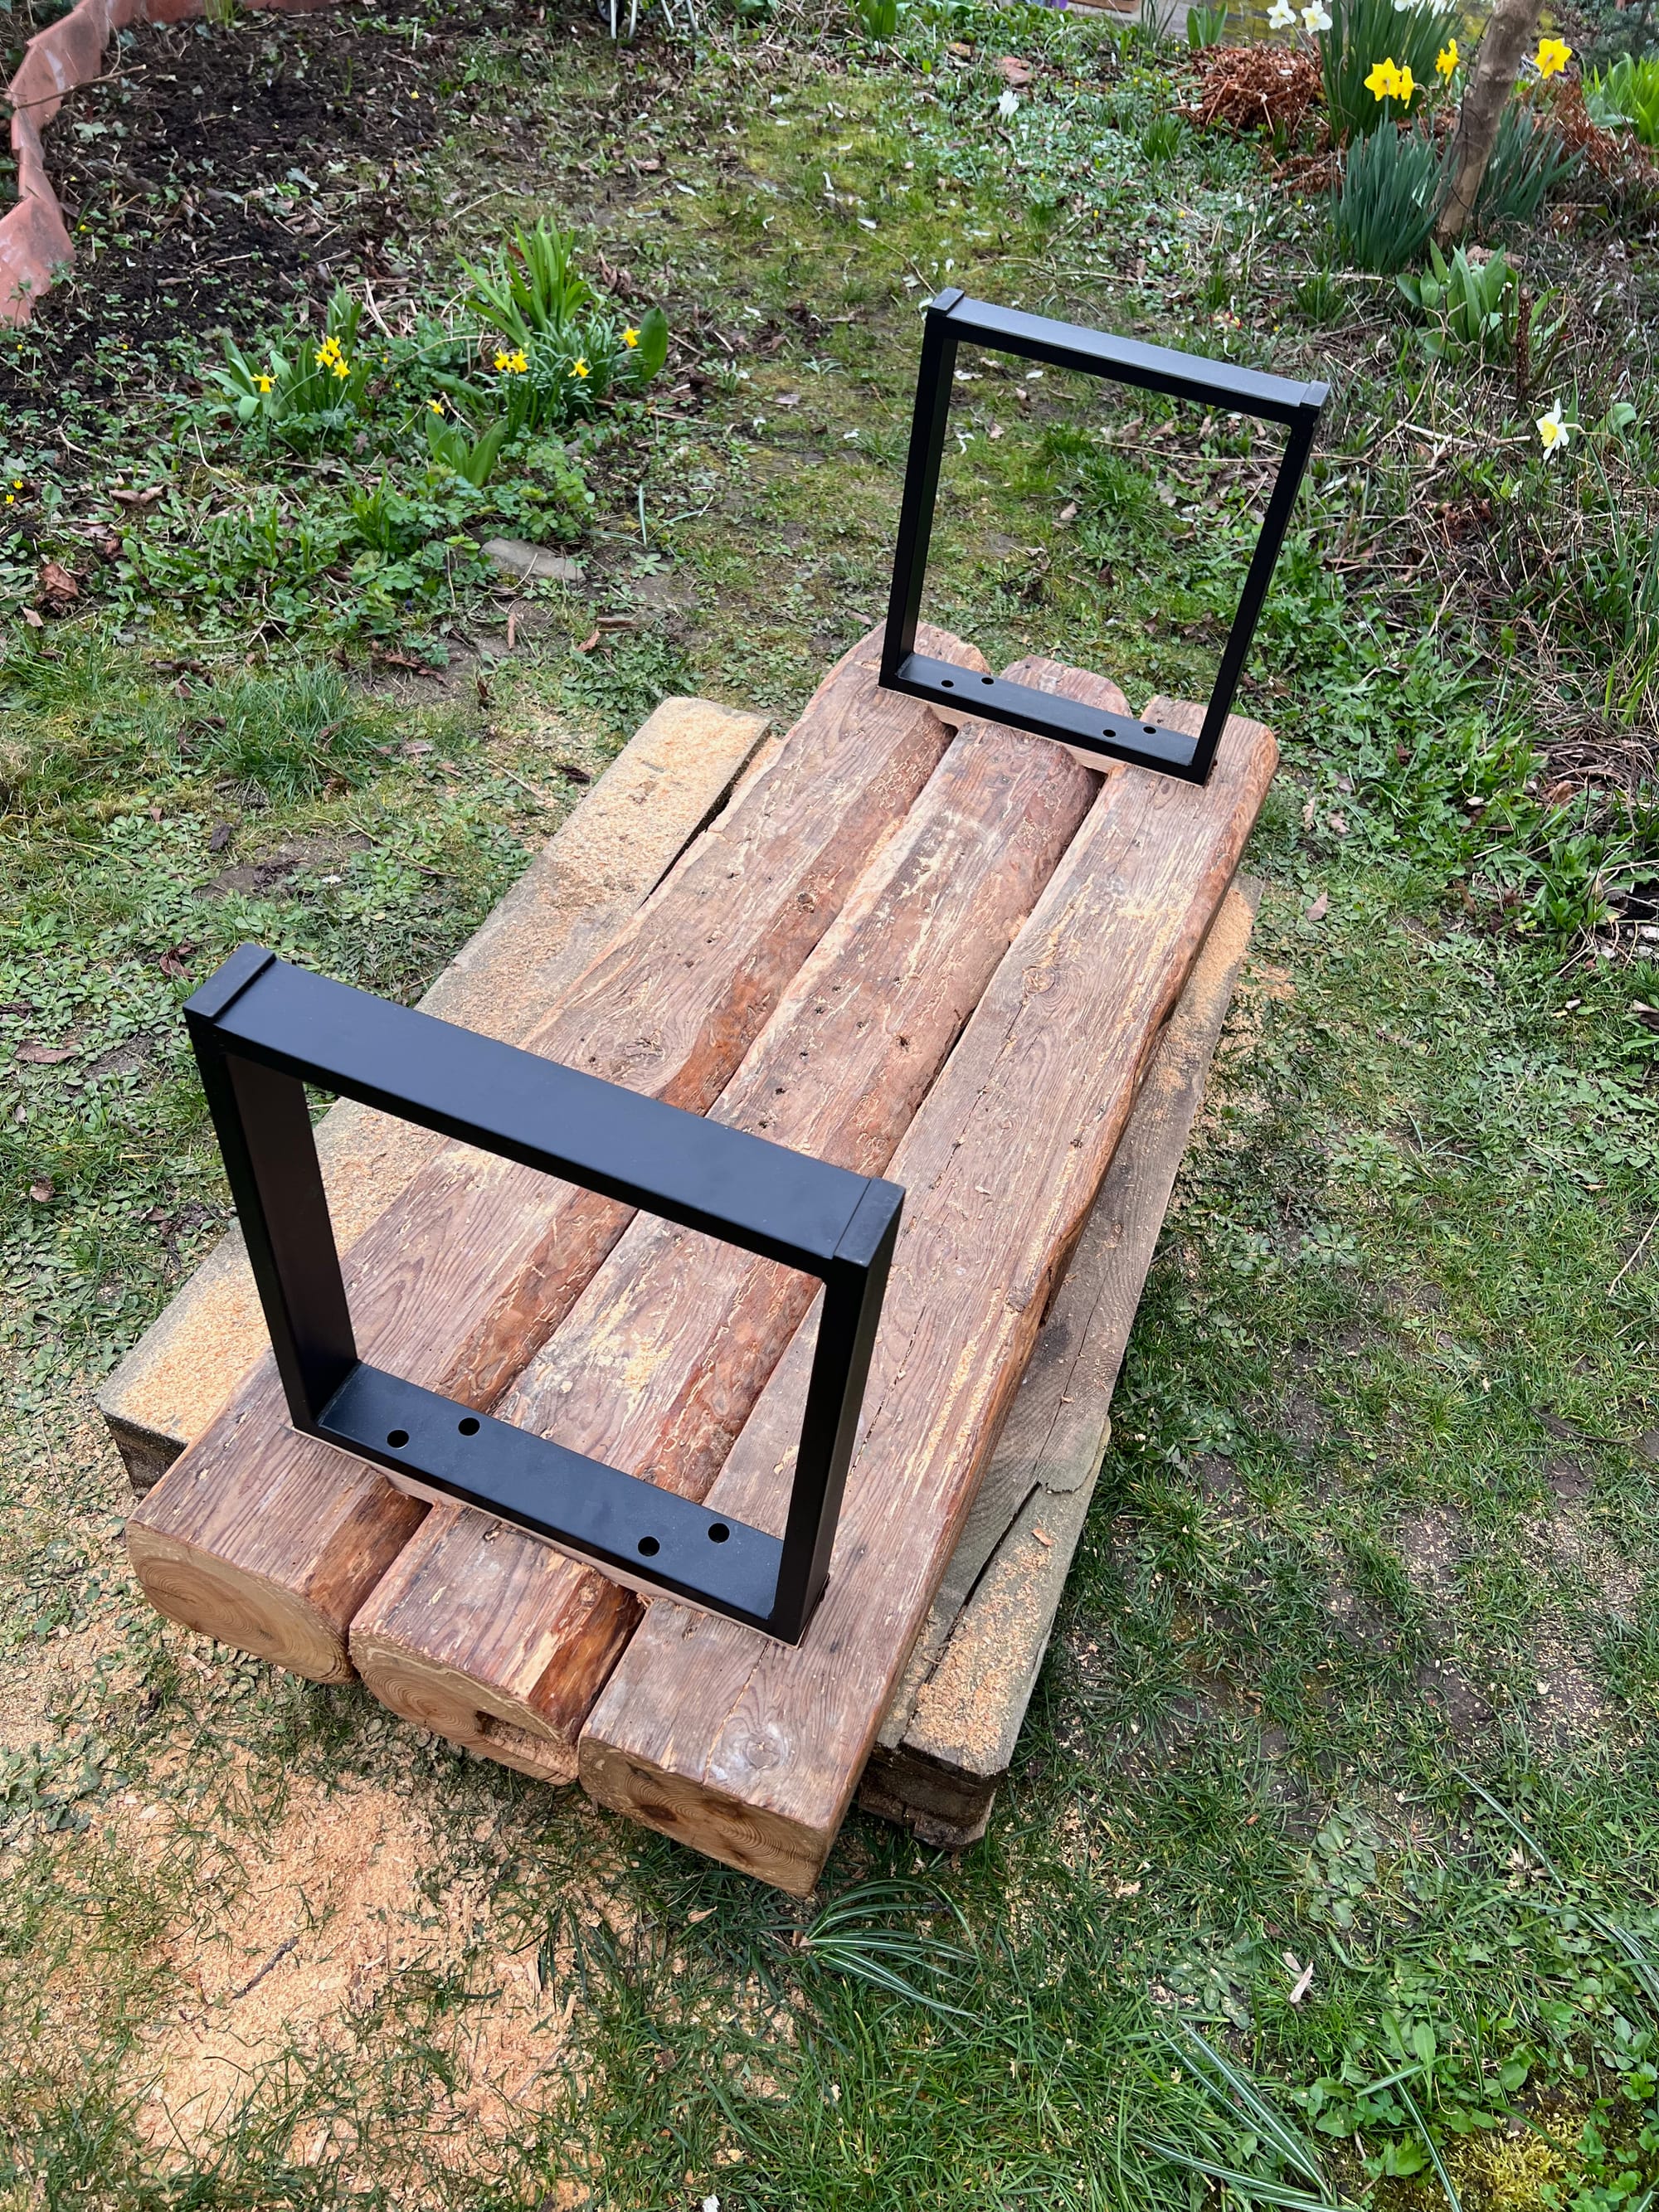
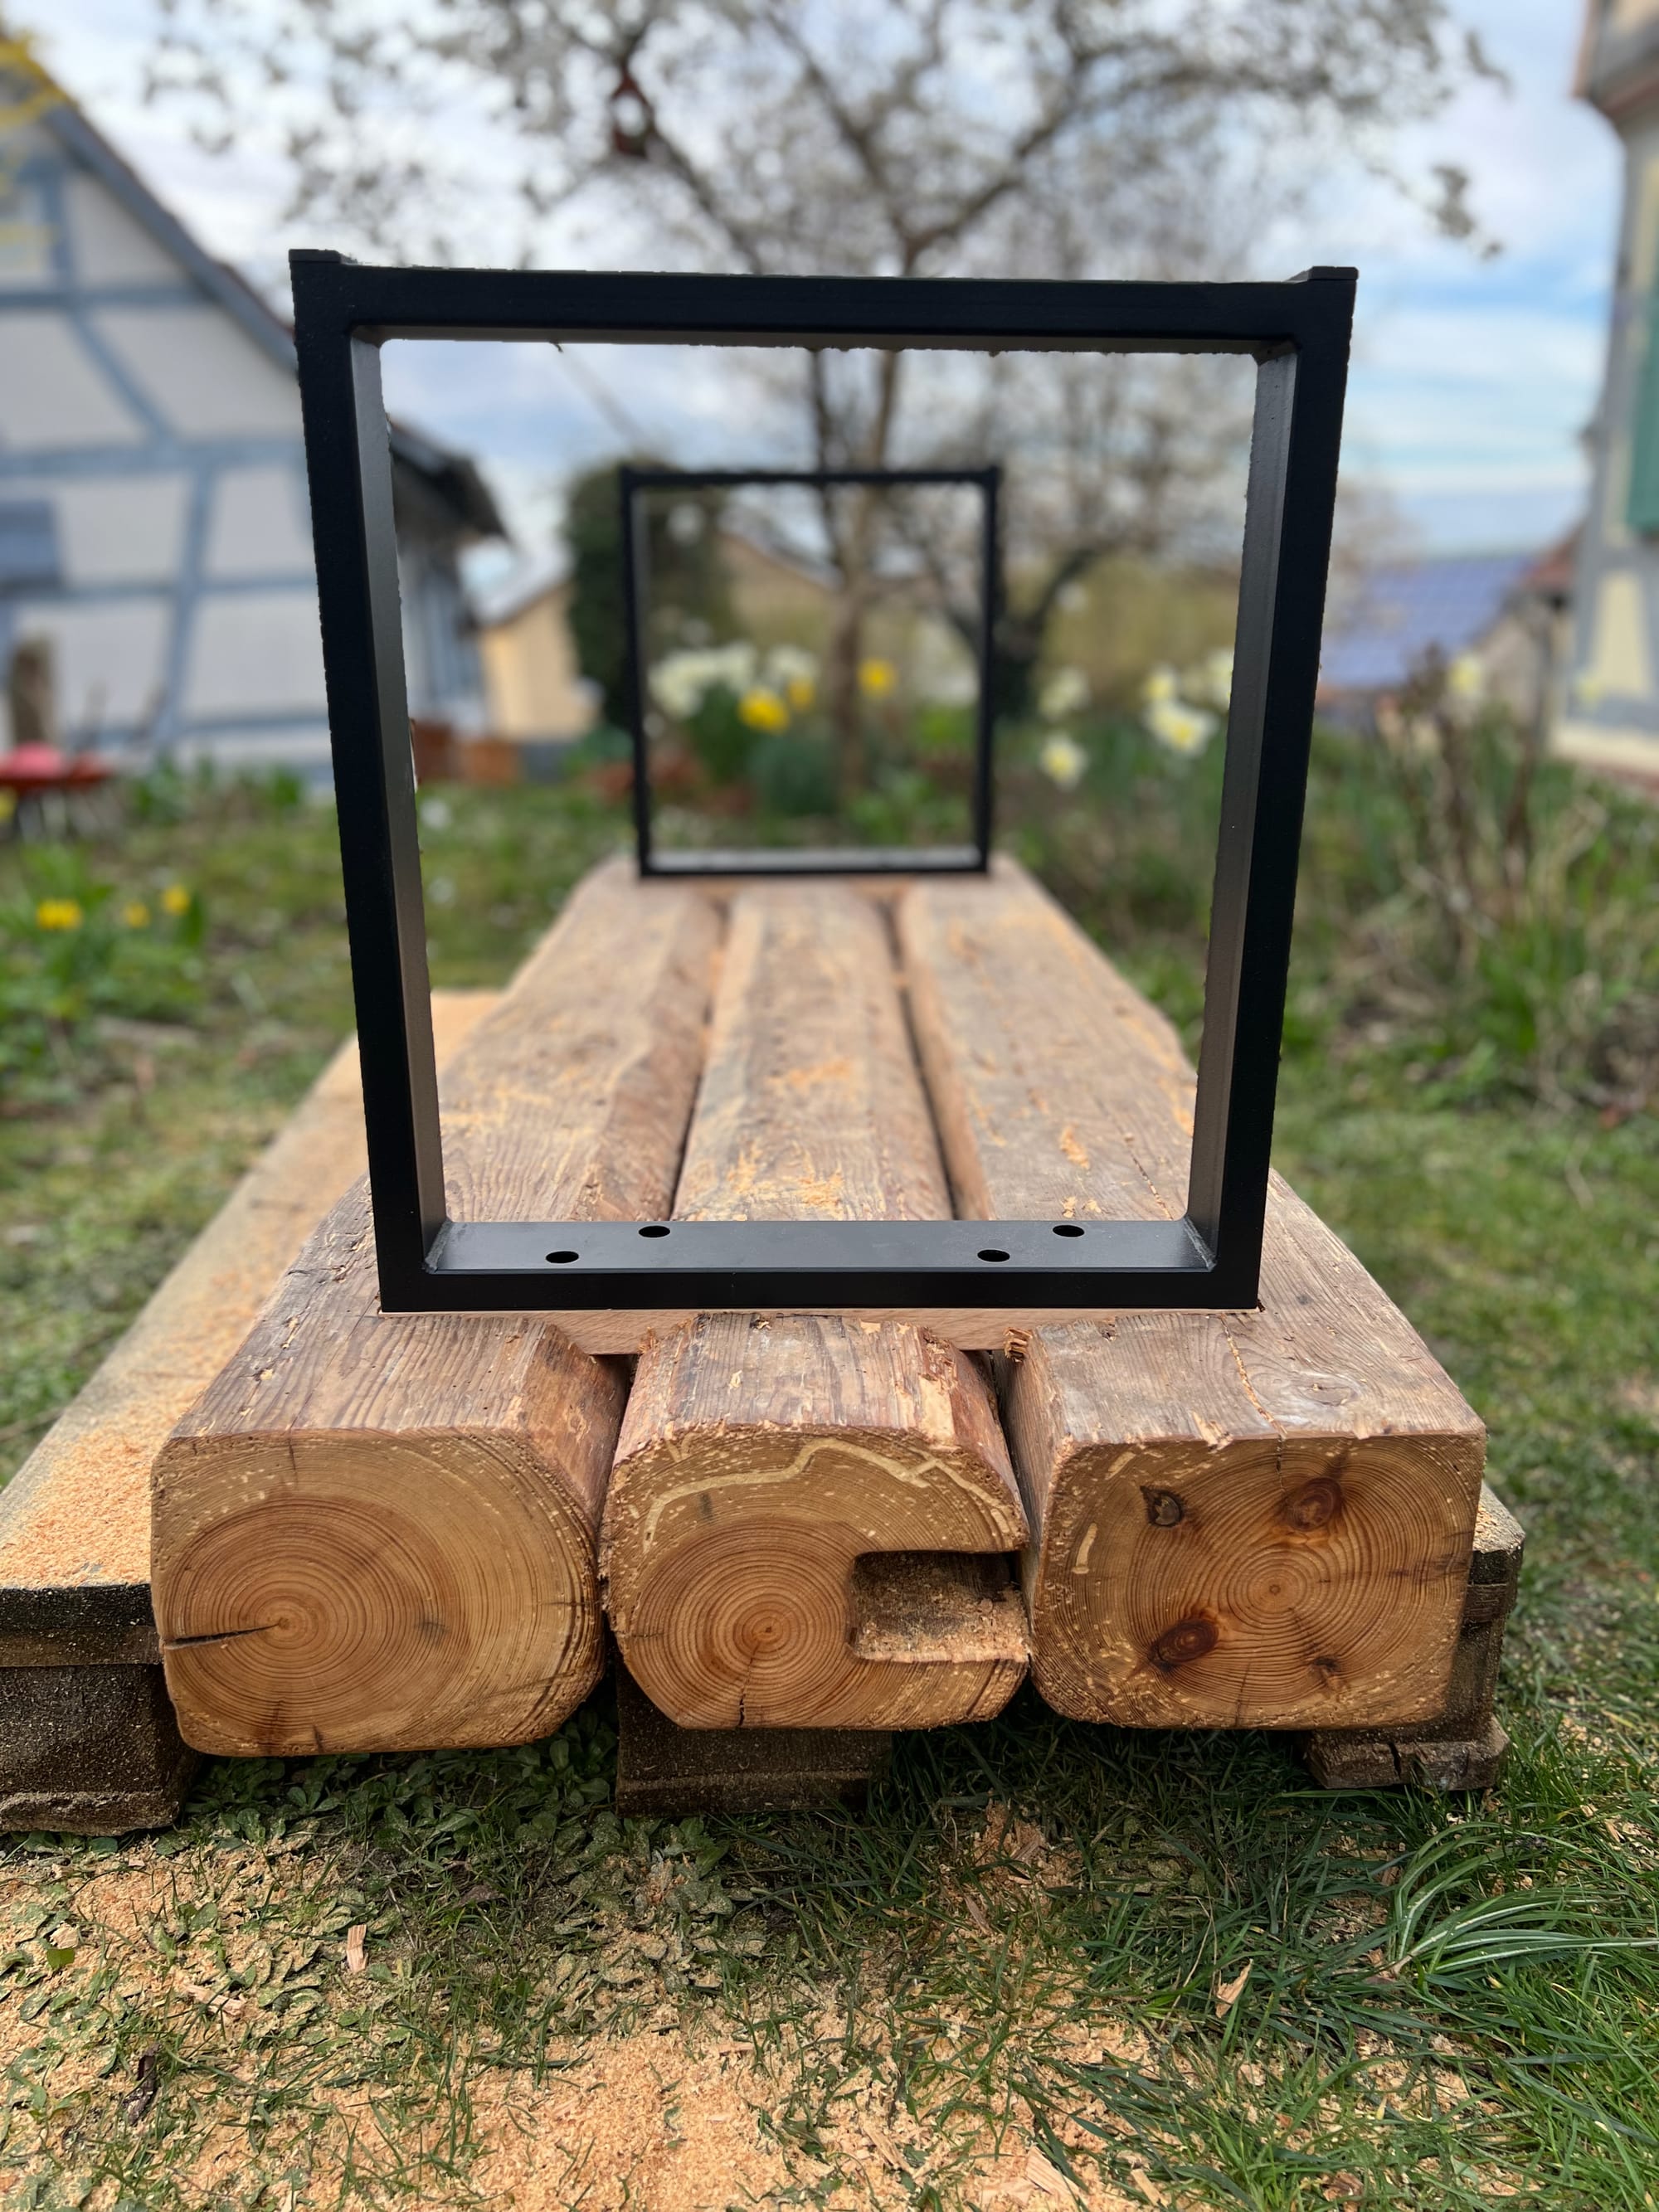
Now I had a super solid connection of the beams and a great surface to mount the legs on.
The Result
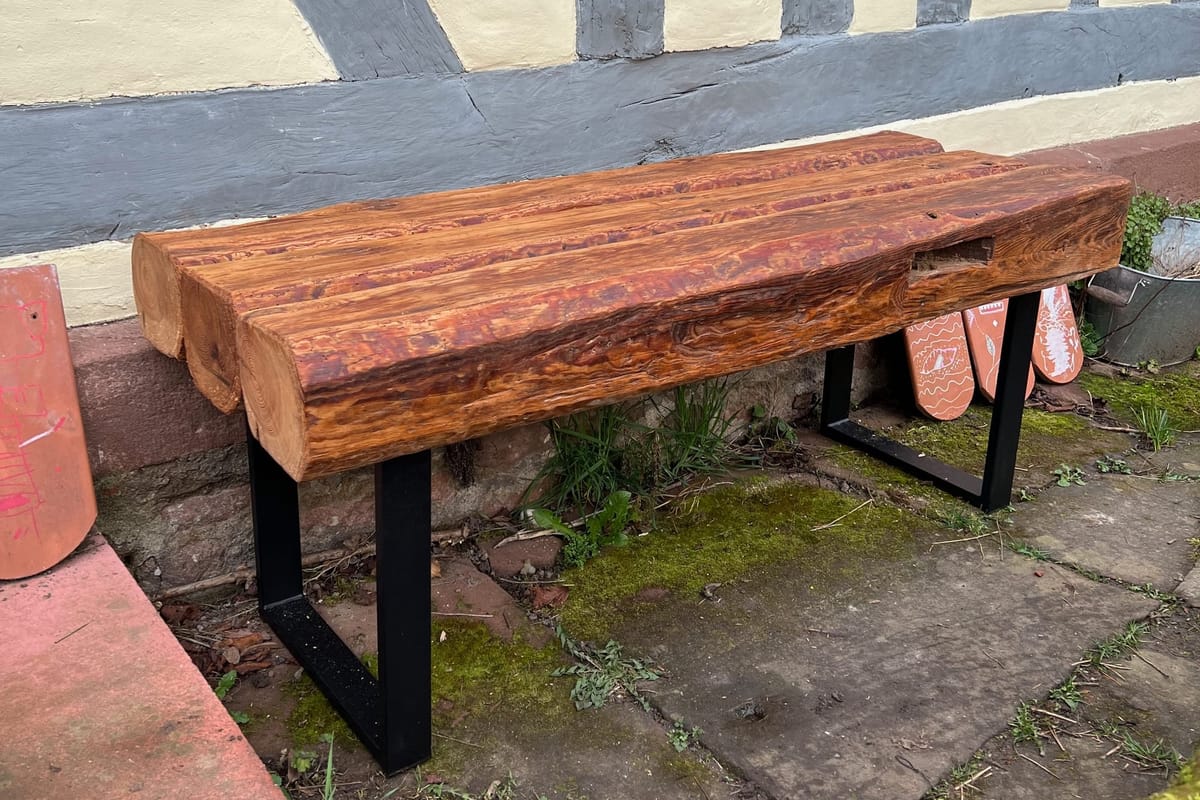
I’m quite happy with how the bench turned out in the end – and I learned a couple of new things I can apply for the next one (there are still a couple of beams left 😅). I hope you enjoyed this small episode ☕️☀️
