
Kitchen: Episode IV – Getting Closer
Now that the walls and electrical wiring were done we continued with the floor, window frame and setting up the cabinets.
Previous Episodes
Floor
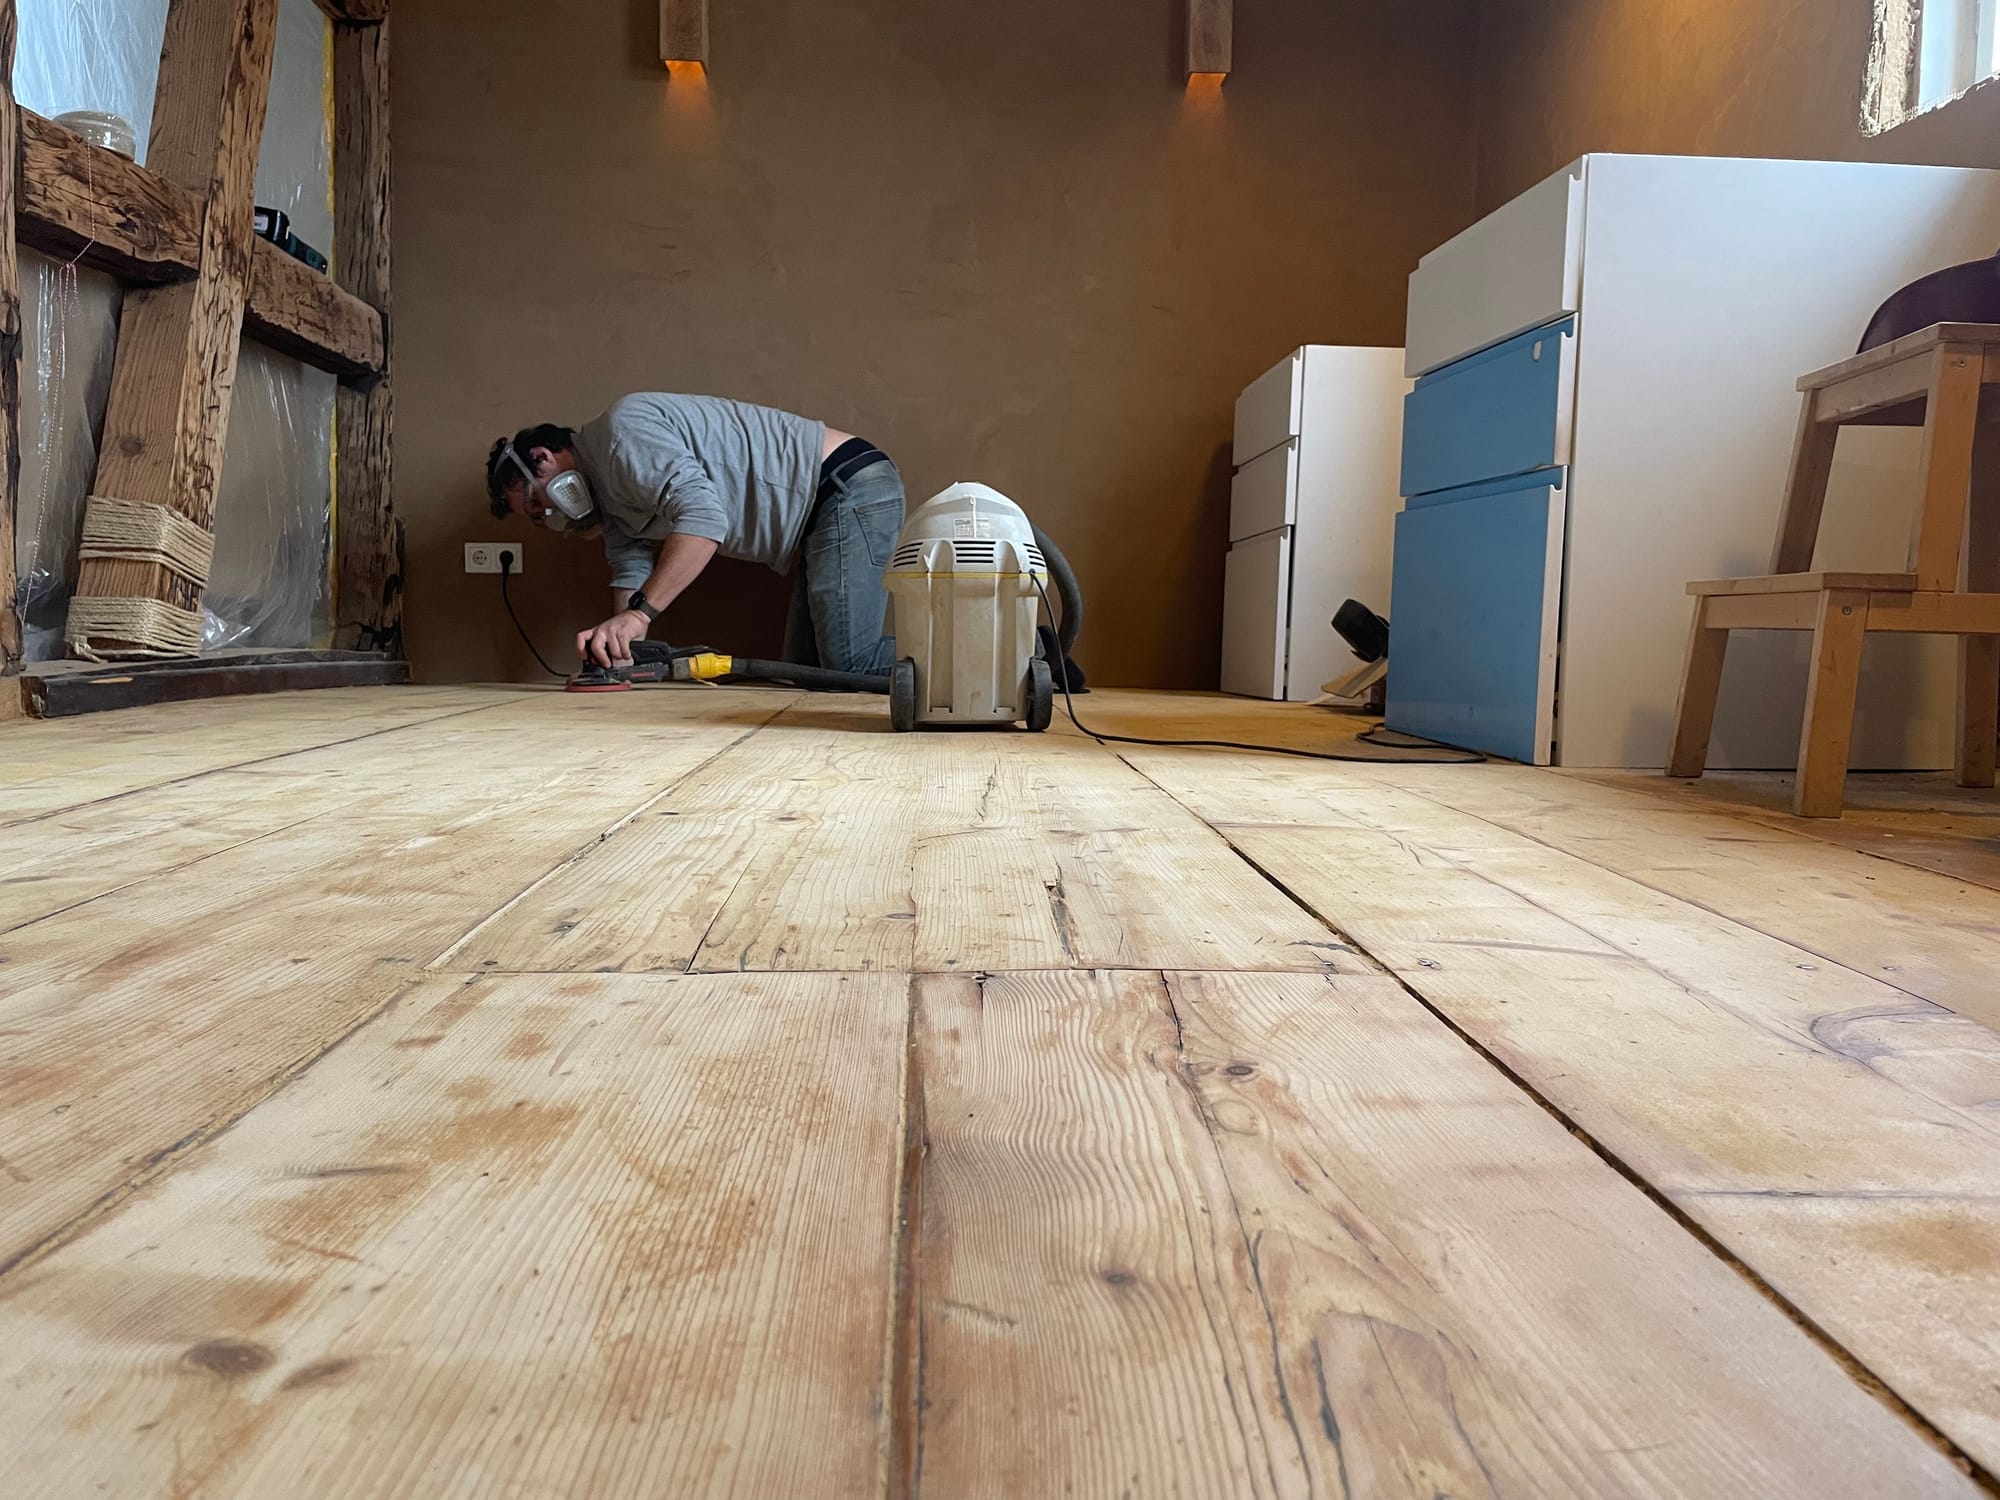
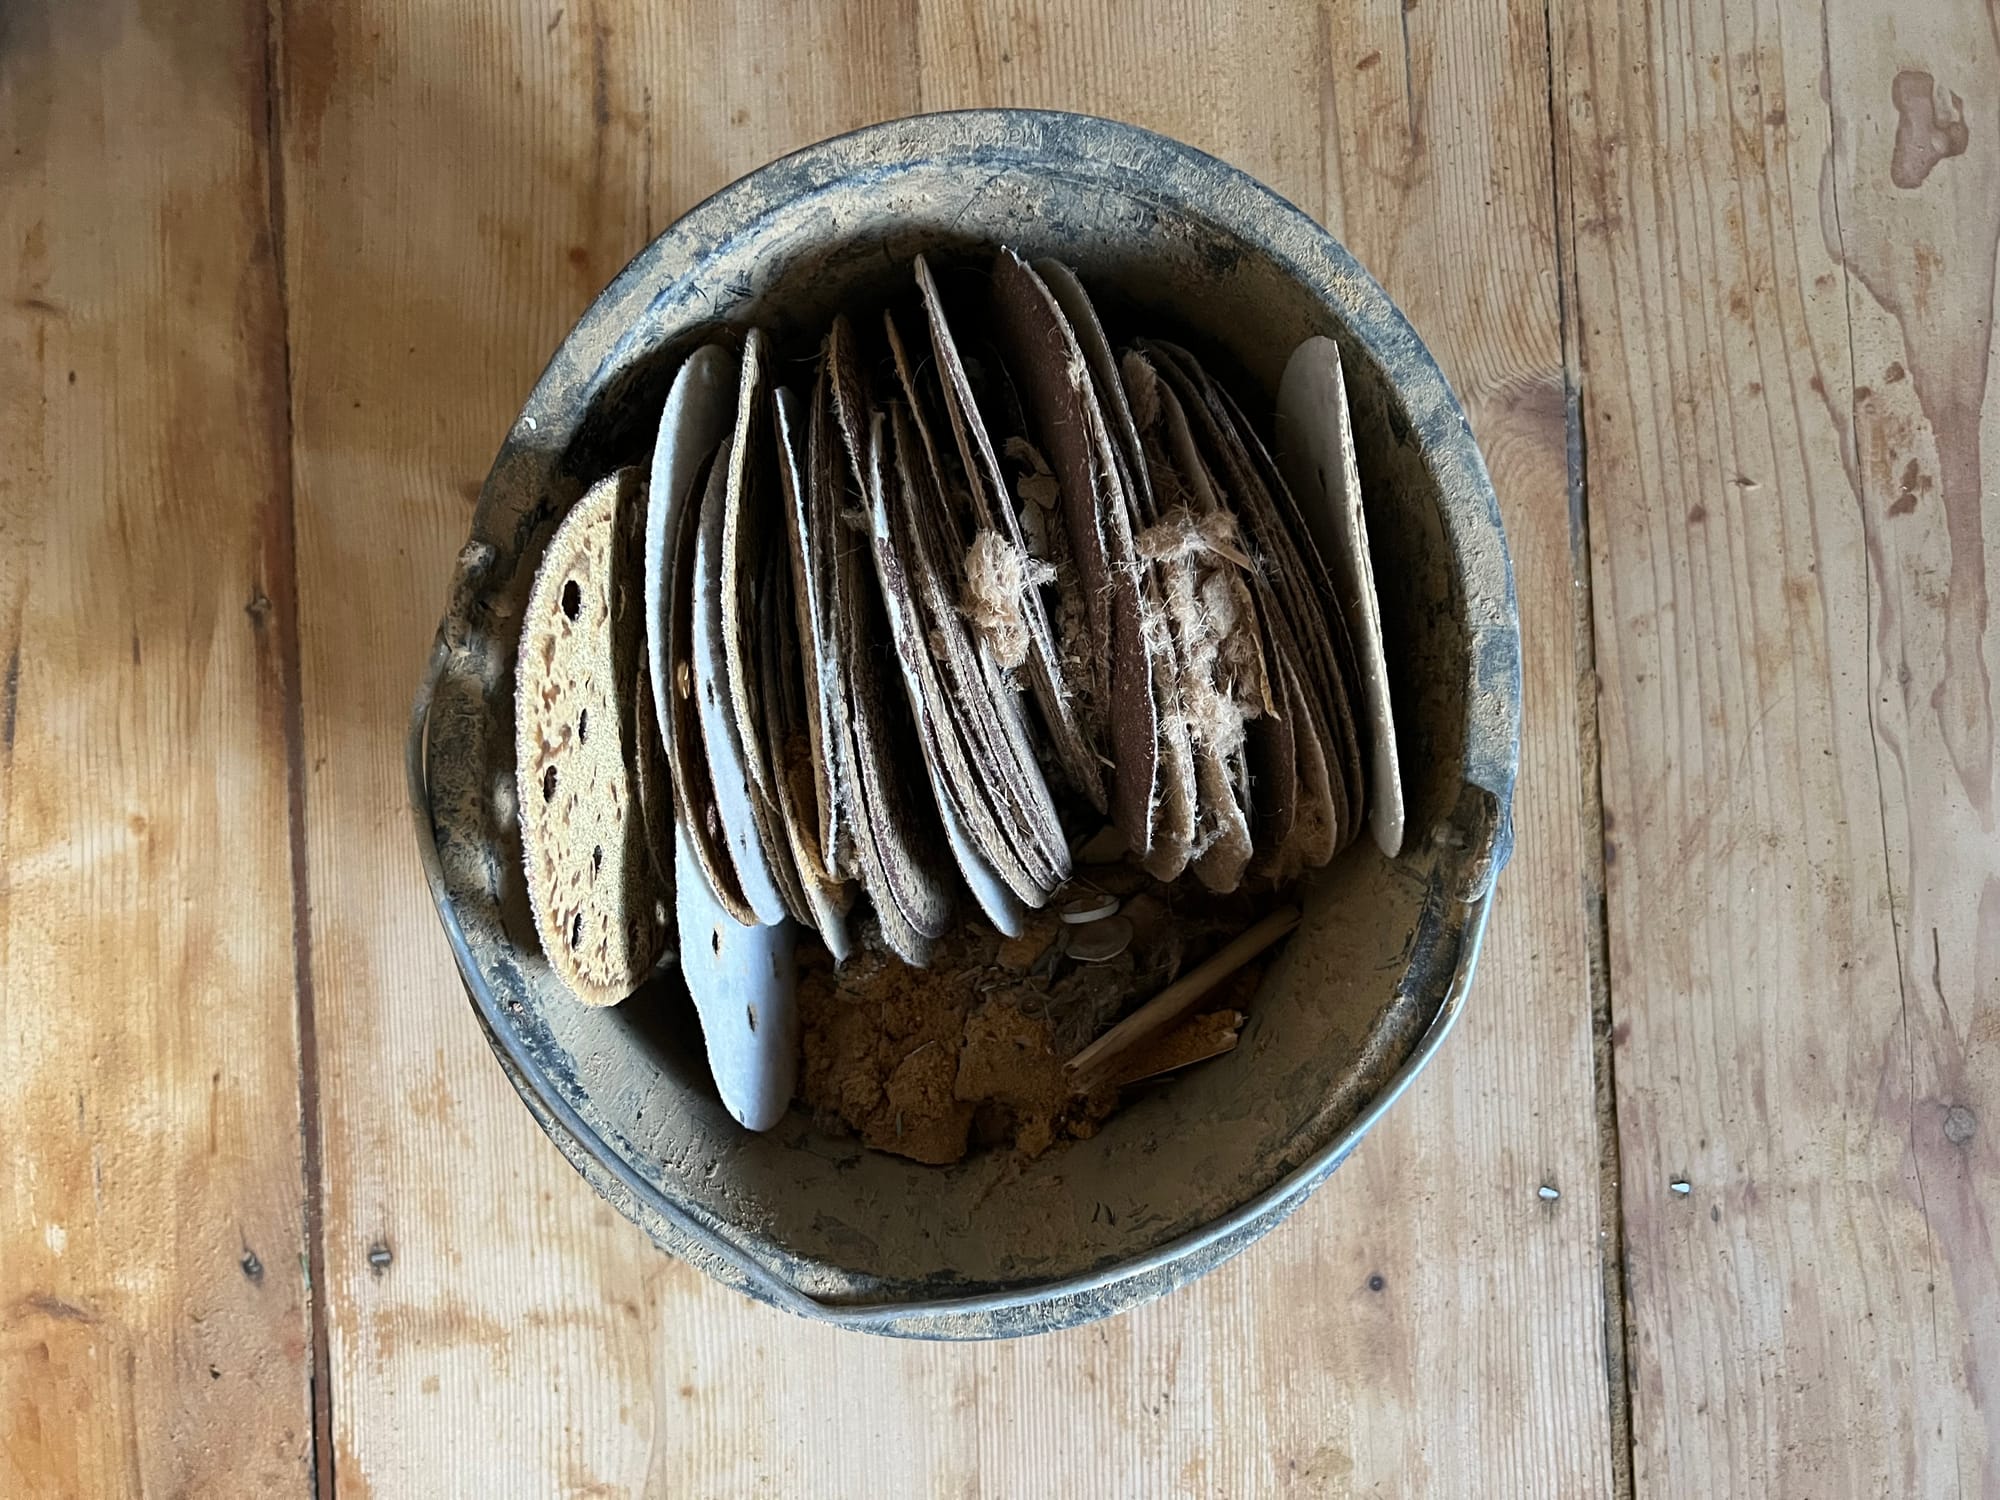
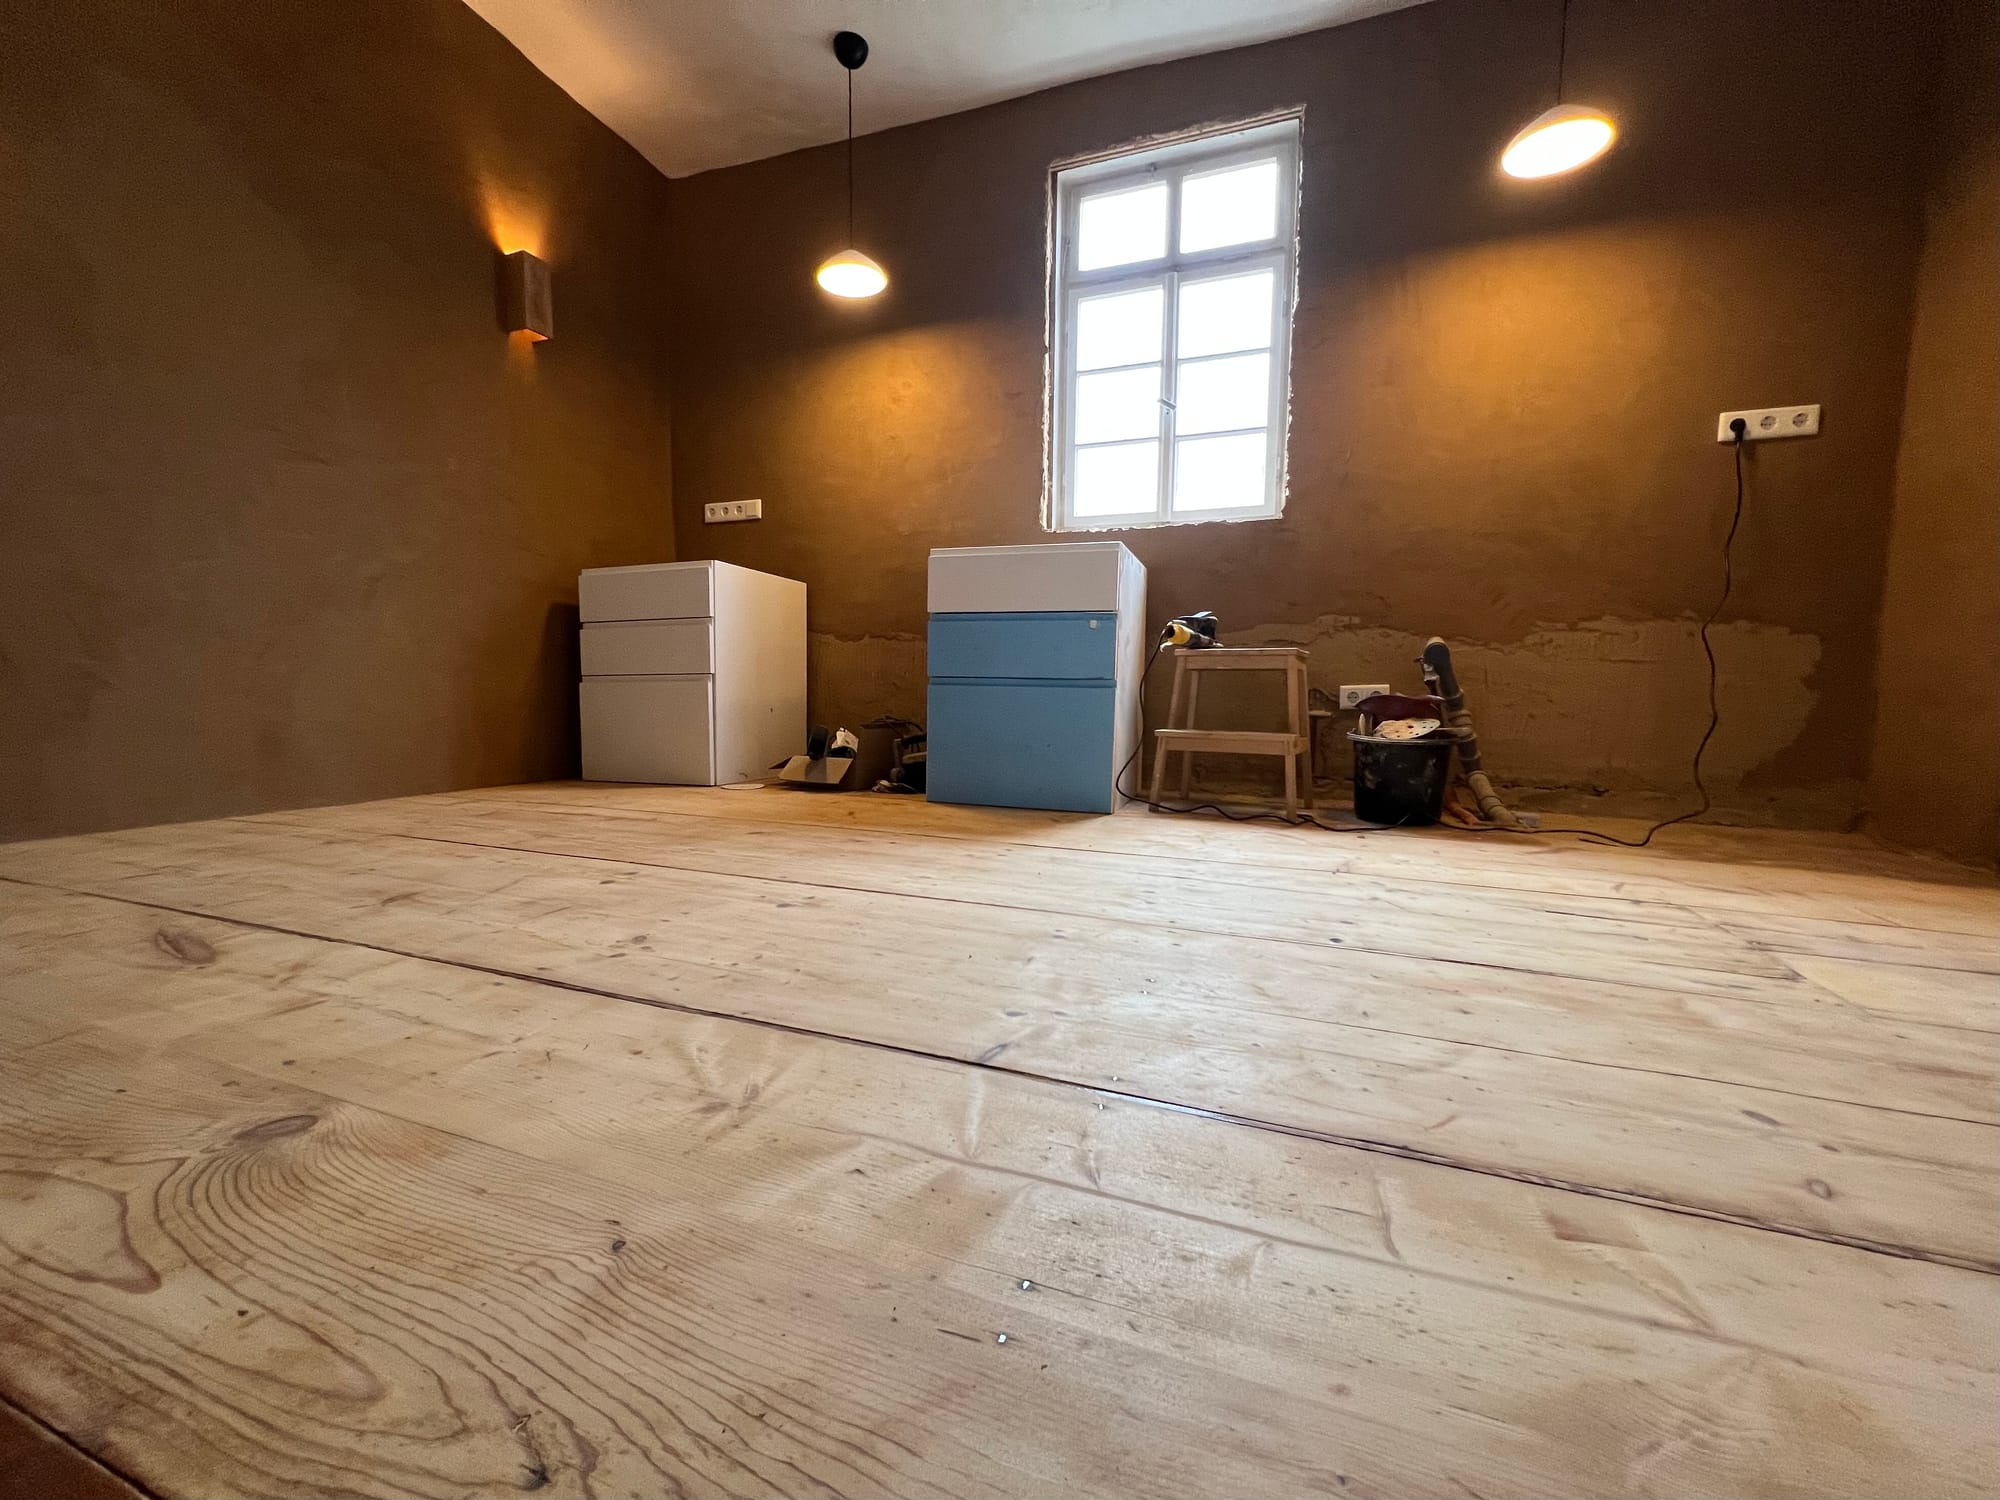
Now that the walls and electrical wiring were done we moved on to the floor. The room got a wooden floor with wide, very old and lovely boards. Of course we wanted to keep them and only do “a bit” of sanding and oil it at the end. Sanding was super tedious, but in the end it was totally worth it. I’ve used a Menzer ETS 150 5.0 for it and couldn’t be happier. In the beginning I made the mistake to use the cheapest sanding paper I could find – switching to Woltersberger (needless to say – I’m not sponsored by them 😅) made it so much faster and is definitely worth the extra money.
Window
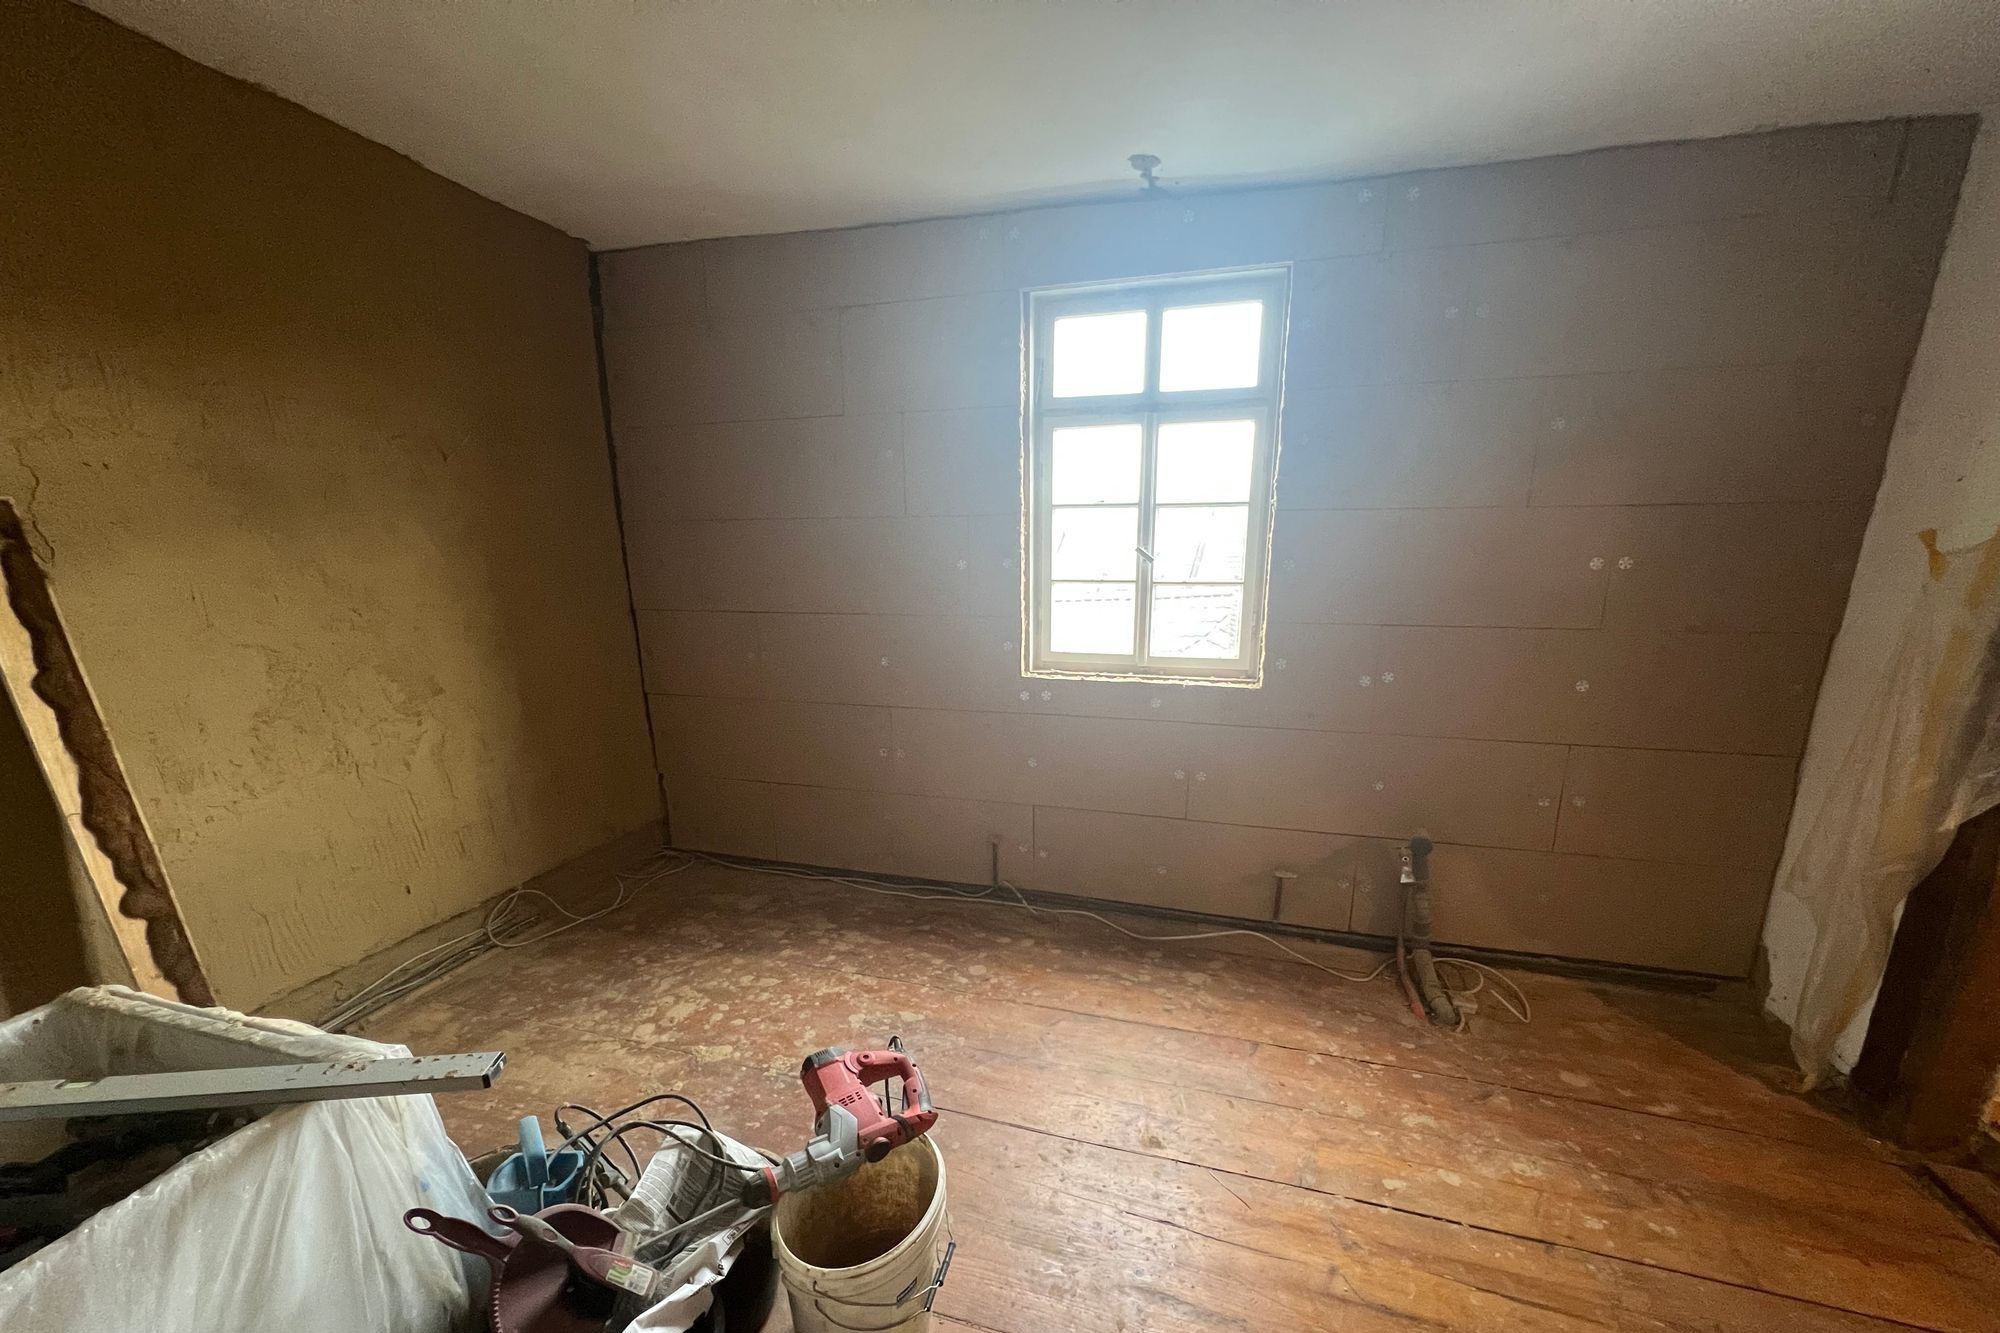
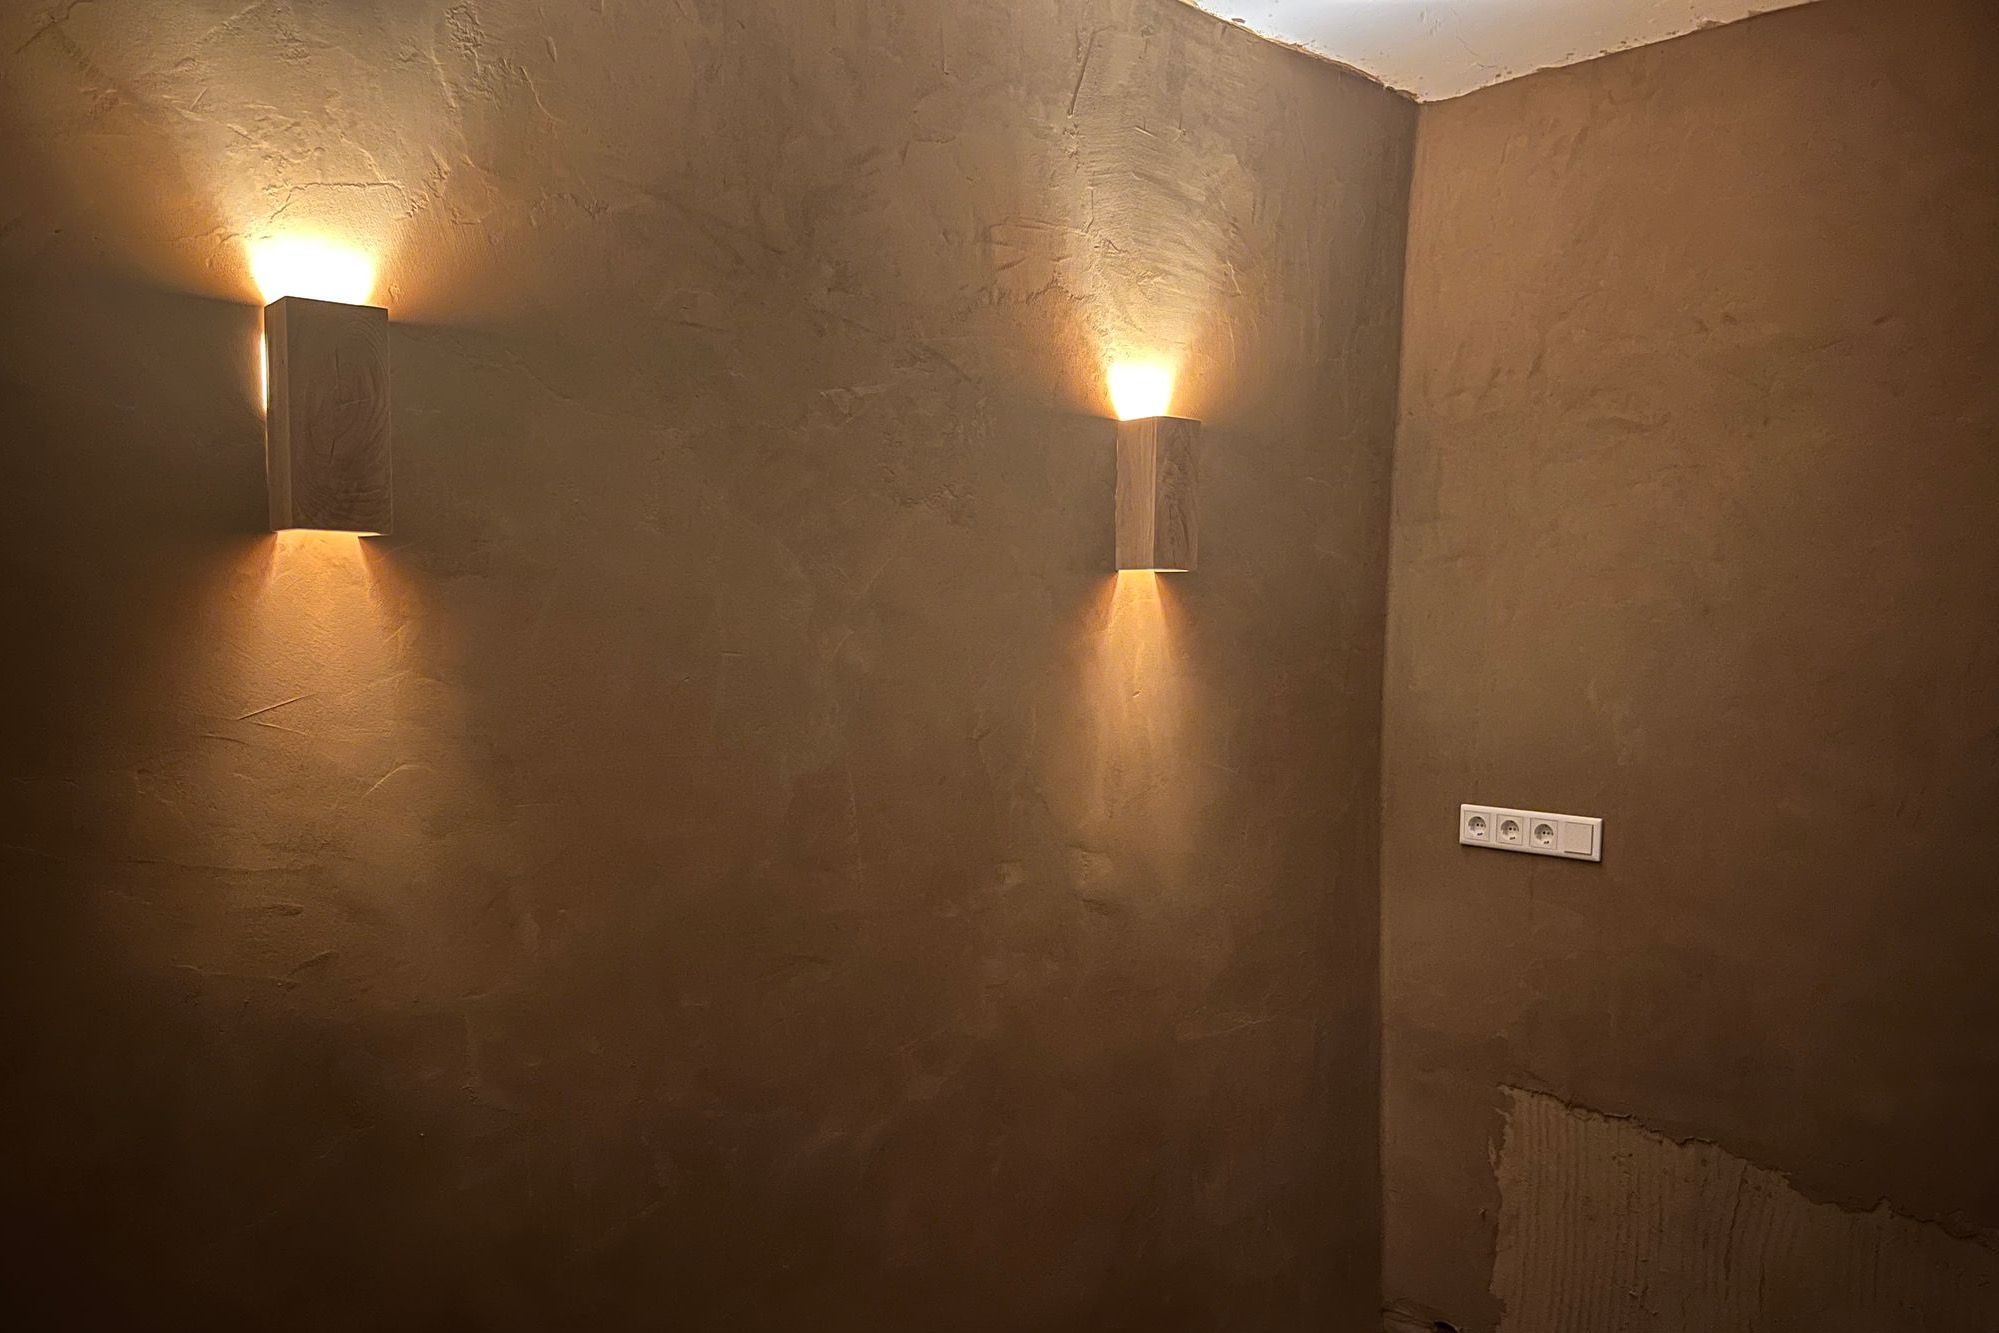
Another task dealing with wood was to adjust the window frame to accommodate the insulation we added to the inside walls. We needed to extend the sconcheon (🇩🇪 Laibung) to be able to add the decorative frame around the window. It was definitely challenging, because – as usual – nothing was level and there were quite a few gaps to fill with putty. Whilst we were at it we also added a fresh coat of paint to the frame and the window.
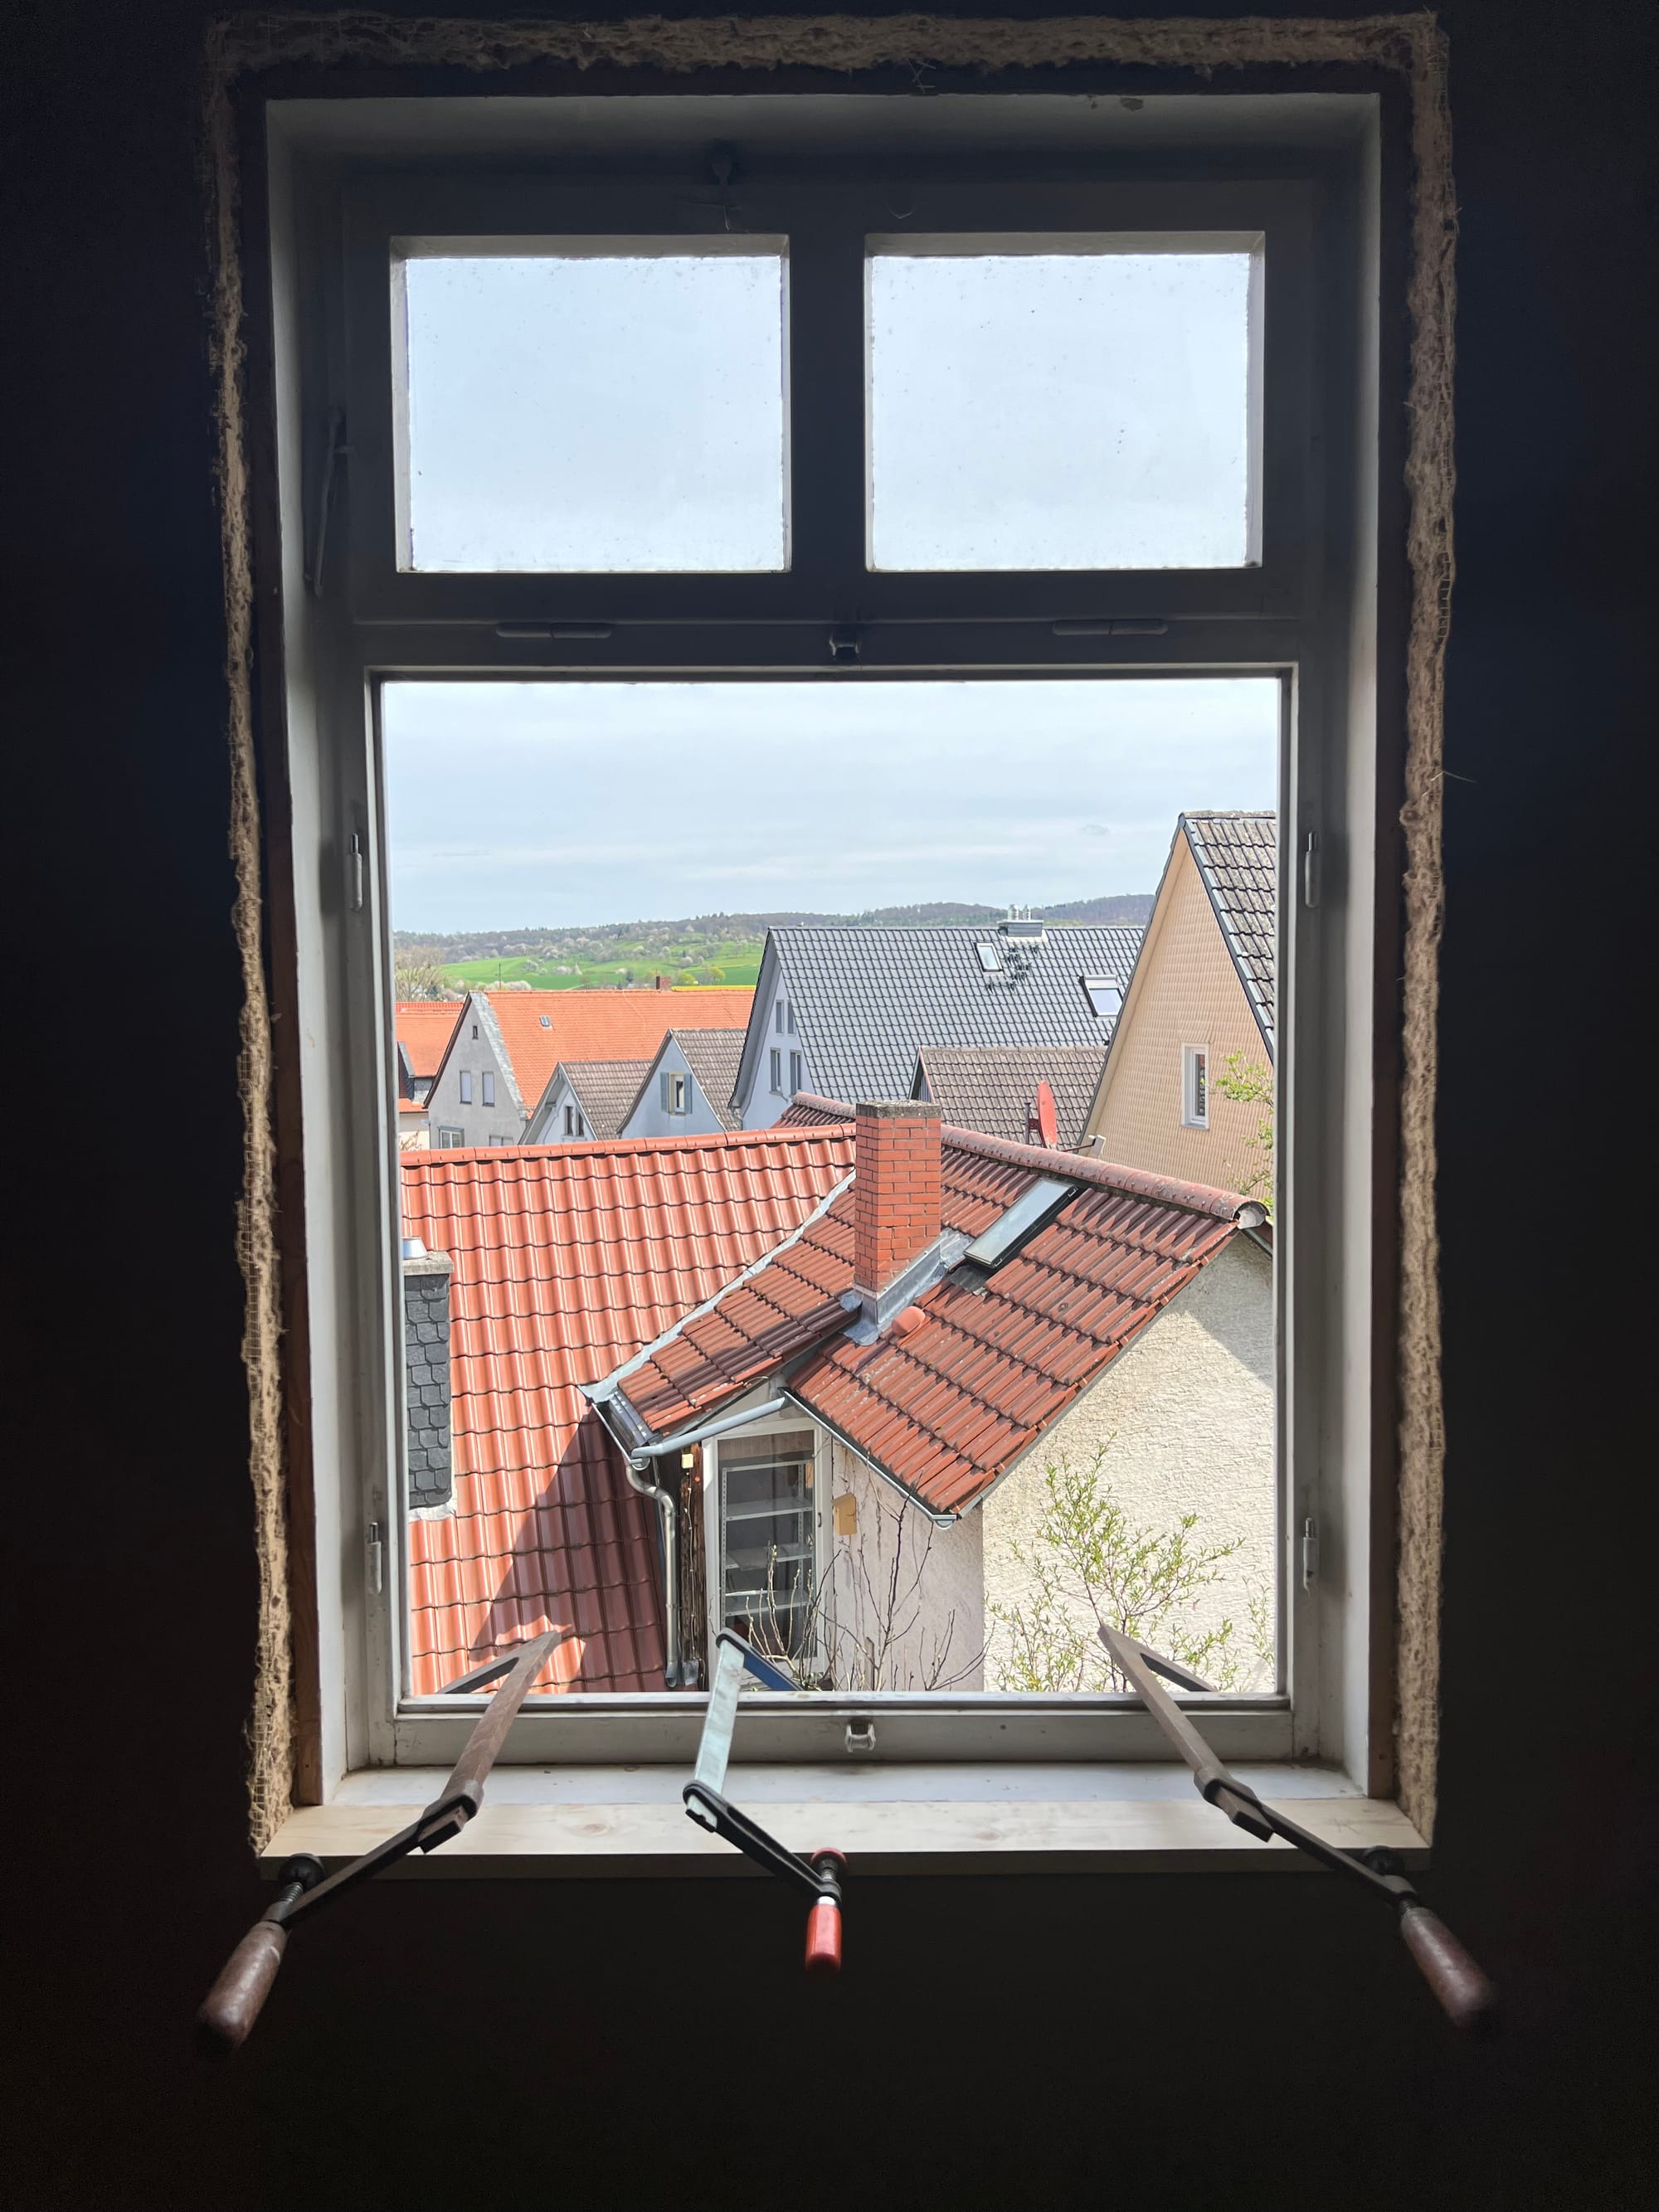
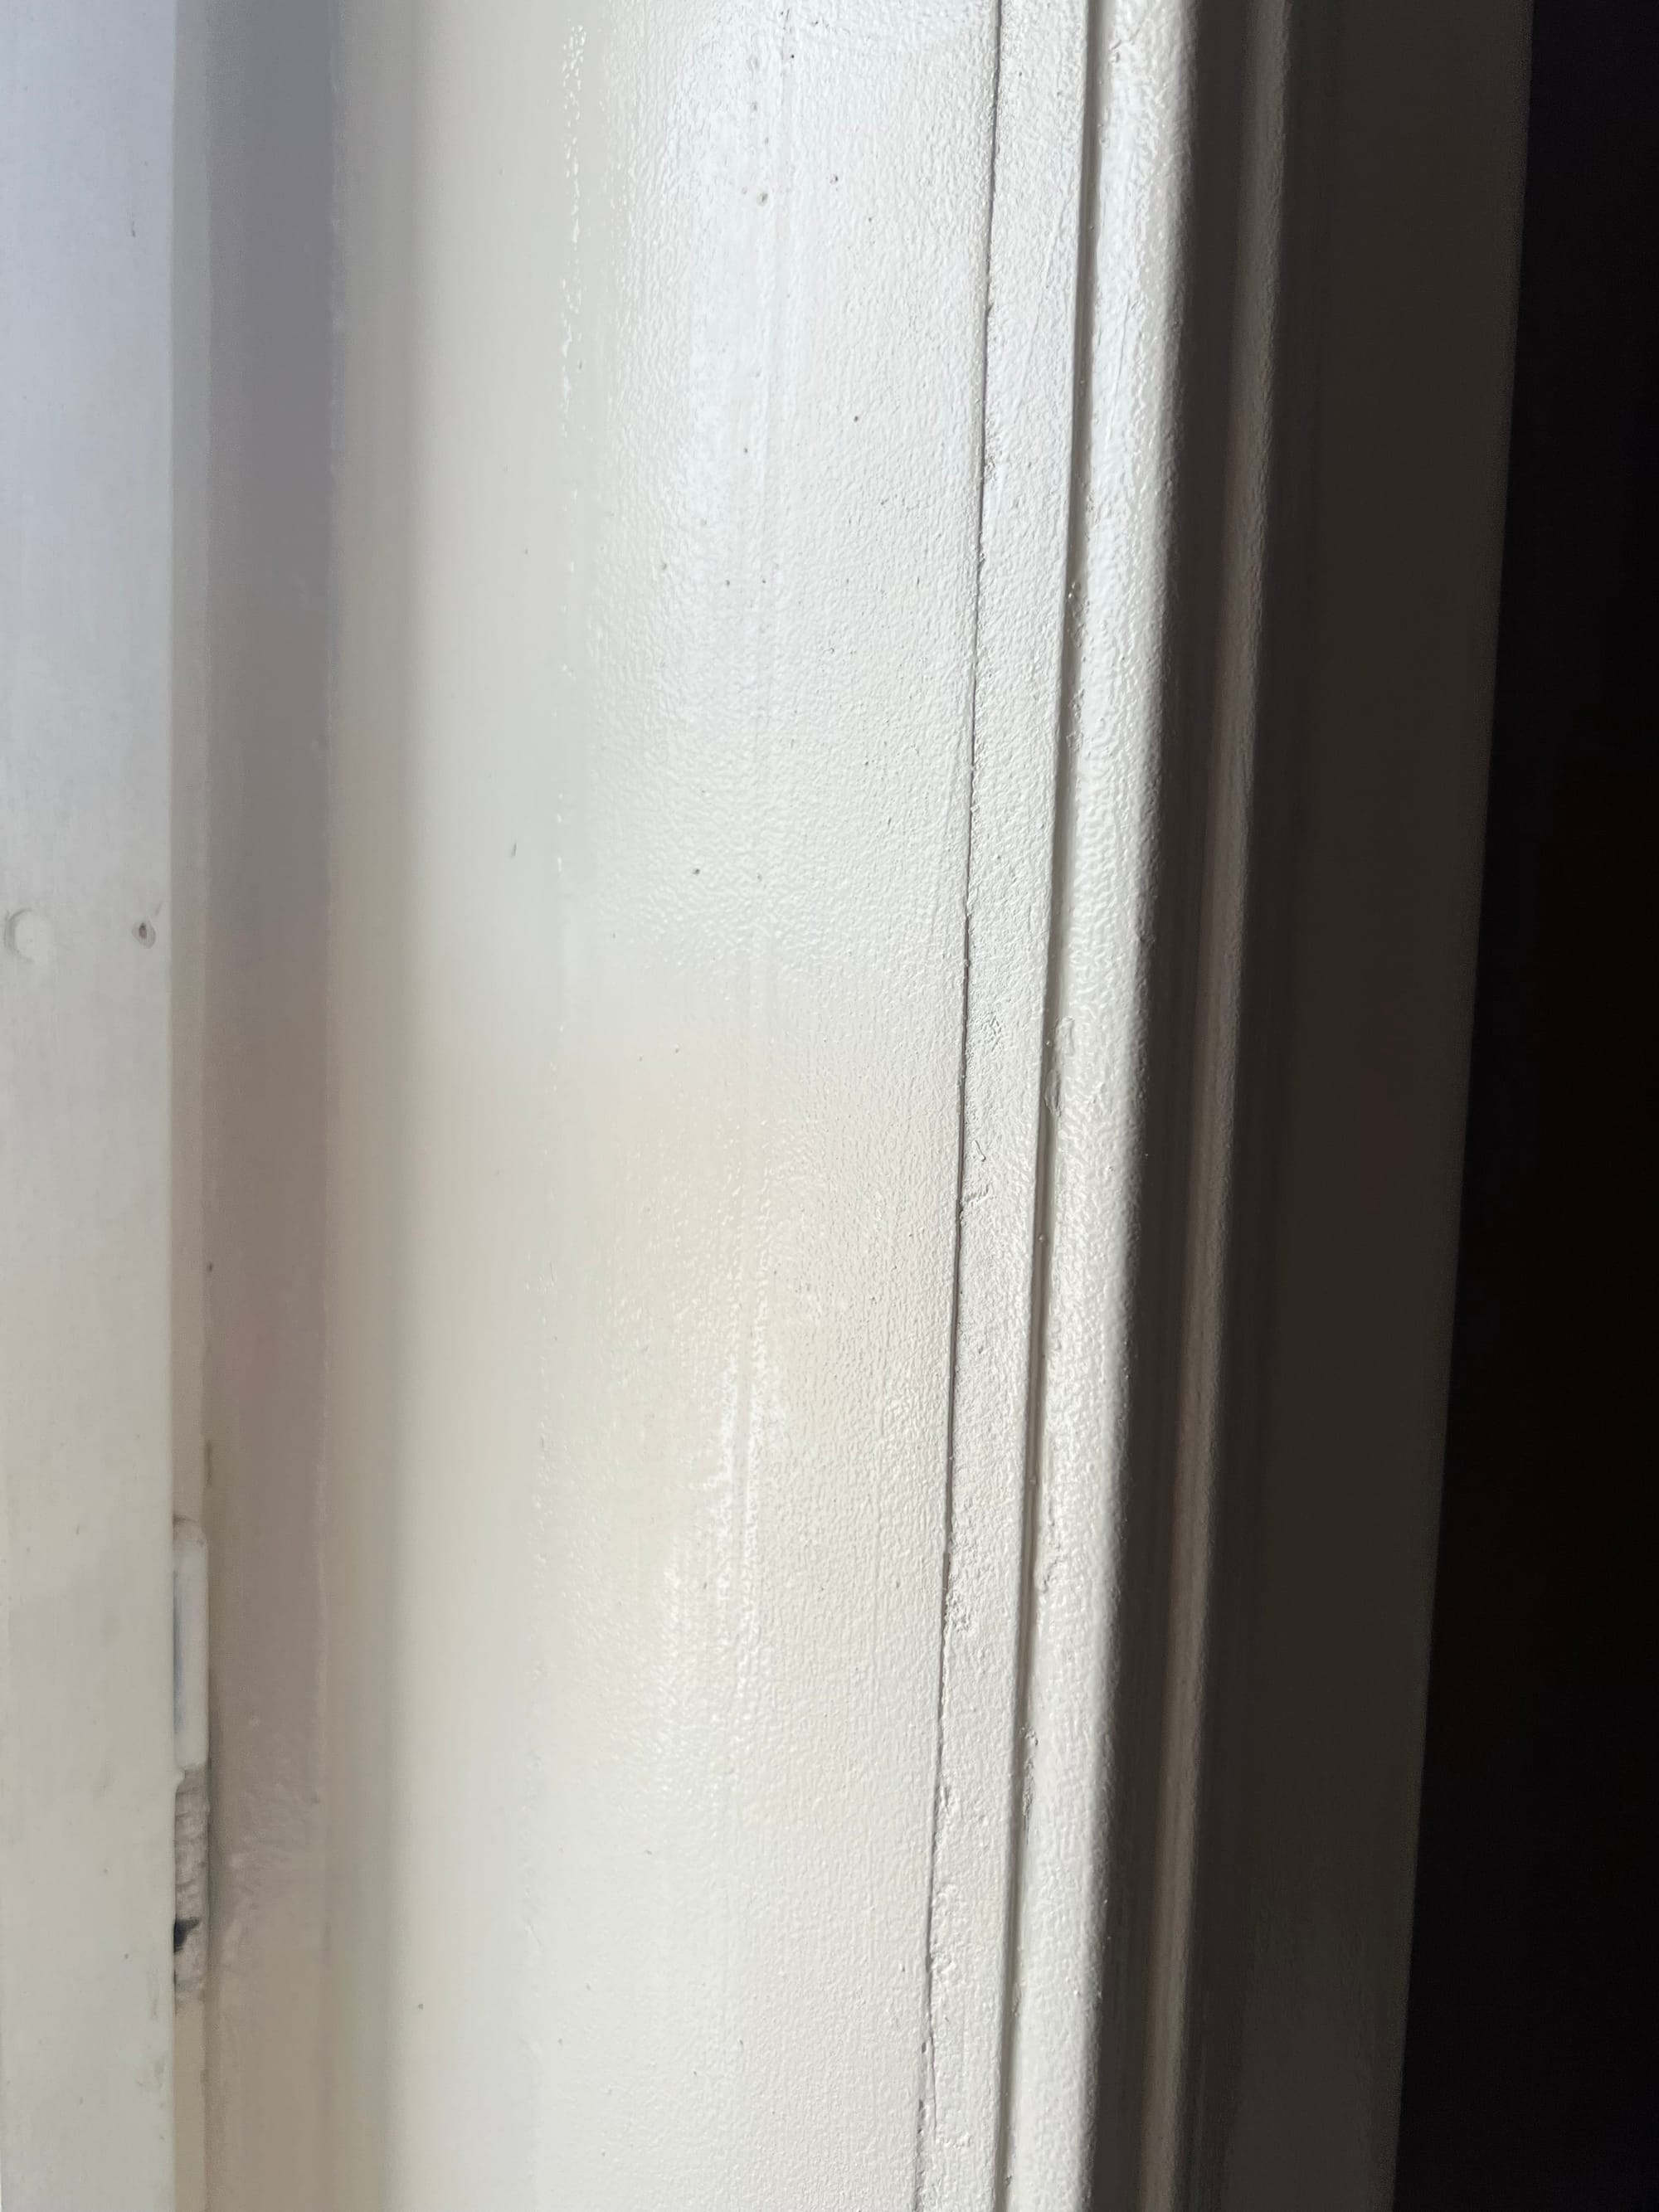
In the end it turned out good enough and we learned a couple of things for the next time. 🚀

Decoration
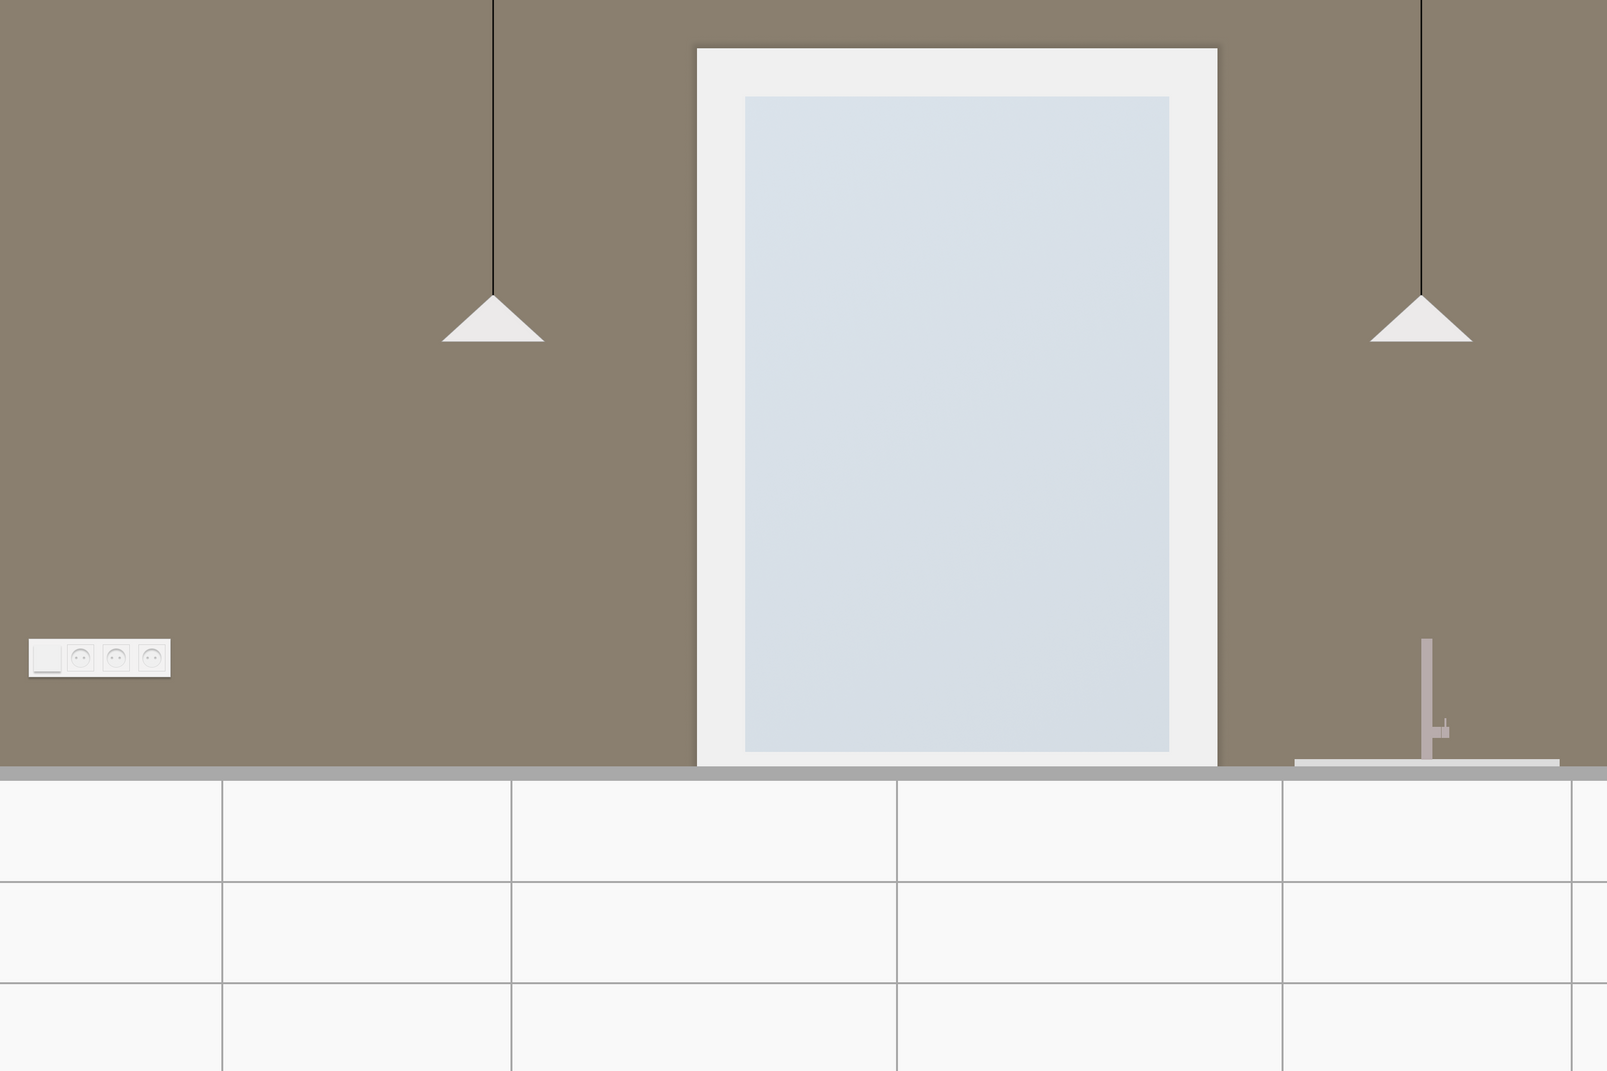
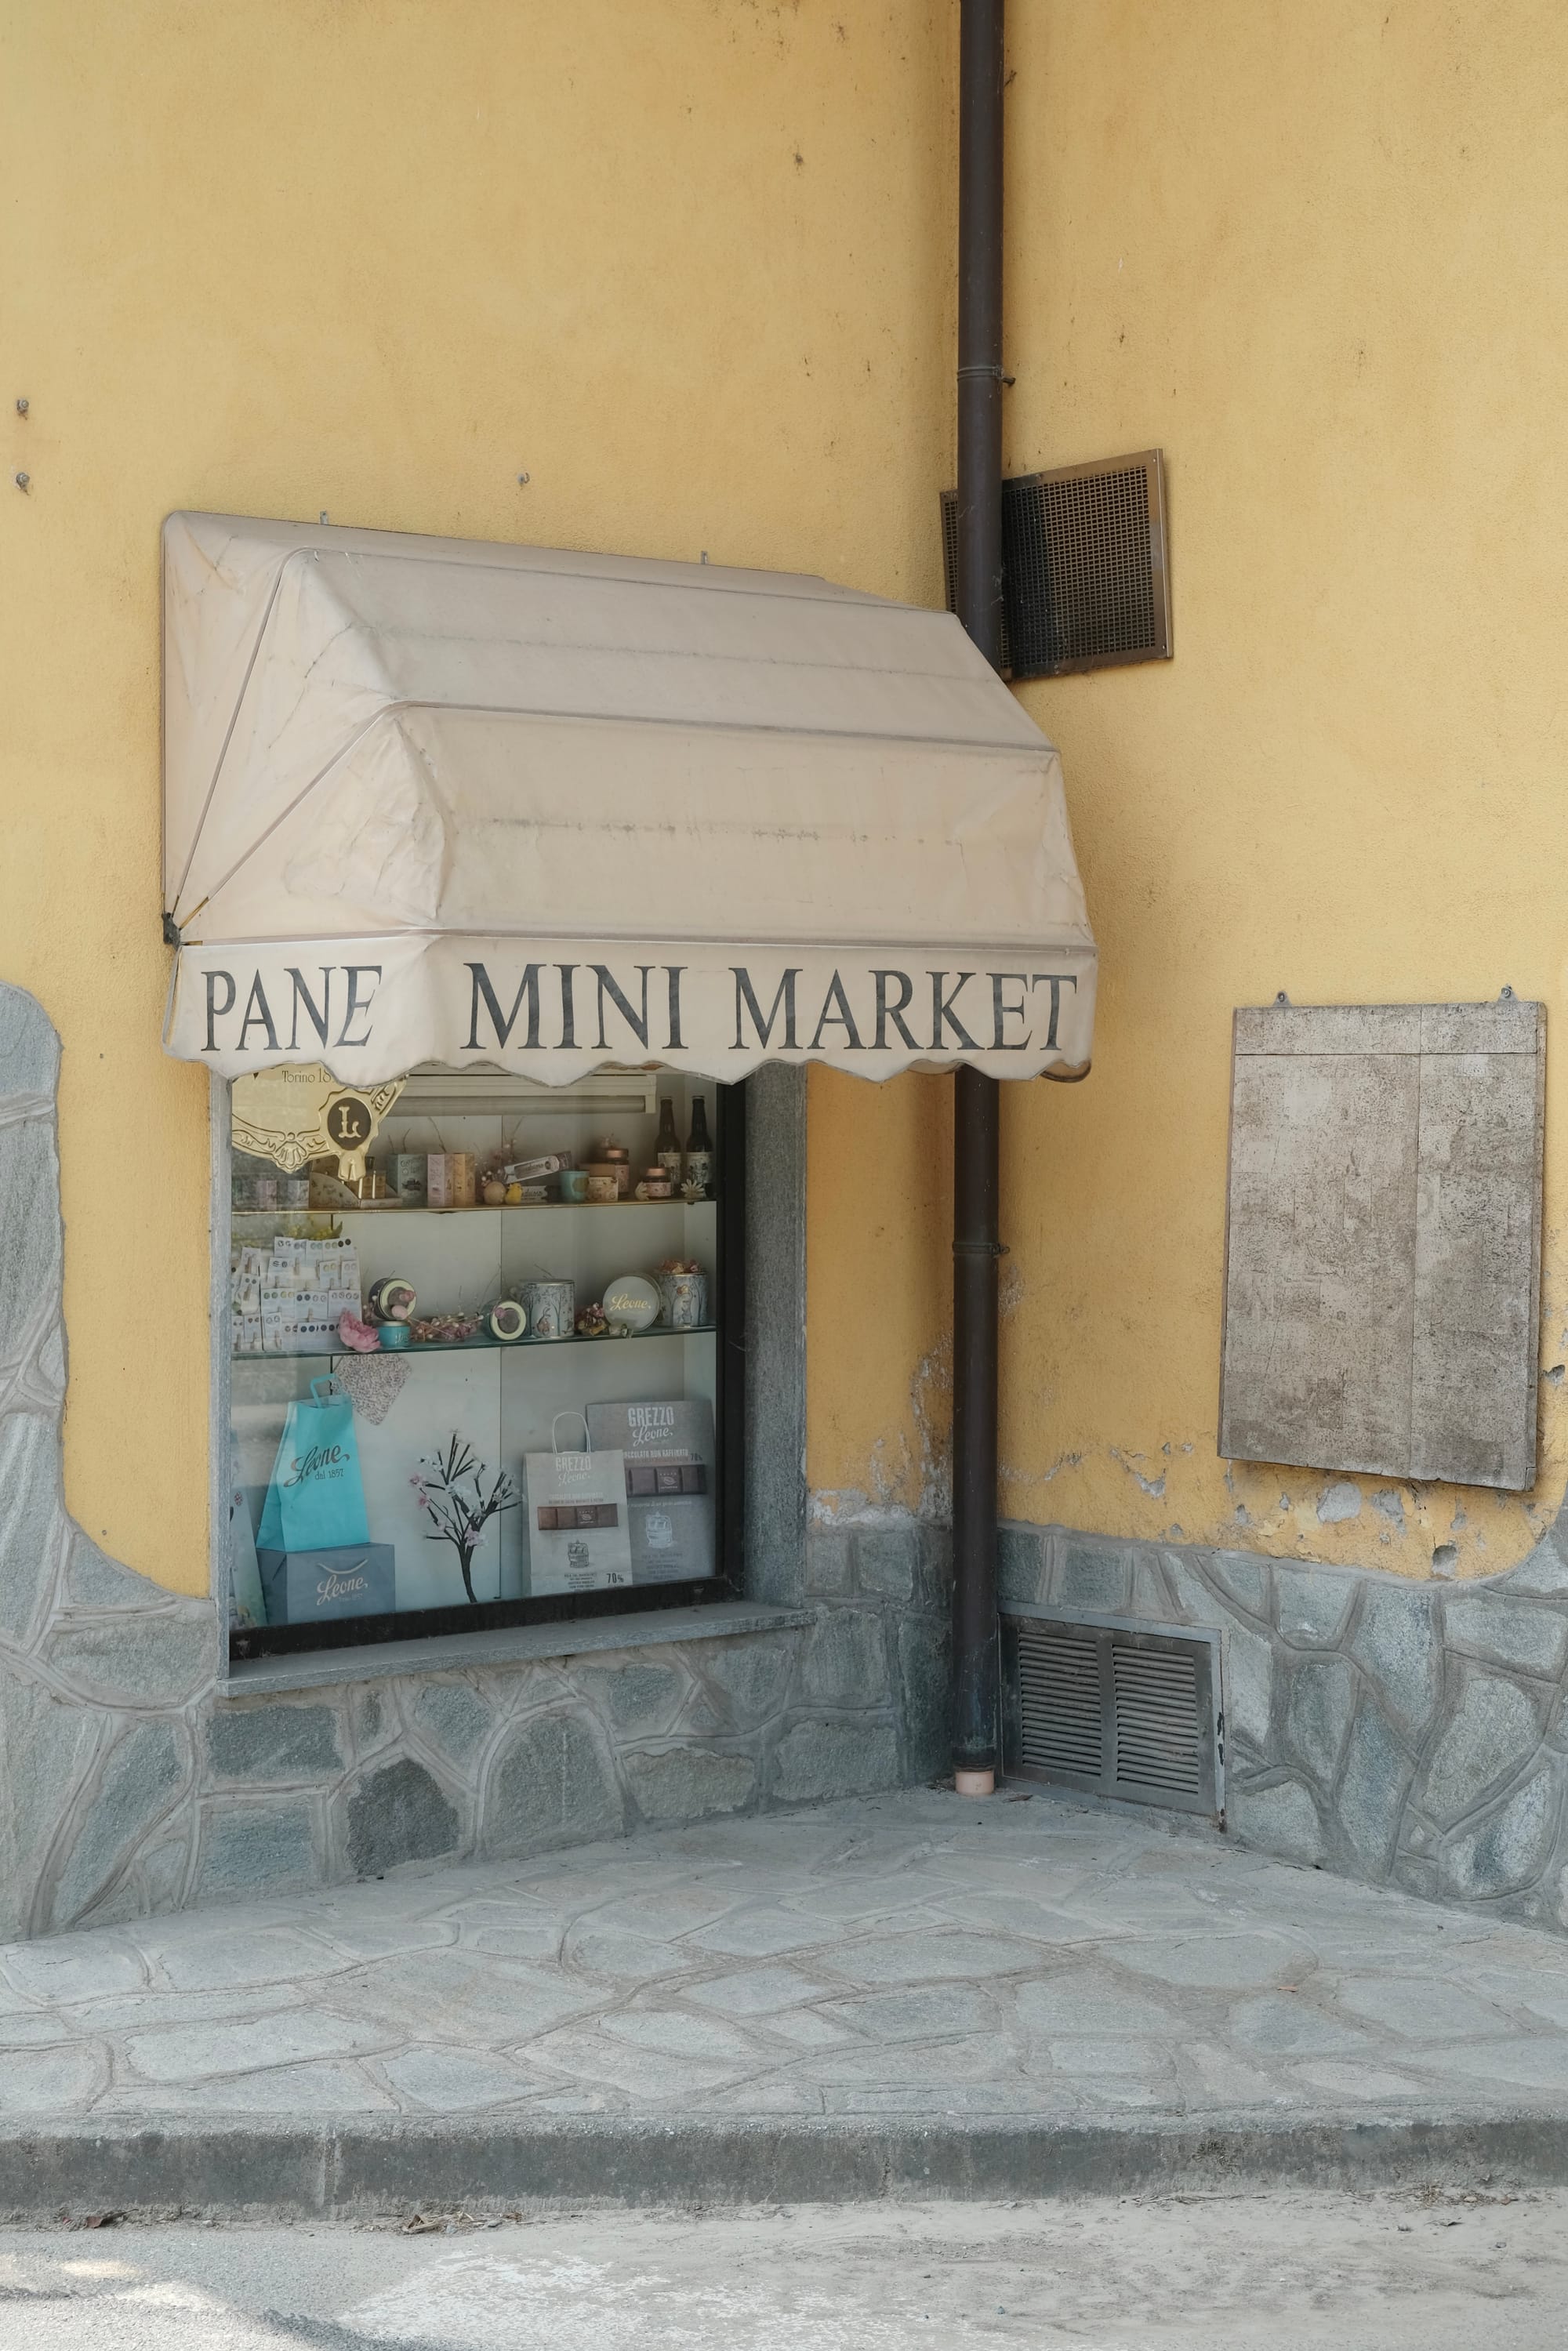
In order to (procrastinate) get a better feeling of the room, we also started to think about how to decorate it. When we planned the position of the wall lamps we made sure to leave space for a big picture frame in between them. To find the best motive we had a couple of the photos that I took printed as posters and put each of them on the wall for a couple of days. In the end we decided on this image I took in Piemont, Italy during a work trip.
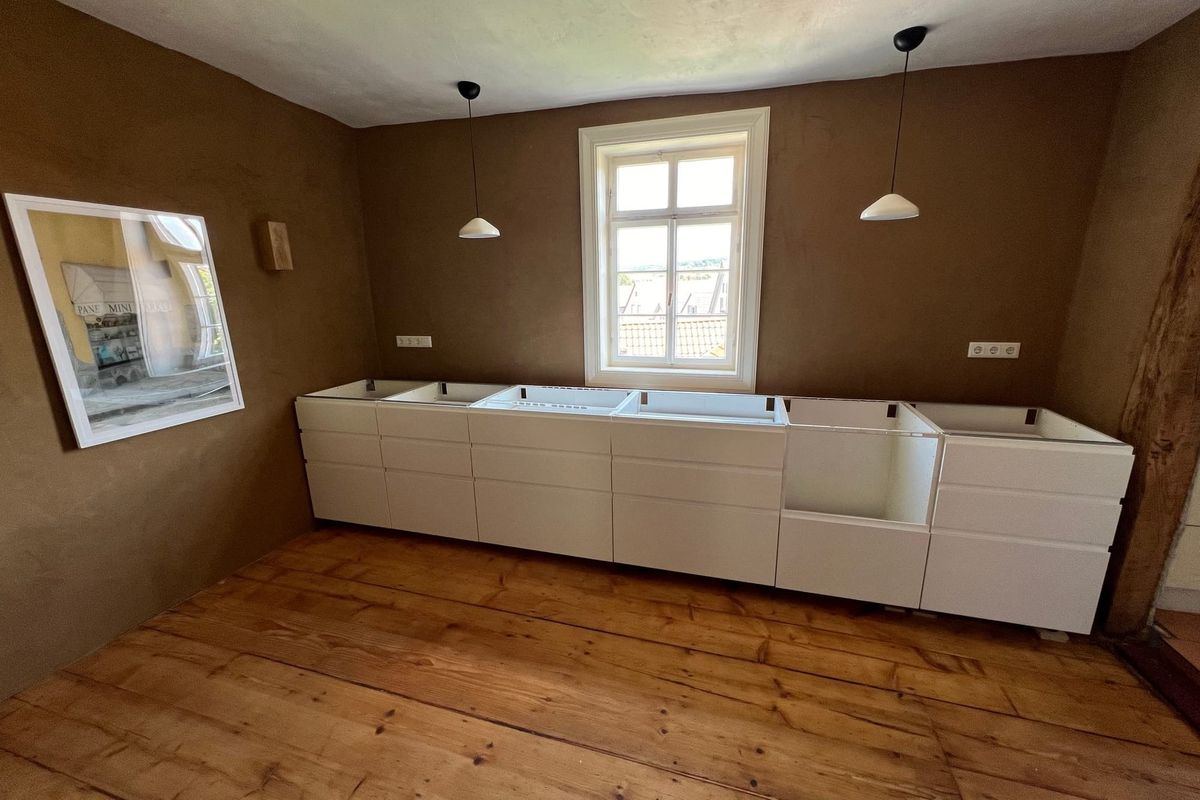
Setting up the cabinets
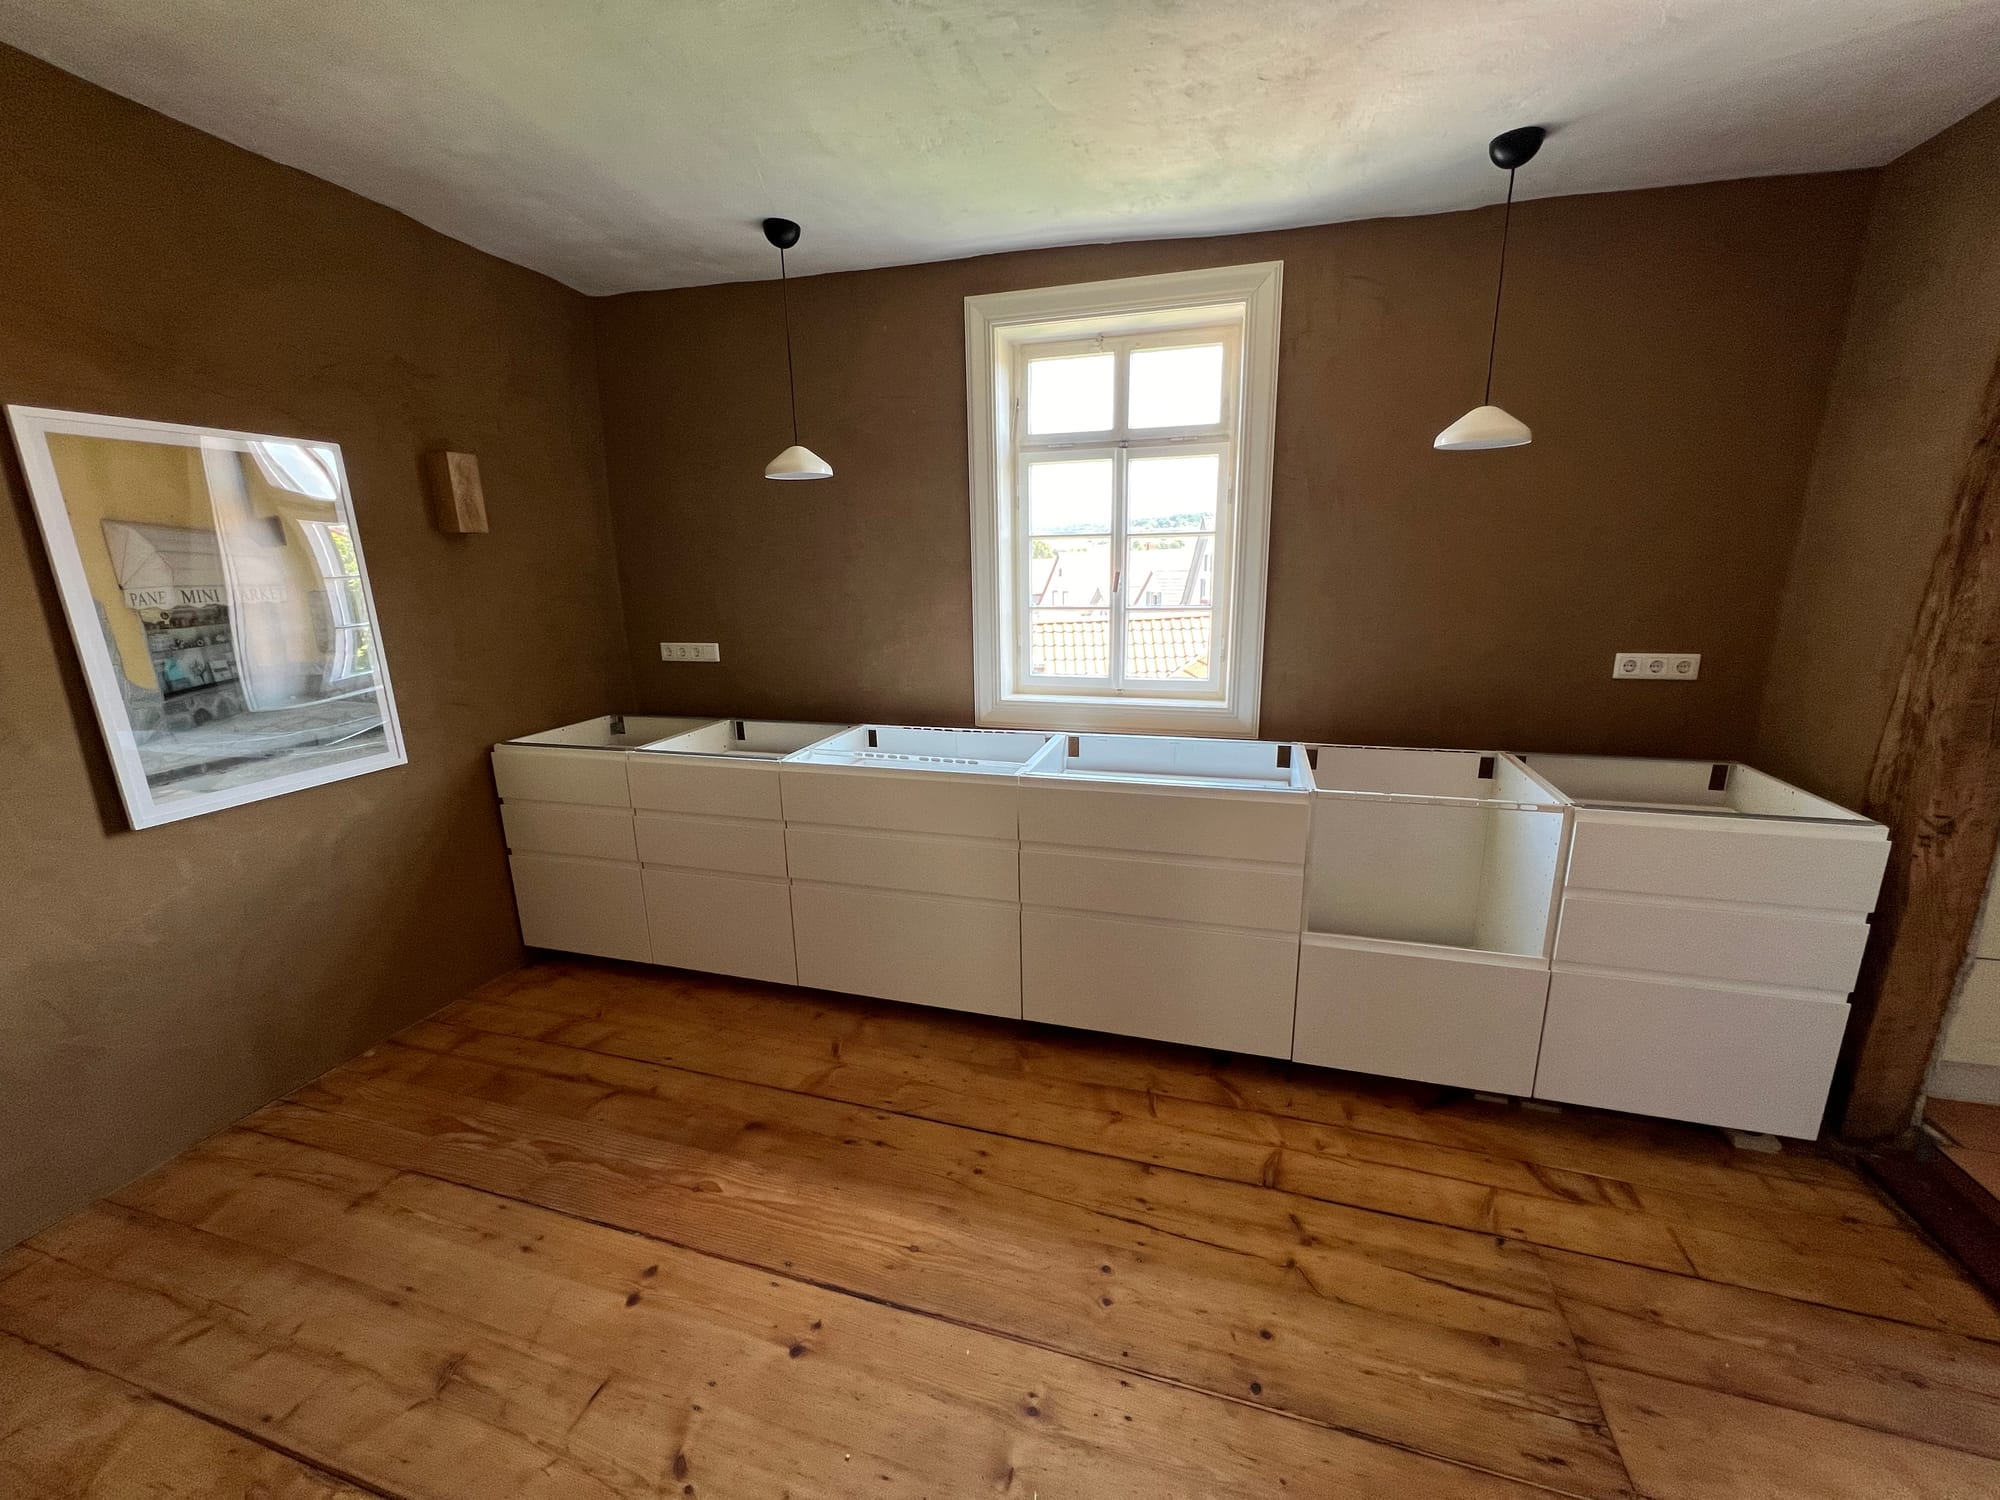
Now we were ready to setup the cabinets. We wanted to have a worktop that is deeper than the standard so we didn’t position them flush with the back wall. Instead, we used a line of tape as orientation for the position of the front side.
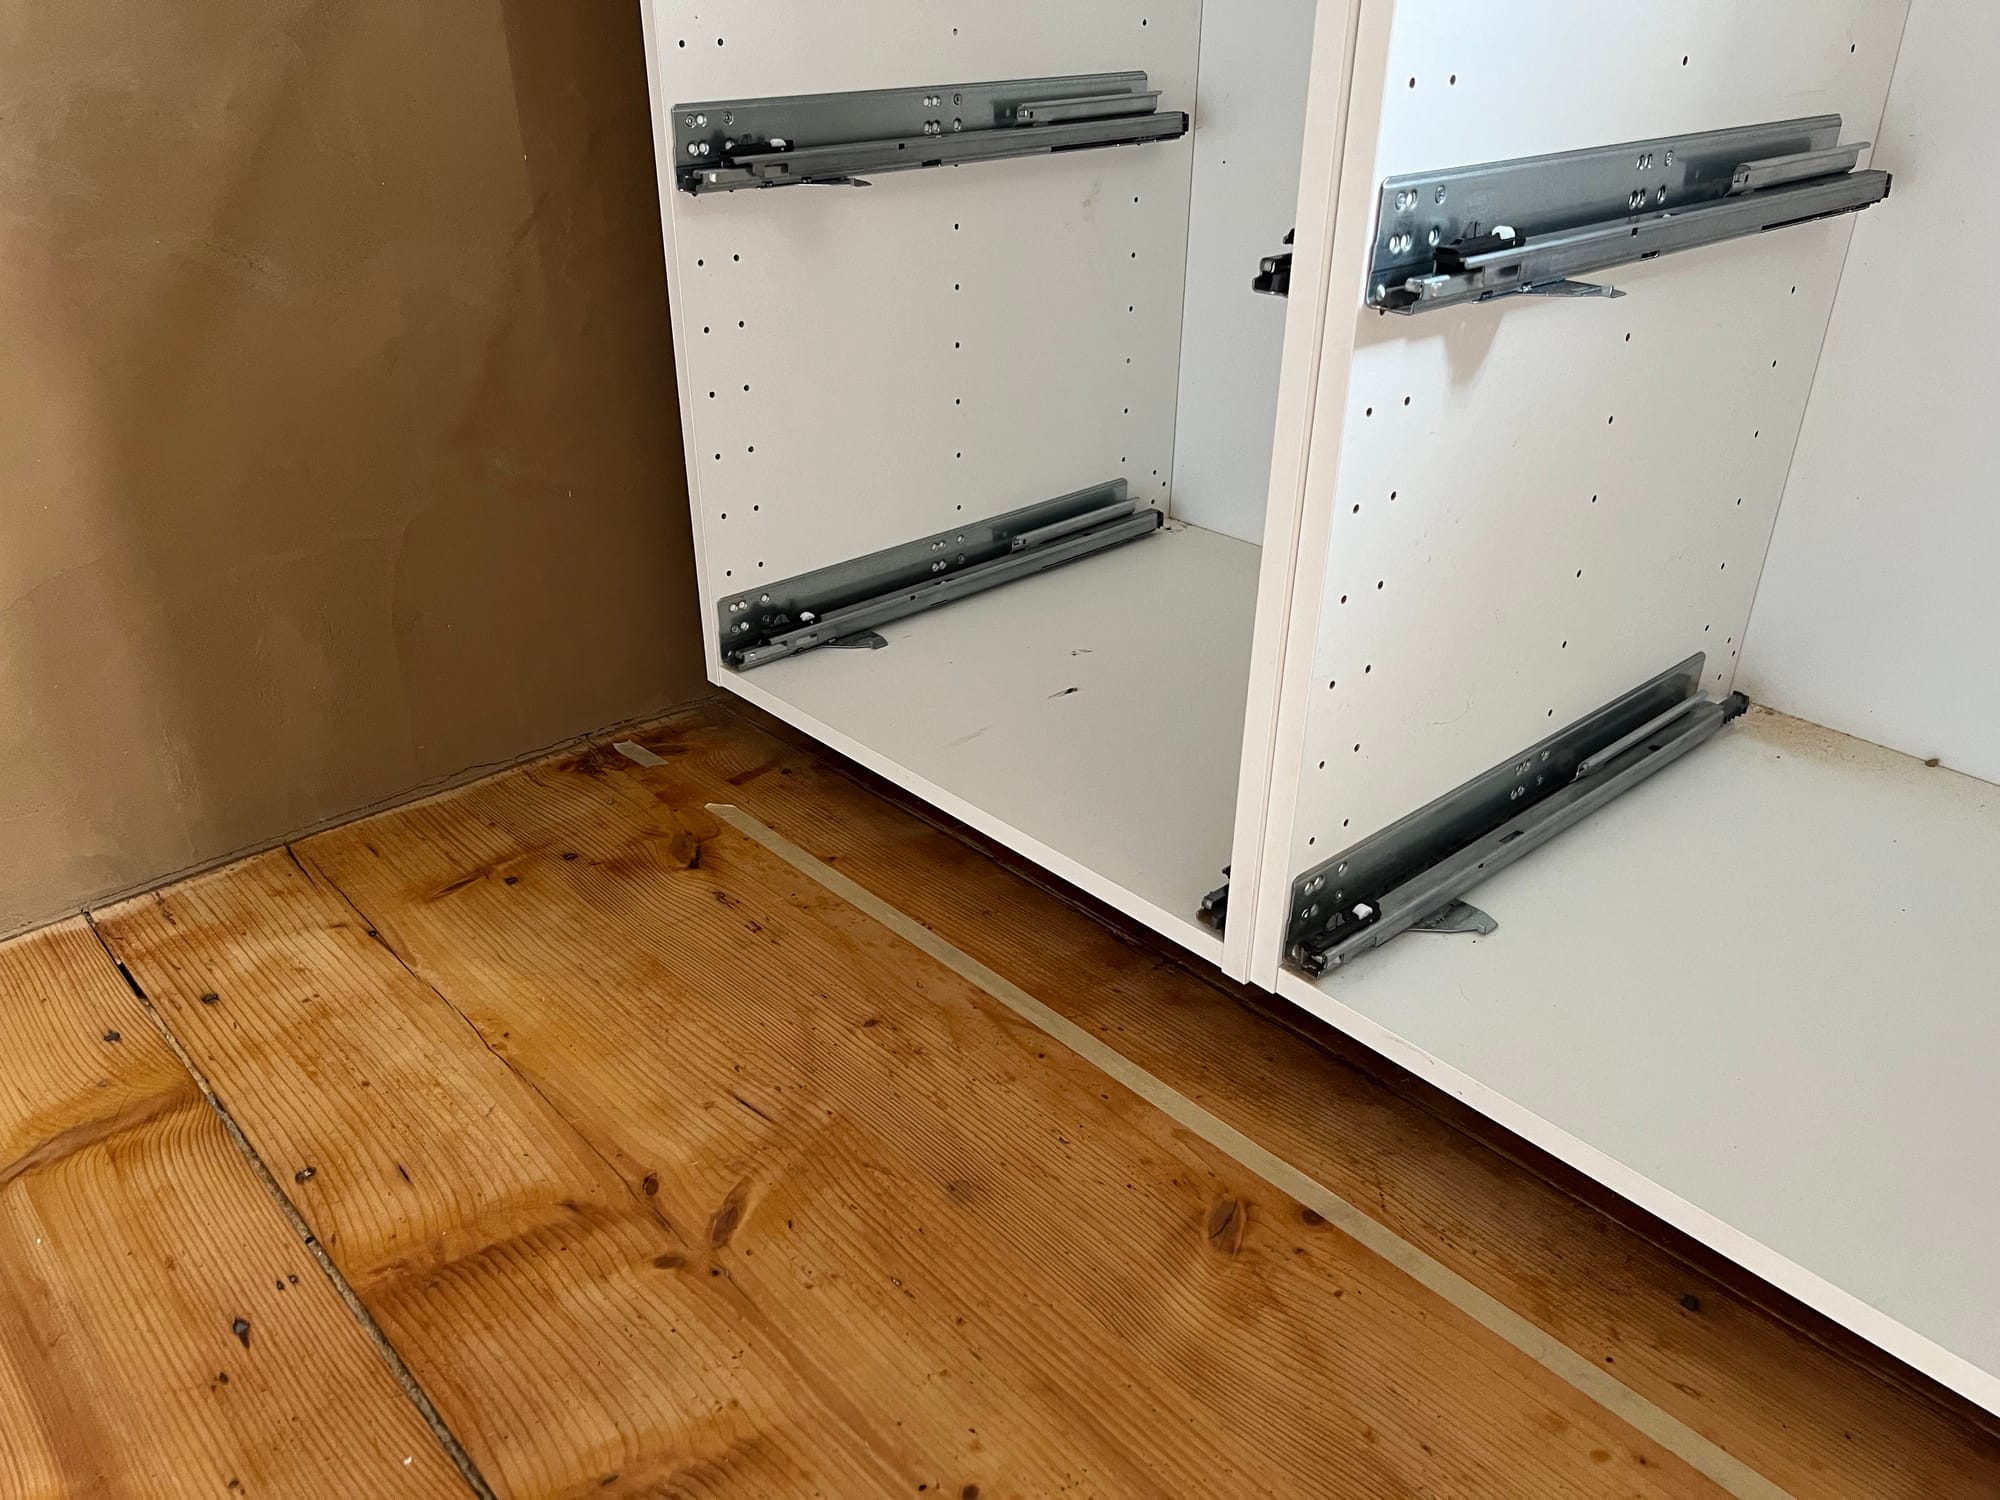
Although we did a good job in leveling out the biggest bumps when plastering the walls we still had a difference of 5 cm between the left and rightmost point. Speaking of differences – it goes without saying that the floor is also crooked and we needed to accommodate for a hefty 6 cm in height difference by propping up the wobbly IKEA kitchen legs (did I mention how much I hate them? 😅) with pieces of ESB.
In the end it finally felt like we were close to realising our idea (spoiler: we were not 🫣).
I hope you enjoyed this episode. Take care ☀️