
Kitchen: Episode V – Worktop
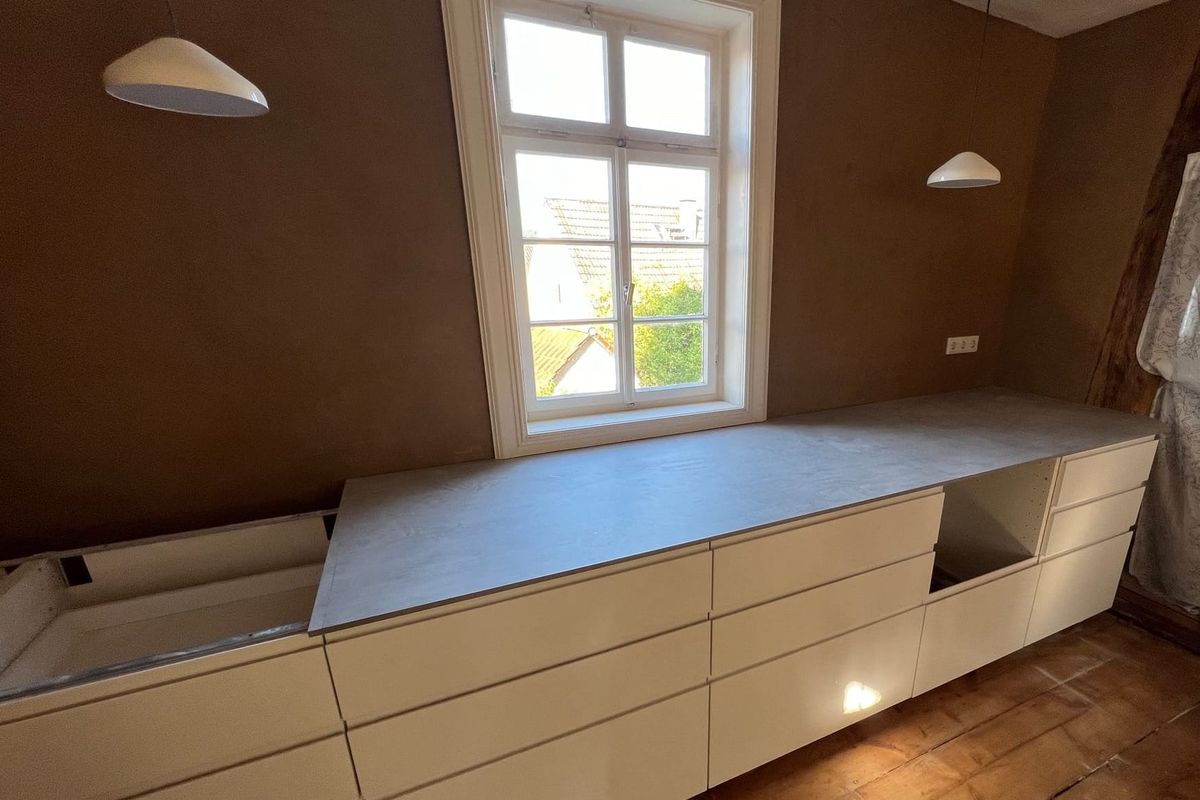
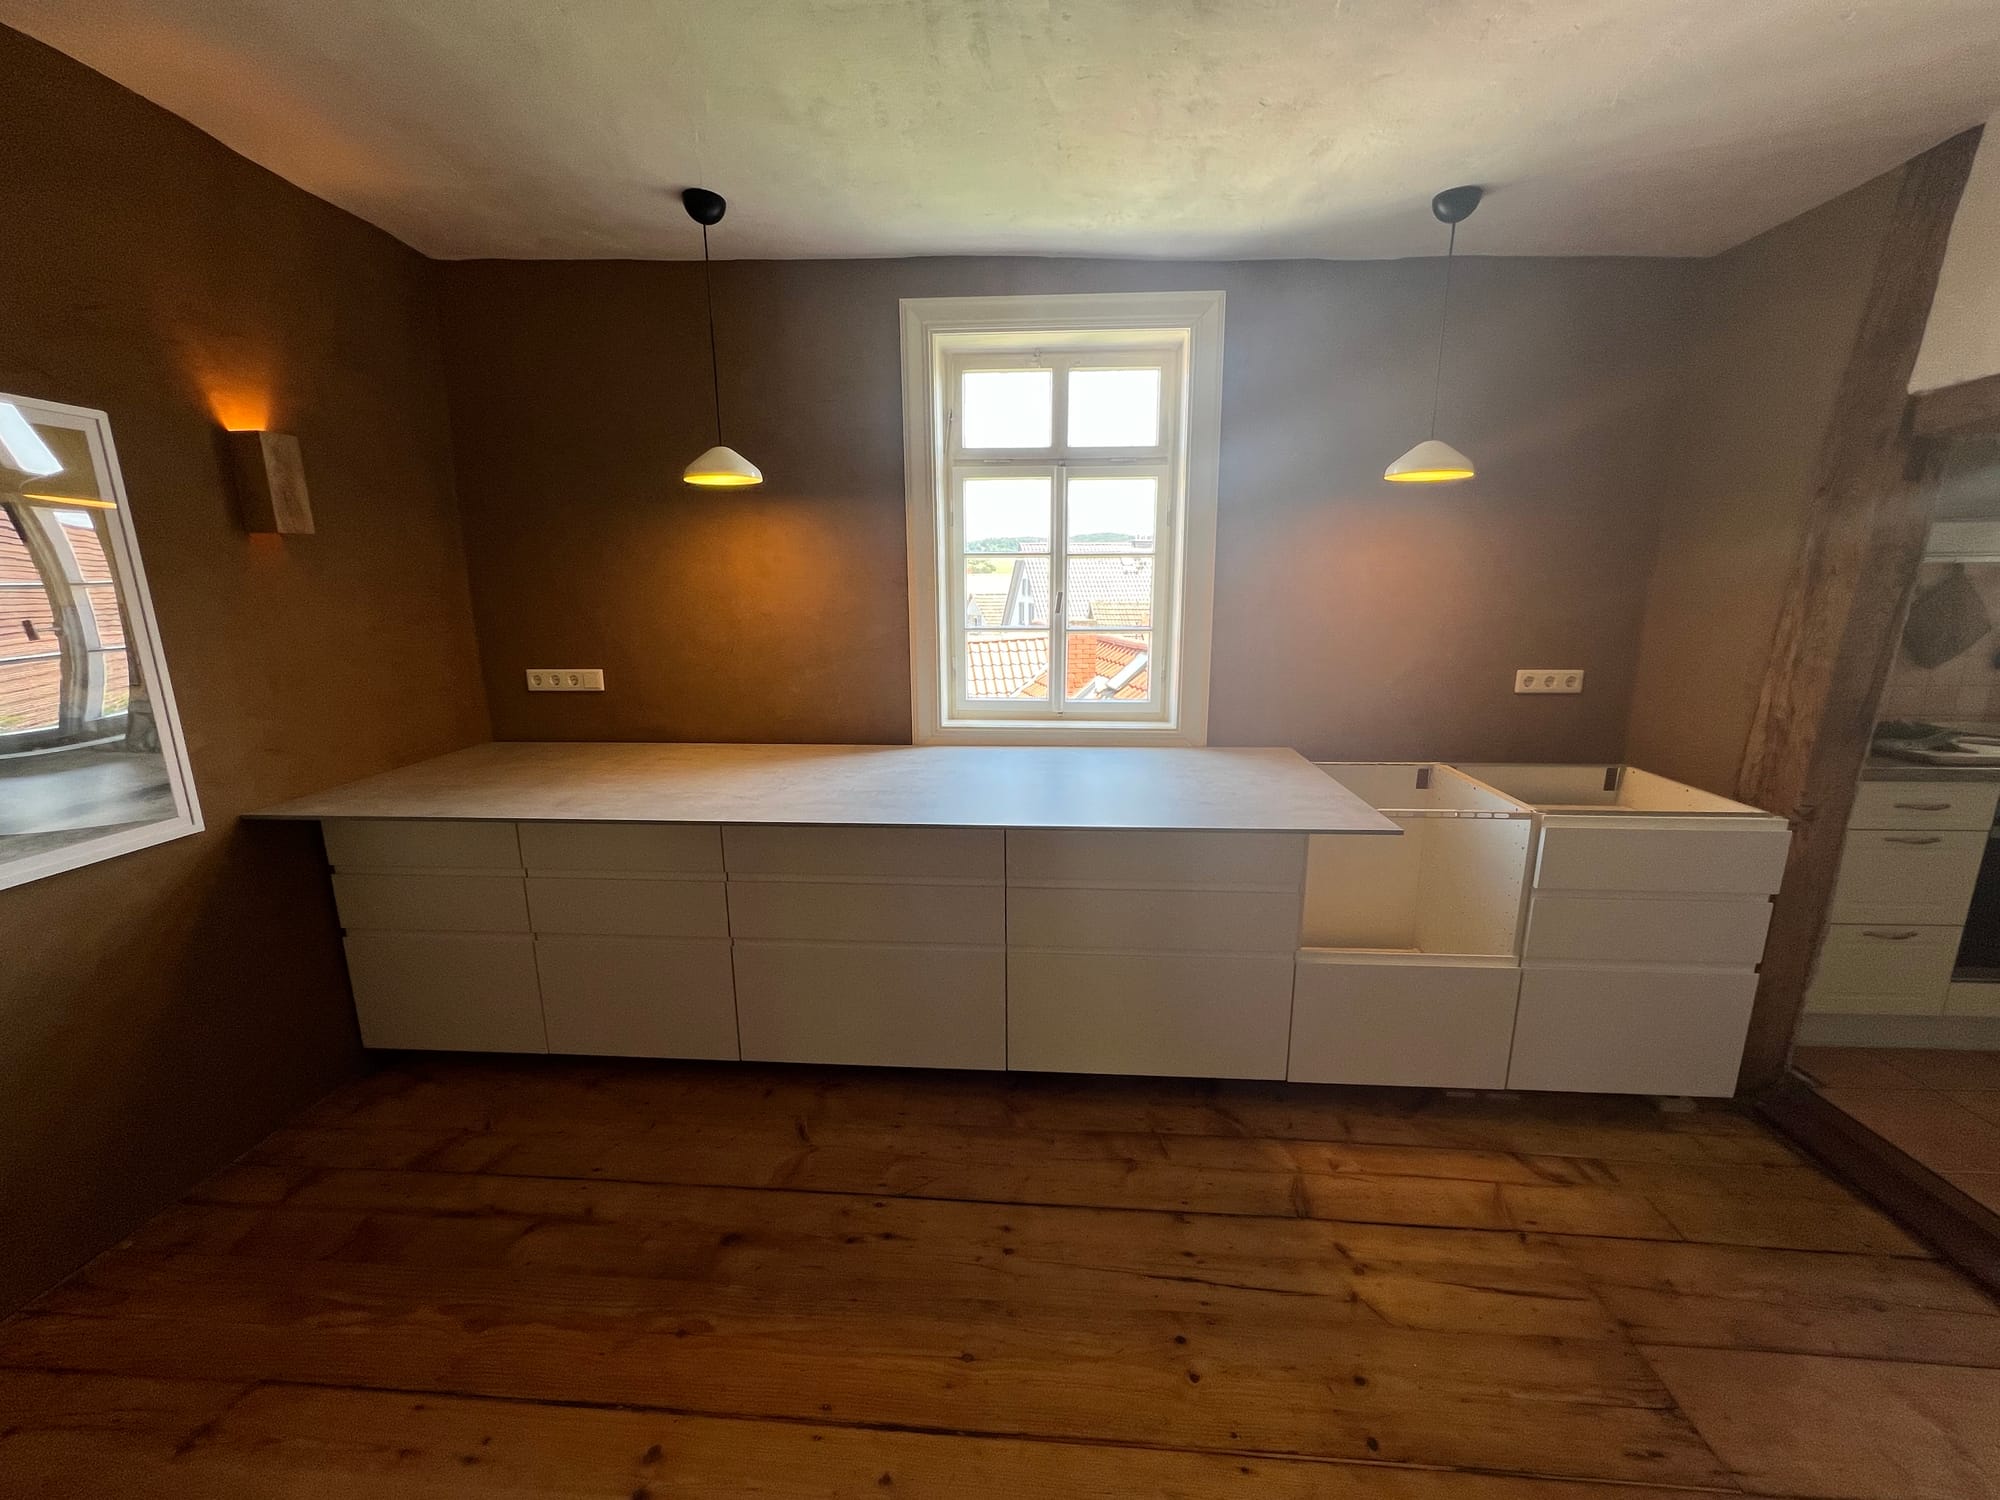
Now that the cabinets were set up we started with fitting the right side of the worktop.
Previous Episodes
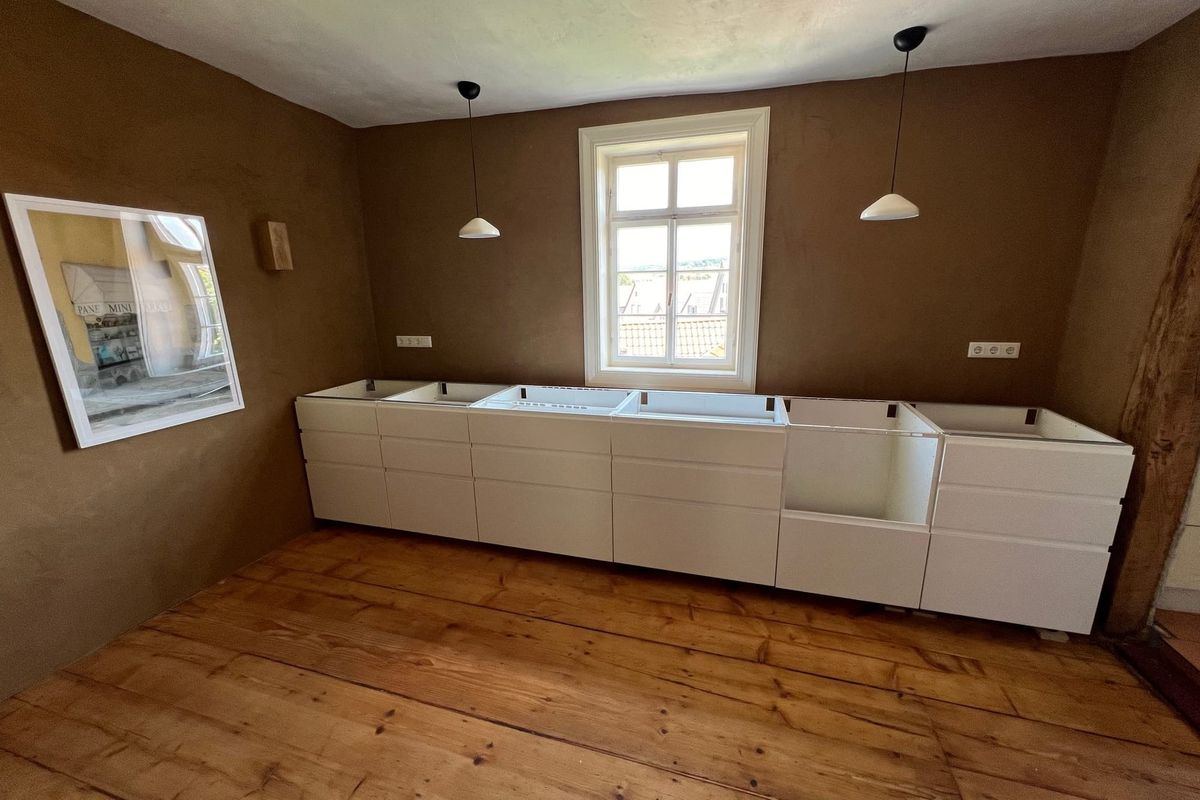
As soon as the cabinets were all set it was time to start working on fitting the worktop. The material we’ve used is called “Compact” and consists of highly compressed layers of paper soaked in resin (😔 definitely not the best material from an ecological perspective). The positive attributes as a worktop (robust, durable) make it very hard to cut with a circular saw without the edges getting torn up. It’s recommended to use a hand-held router for all visible cuts. We had ordered two pieces – each 3 meters long, 95cm deep and 12mm thick that we planned to join to form a 4.2 meters wide workspace.
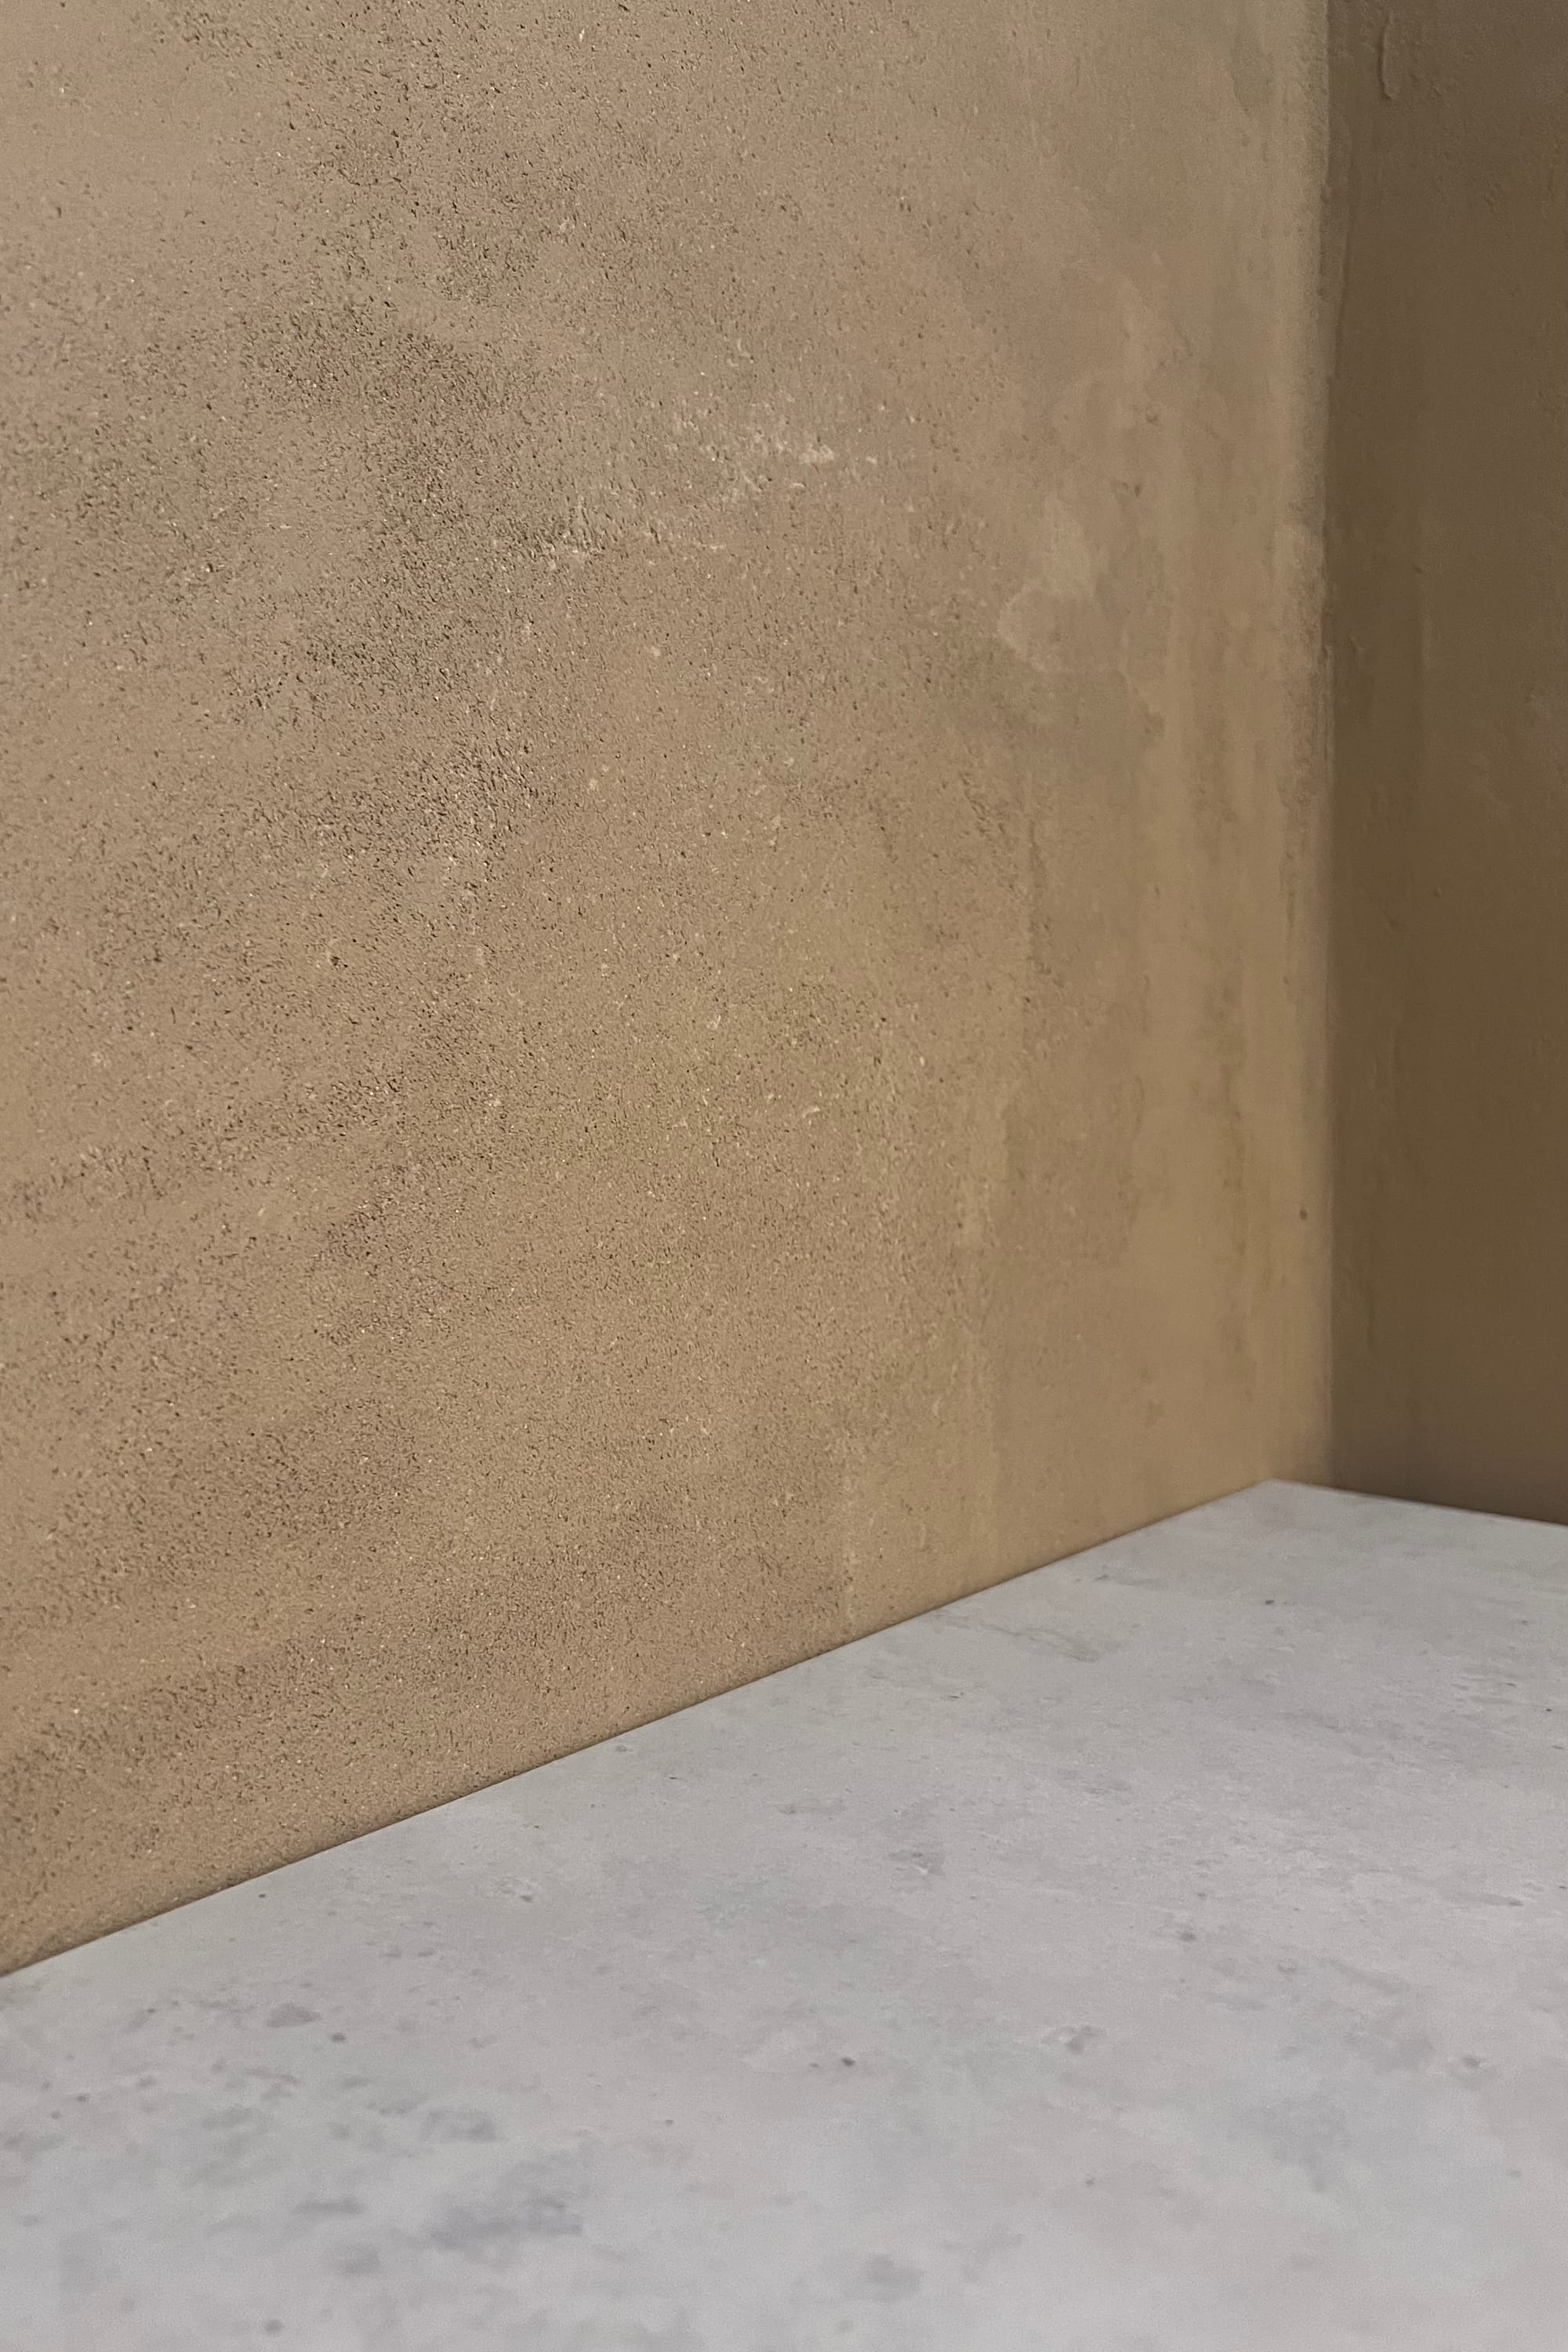
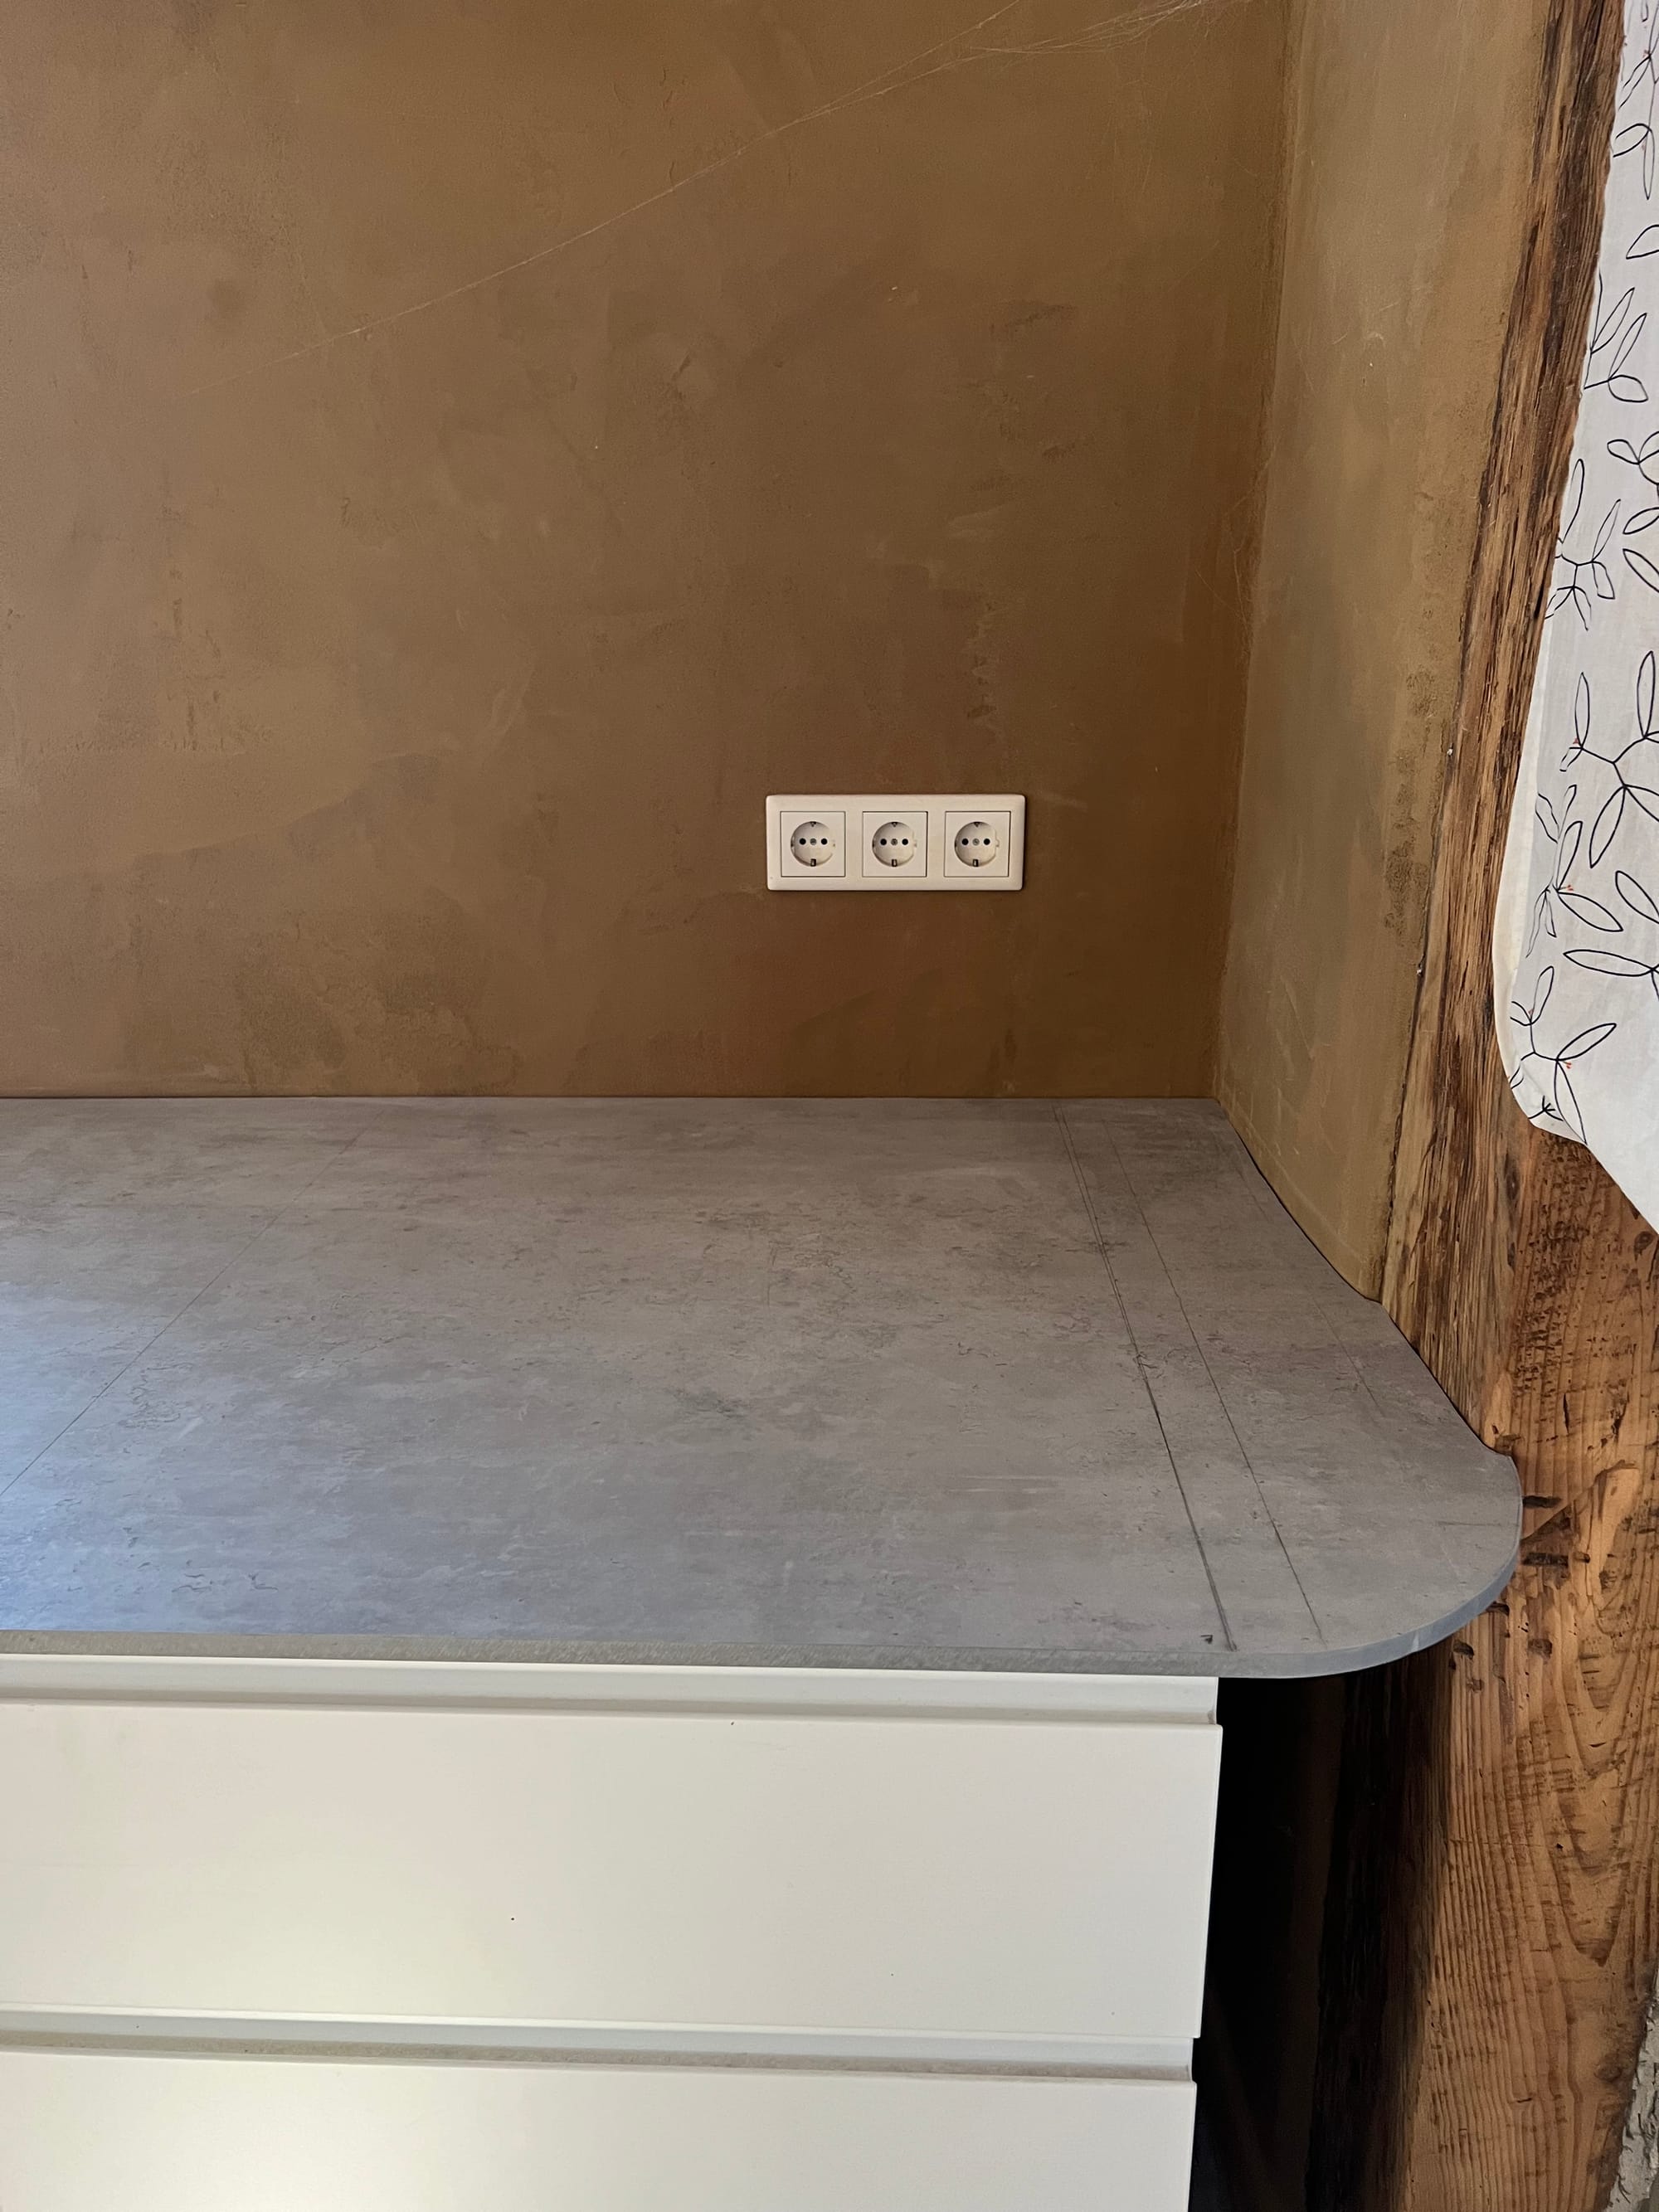
Due to the “dynamic” nature of the walls we needed to do adjustments on all three sides. The back wall is not even, the left wall is a bit tapered and the right wall even has a wooden beam that needs to be taken into account.
As the shape on the right of the worktop is quite unique I decided to first build a template using ESB.
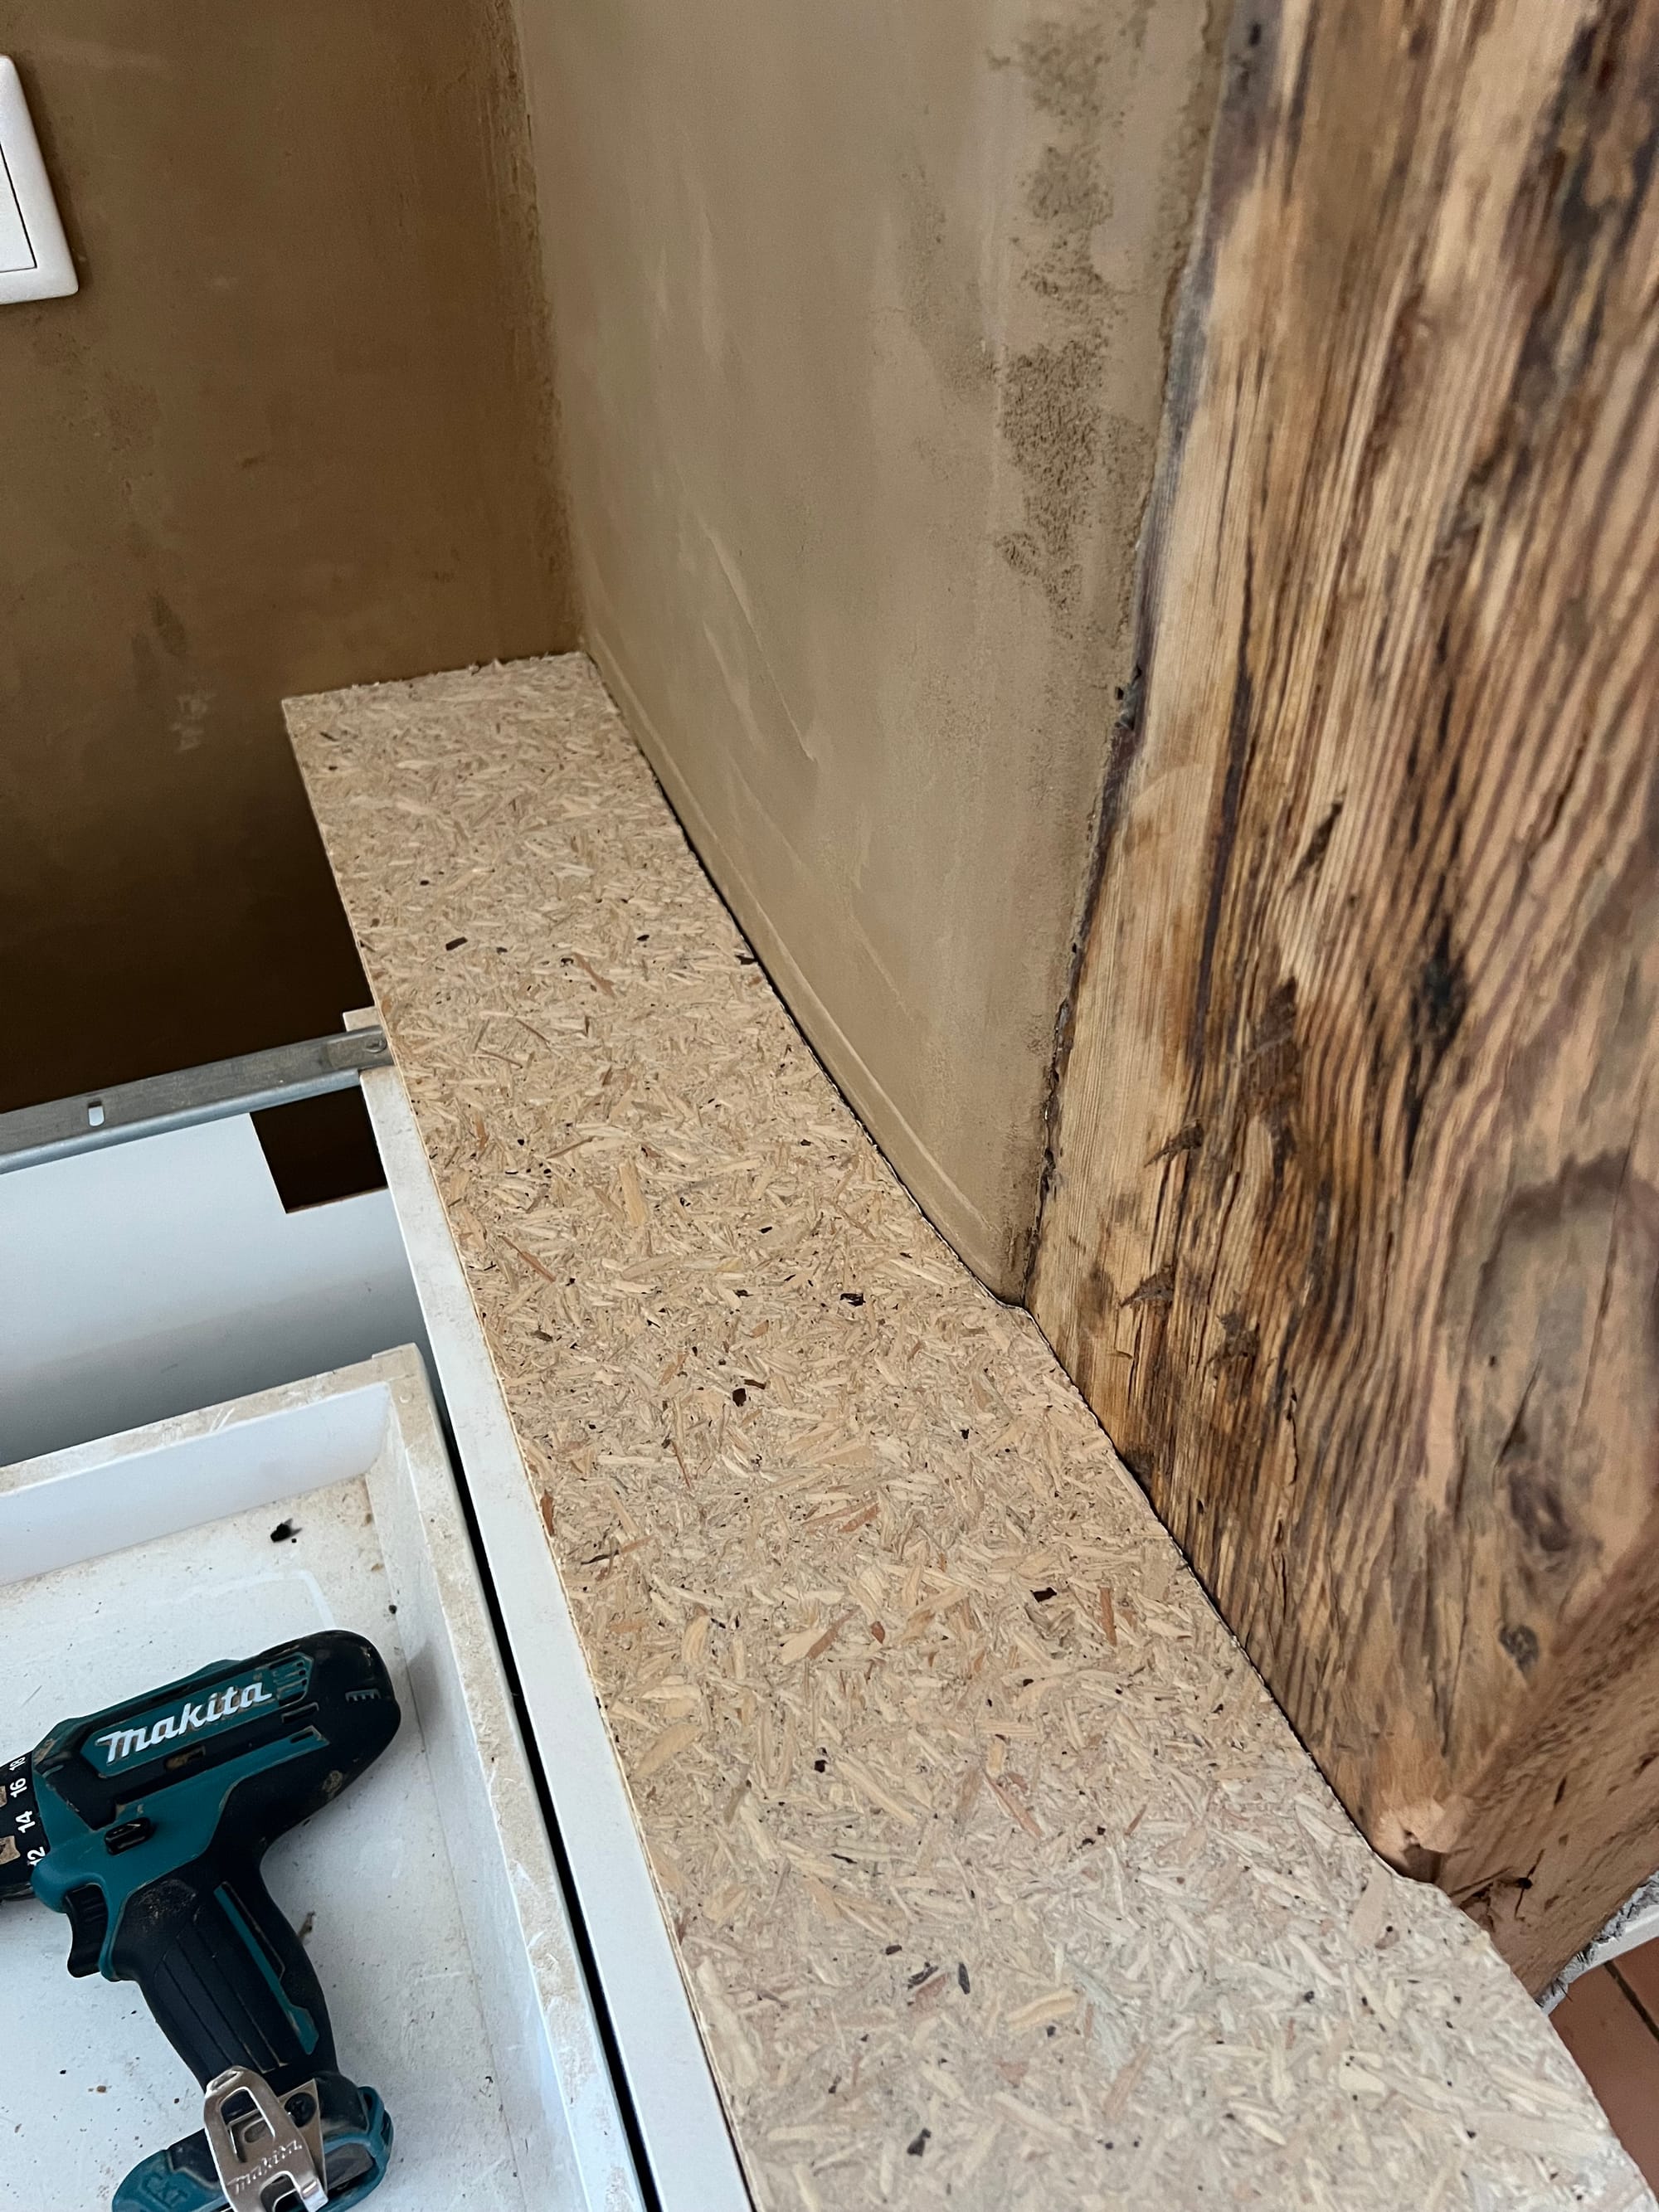
The template and what I used to trace the shape
To cut the actual worktop material I’ve used a circular saw to cut as close as 2cm to the mark and then switched to the hand-held router for the rest. Although I’m very happy with the end result, it was extremely tedious work that took ages, created a huge amount of dust and was super noisy as well.
I went through three cutter heads and the router needed to cool down in between sessions. The noise was so annoying that our neighbor asked if we opened up a dentist’s office 🙈
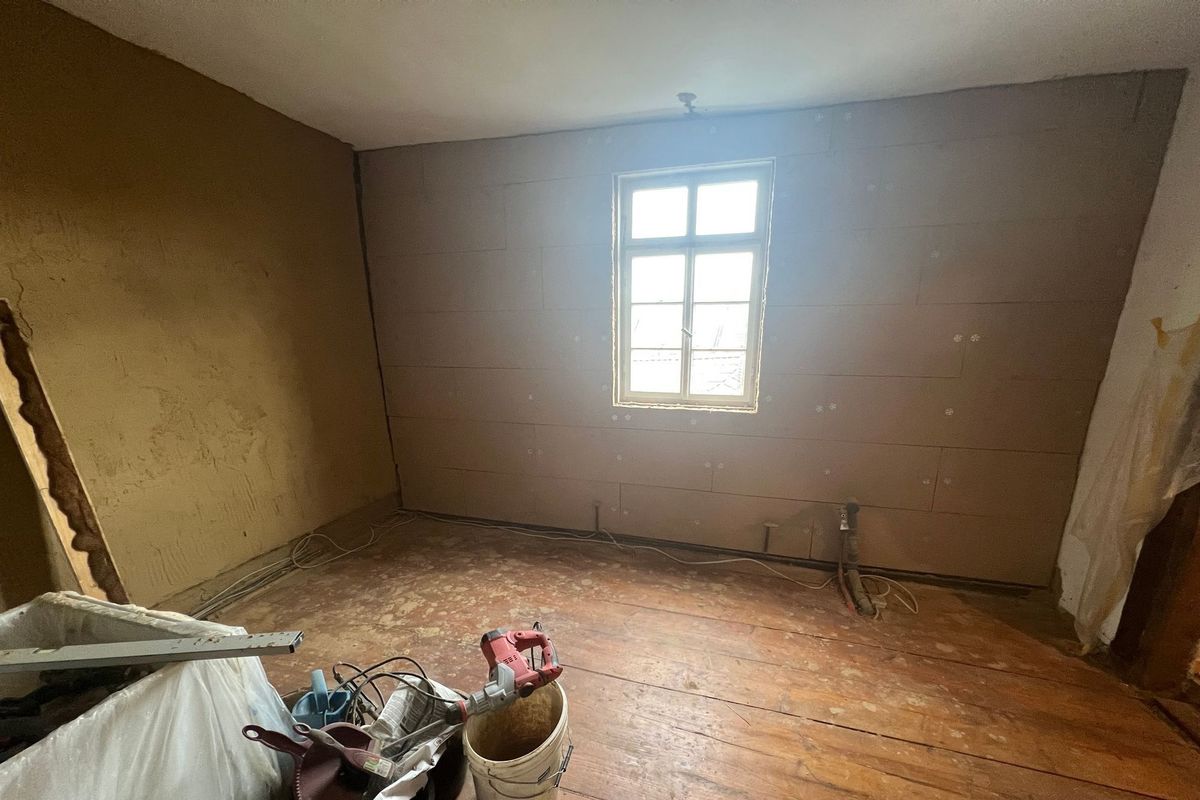
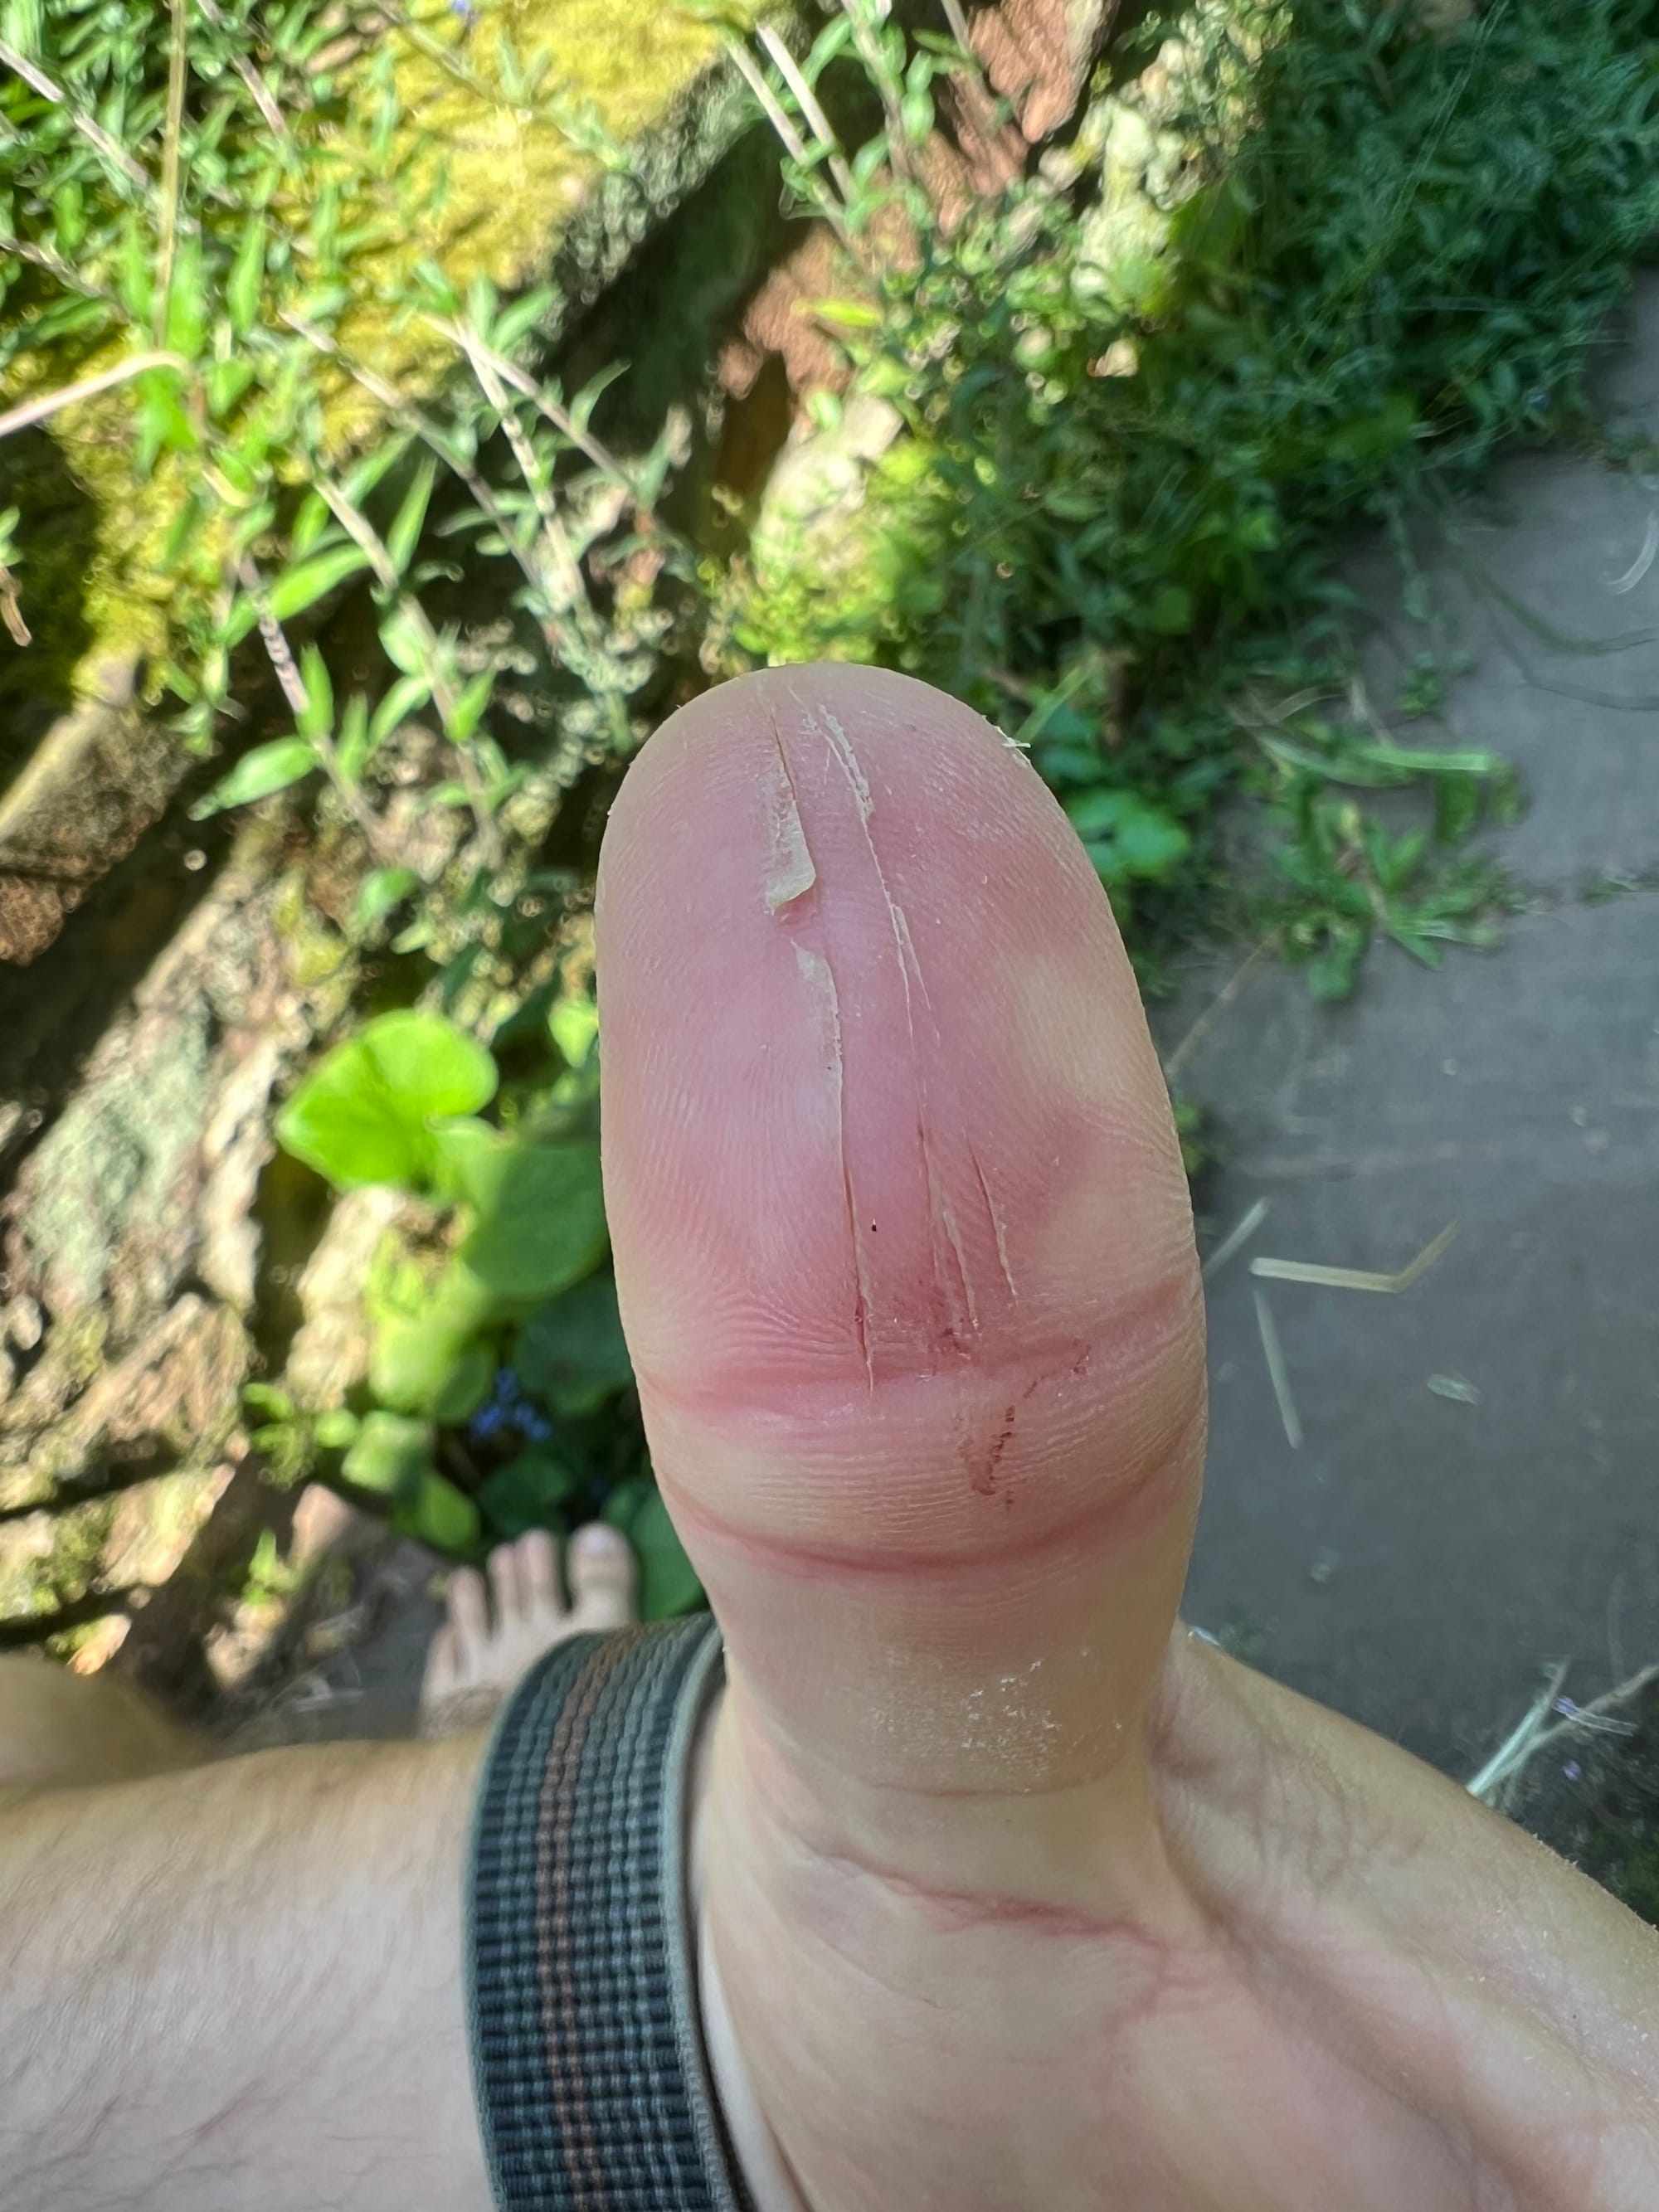
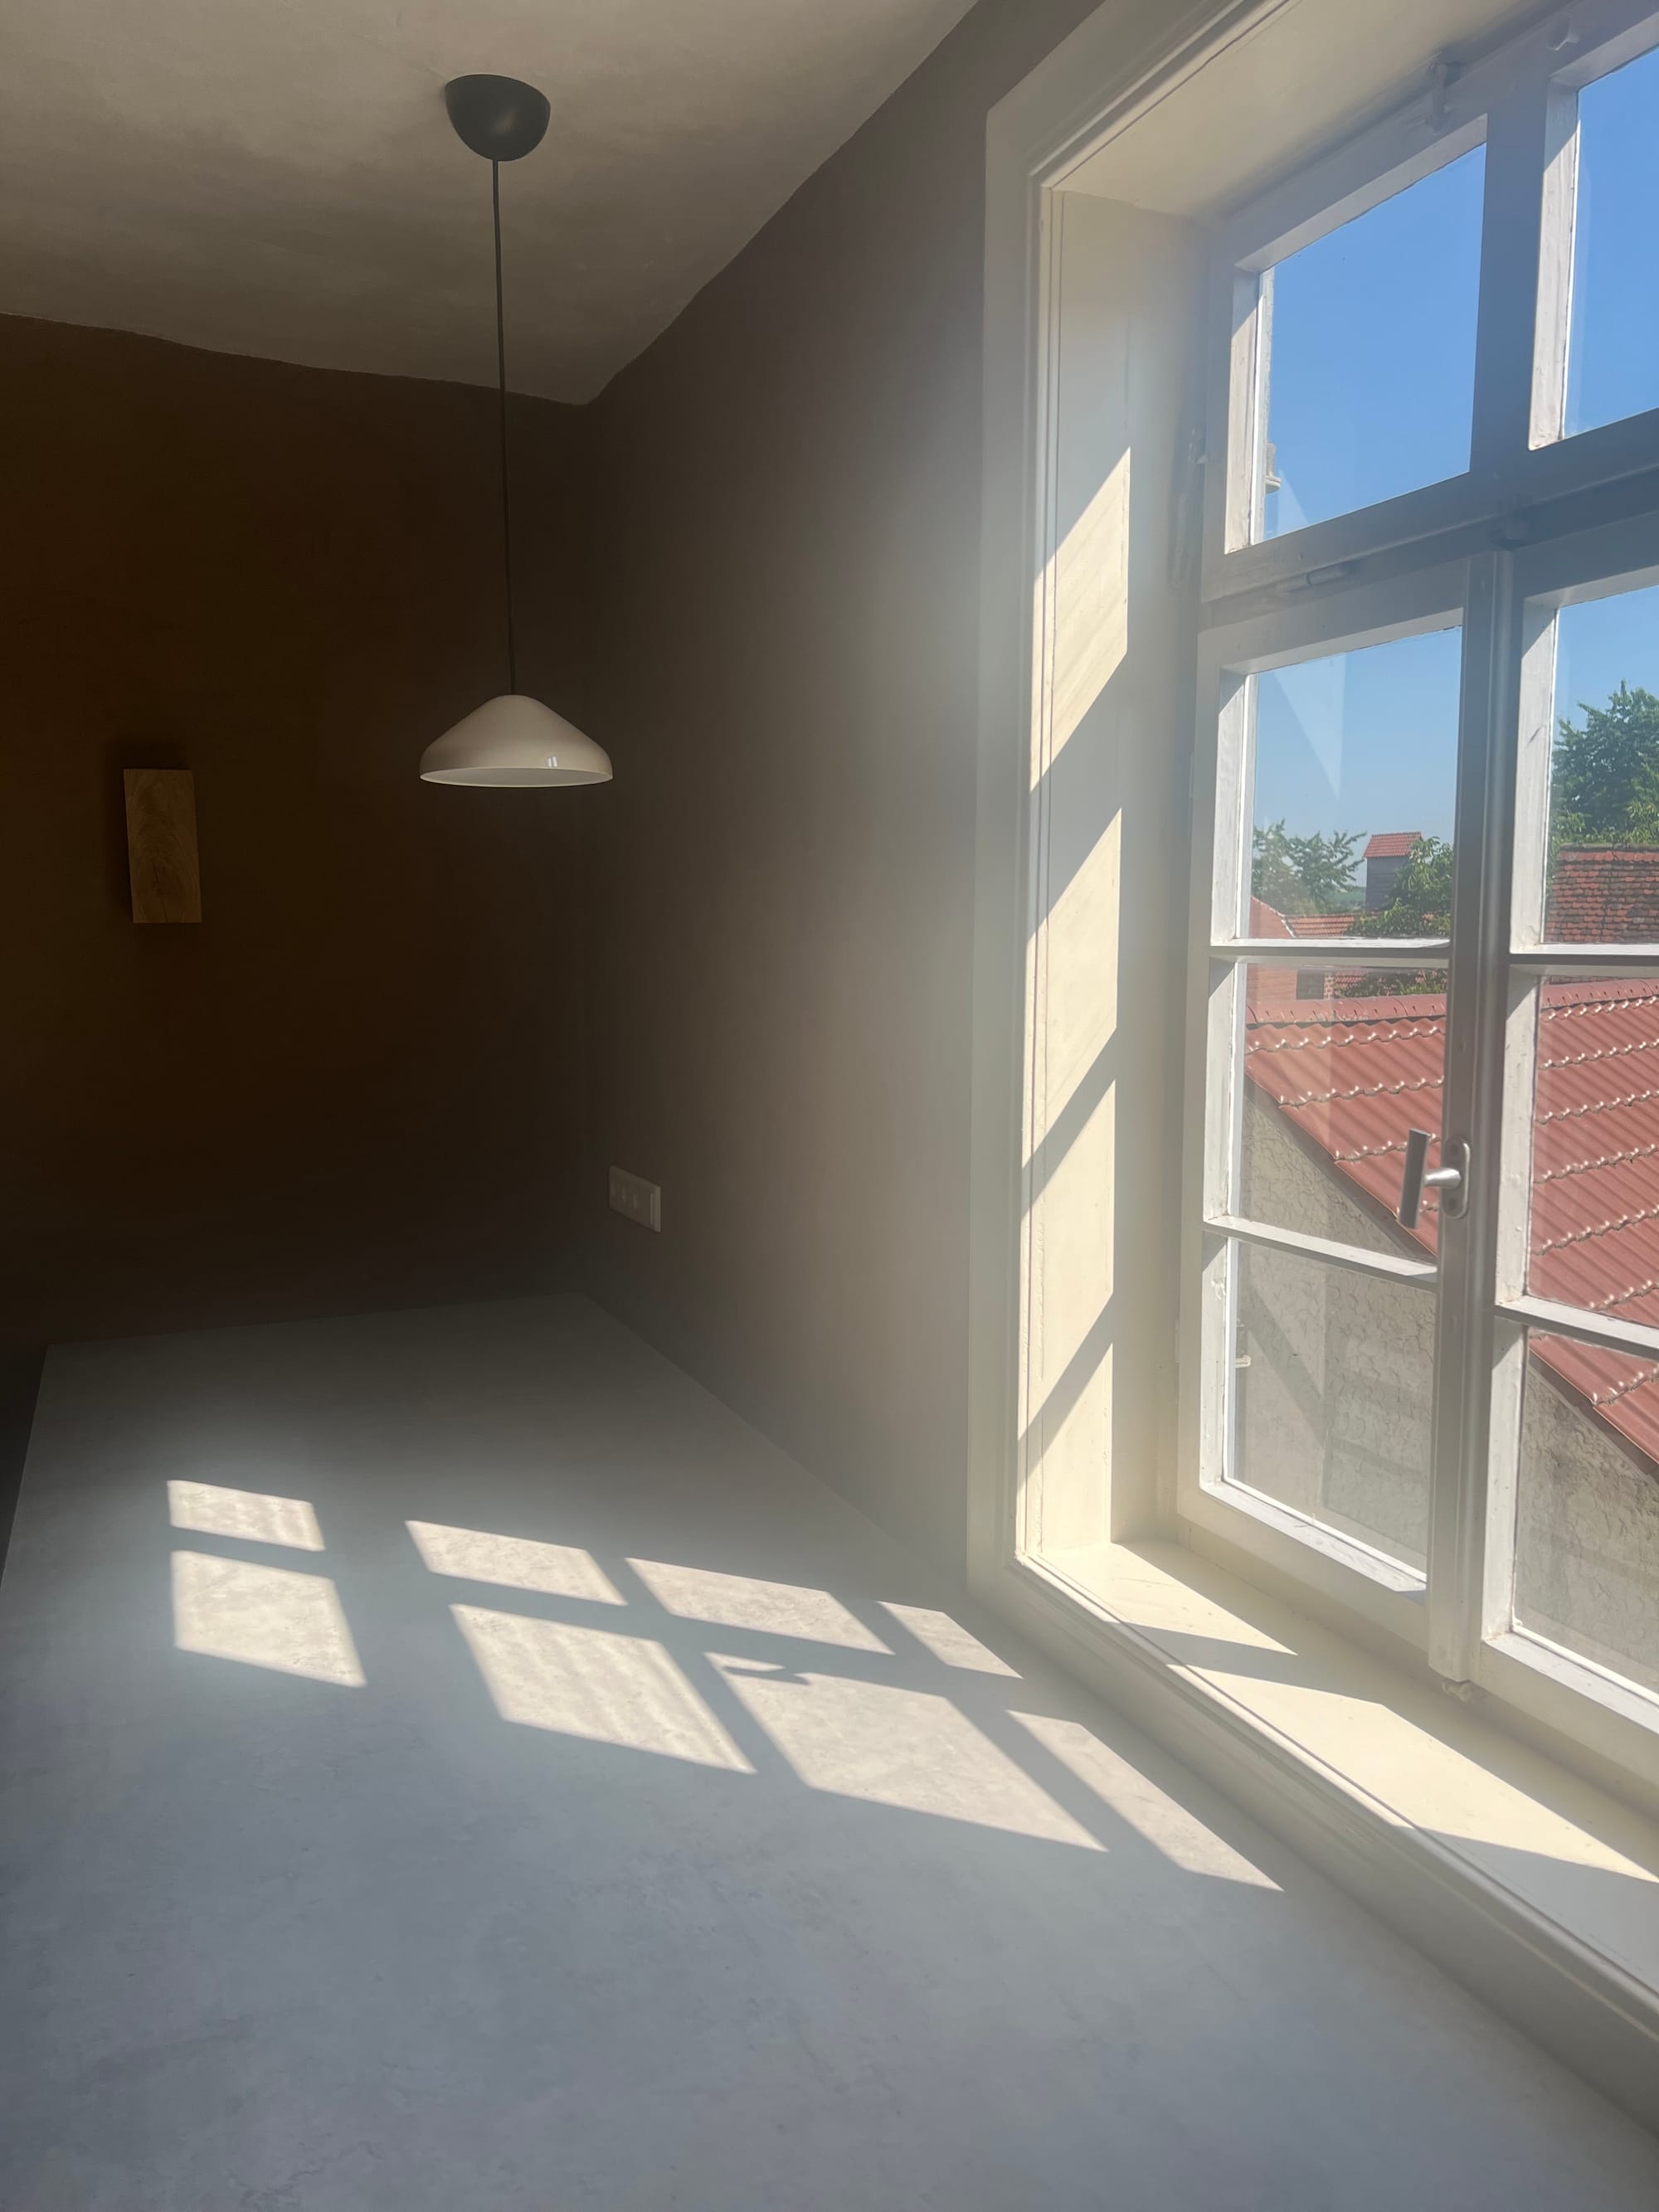
Remember the window frame we worked on in Episode IV? We needed to cut off a bit at the bottom for the worktop to fit. I’ve used the Japanese pull-saw and the actual worktop as a guide for the cut. It went quite well – the only thing I underestimated is how sharp the backside of the saw blade is 🙈
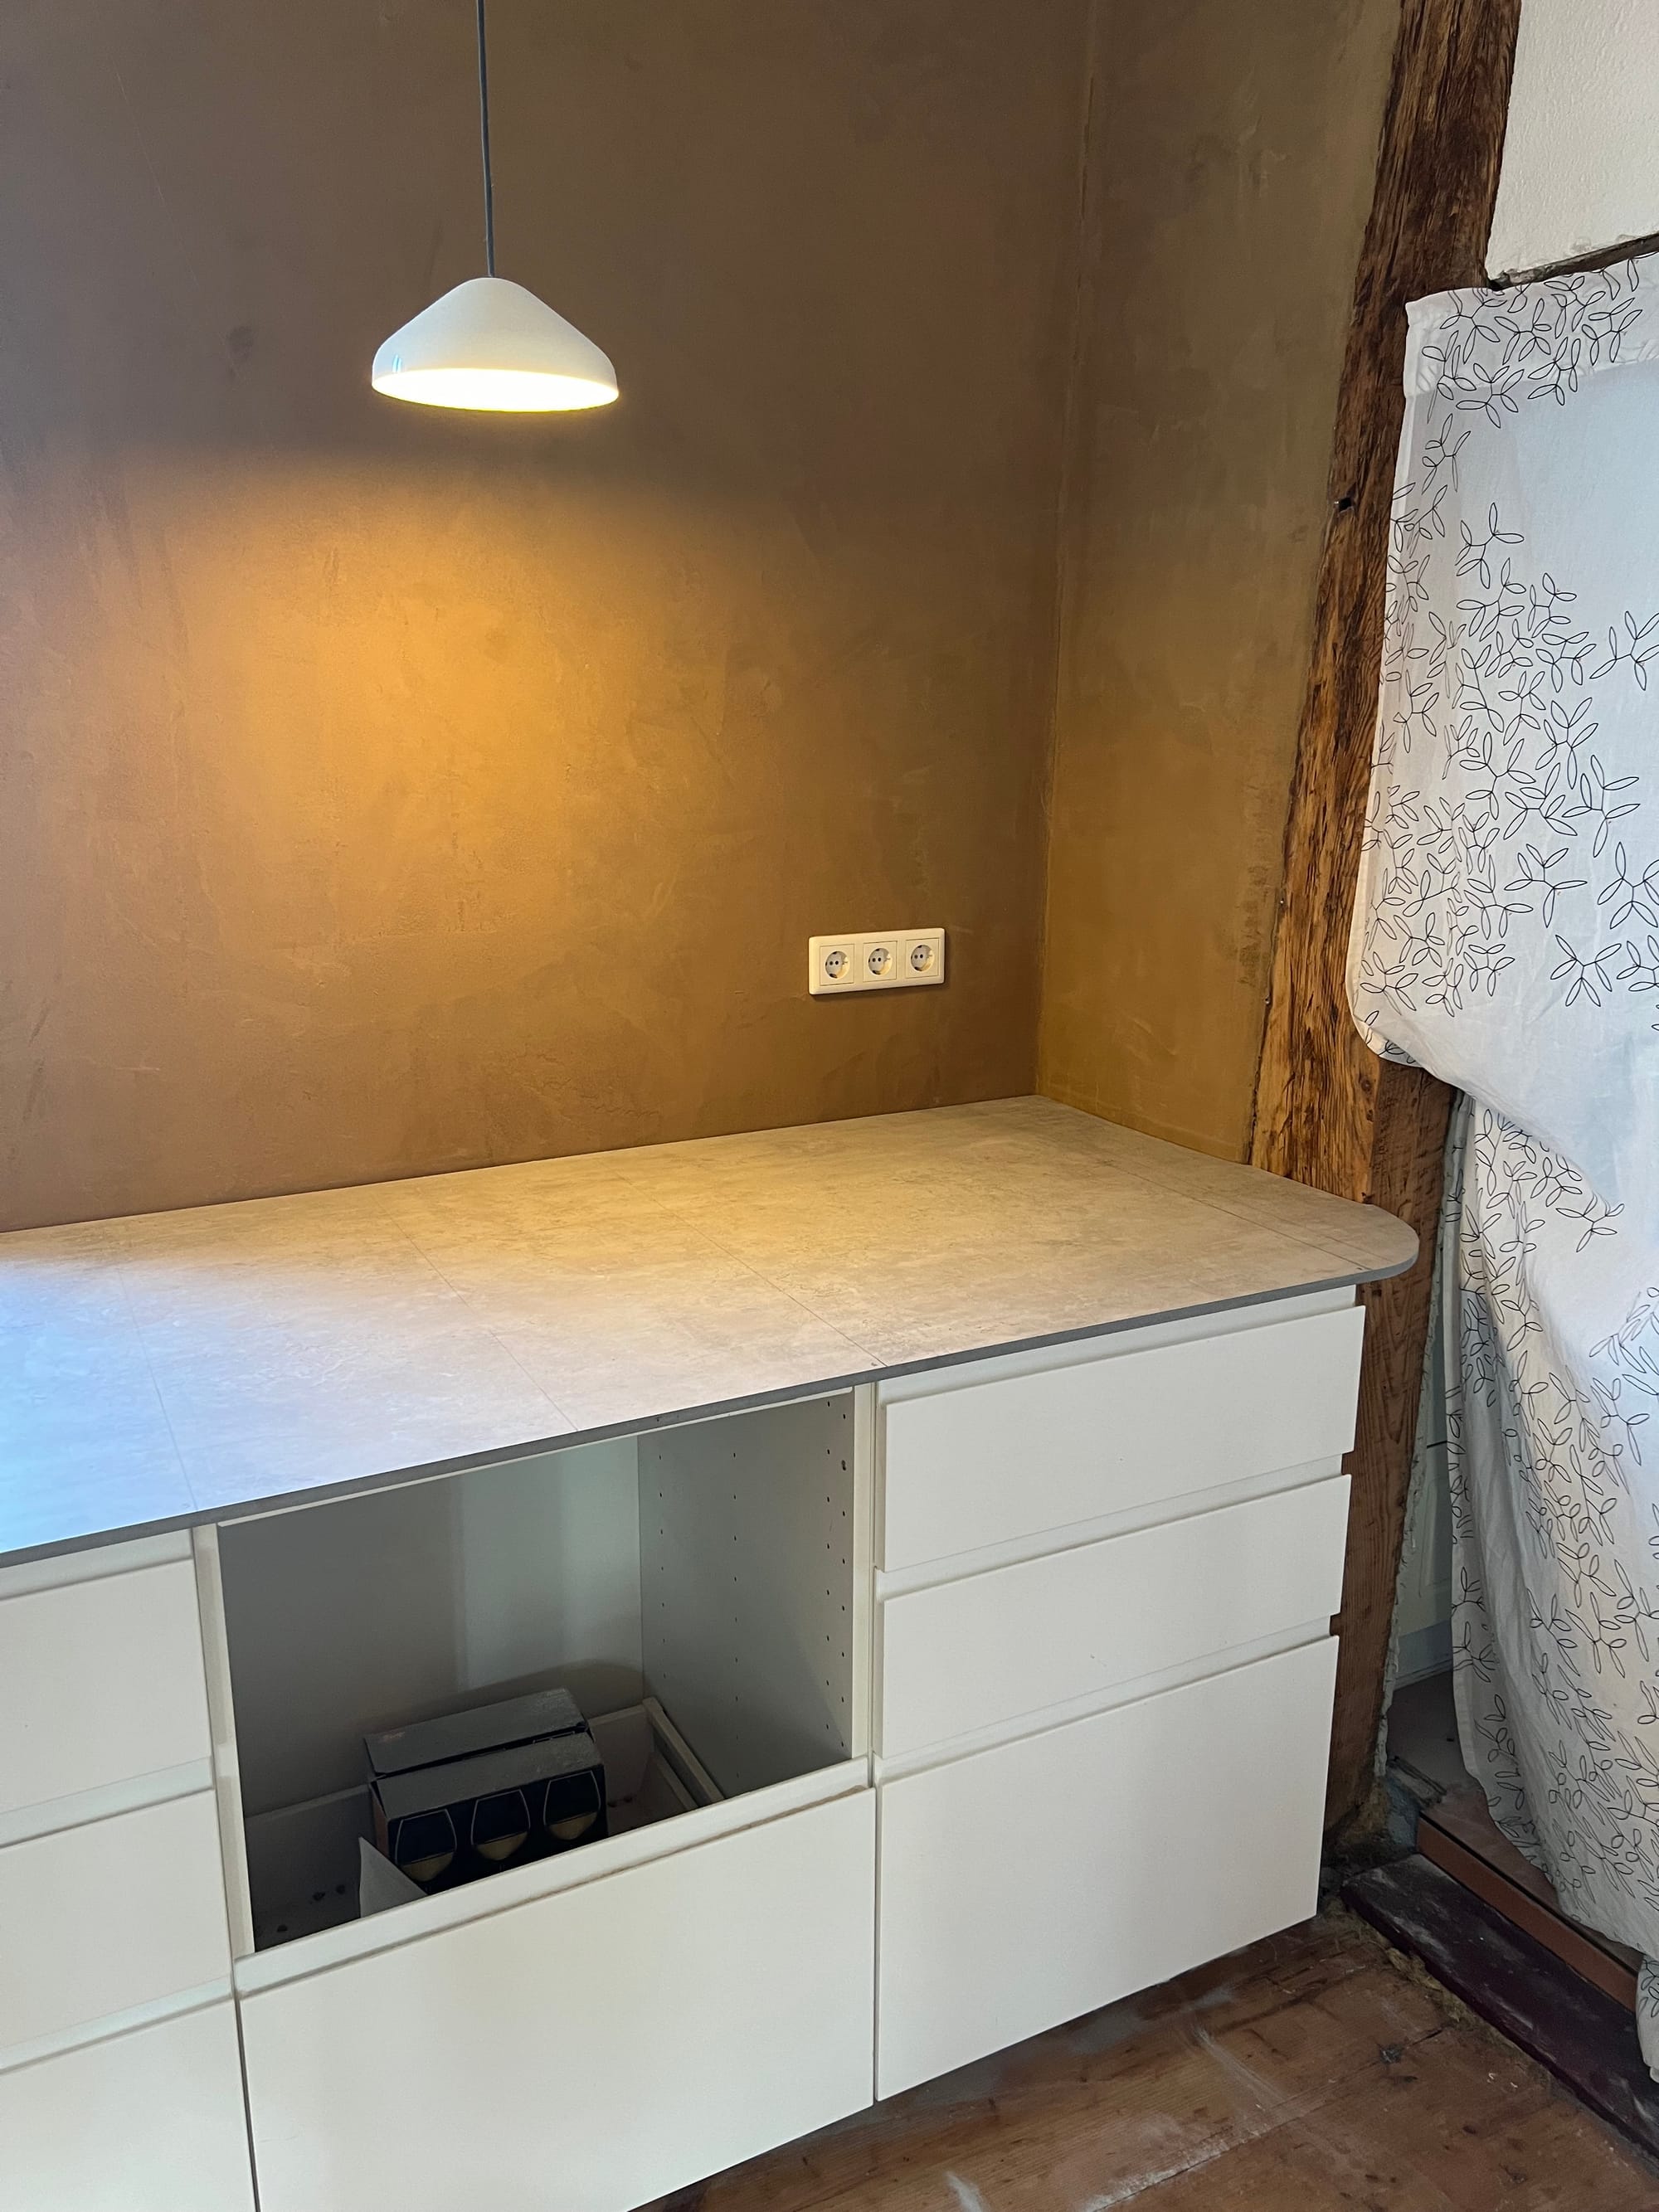
In the end I think it was worth the hassle and it felt amazing to finally have a new workspace – at least the right side of it 😅
I hope you enjoyed this episode – in the next one I’ll write about the missing left side of the worktop as well as doing the cutouts for the sink and the induction cooking field. Take care ☀️